
Struggling with a lumpy, deflated air mattress at 2 AM? You’re not alone. Knowing how to use an inflatable mattress properly transforms it from a frustrating inconvenience into a reliable sleeping solution for guests, camping trips, and temporary housing needs. Most people never learn the correct techniques for inflation, firmness adjustment, and maintenance—resulting in uncomfortable nights and shortened mattress lifespan. Master these essential methods to ensure consistent support that lasts through the night, whether you’re hosting family, camping in the wilderness, or navigating a temporary housing situation.
This guide covers everything you need to know from initial setup to long-term care. You’ll discover the specific steps for different inflation systems, how to diagnose and fix common problems, and professional tips that most users never learn until they’ve already damaged their mattress through improper use. Stop wasting time with half-inflated, uneven sleeping surfaces—these techniques will help you achieve firm, consistent support every time.
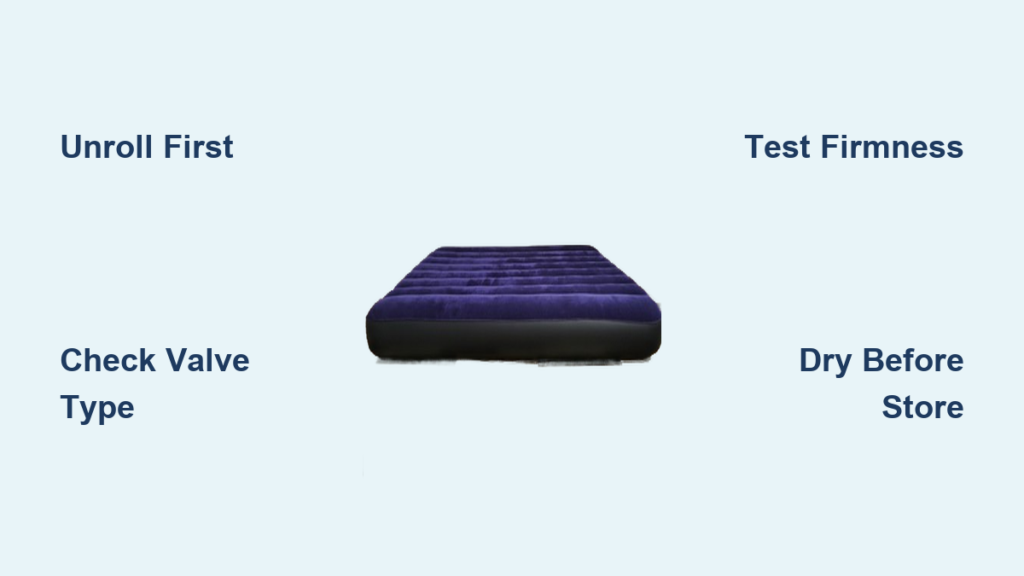
Pre-Inflation Preparation Checklist
Skipping proper preparation leads to uneven inflation, valve damage, and unnecessary frustration that could be avoided with just a few minutes of careful setup. Rushing this phase guarantees problems later.
Unroll and Flatten Before Adding Air
Begin by completely unrolling your inflatable mattress and allowing it to lay flat for 5-10 minutes. Mattresses fresh from storage hold creases from their folded state, and giving them time to relax makes inflation smoother and more complete. For new mattresses that have been compressed in packaging, this flattening period is especially critical—the material needs to acclimate to its unfurled shape before air pressure forces it into form. Attempting to inflate a tightly rolled mattress creates air pockets and uneven expansion that no amount of pumping can fix later.
Identify Your Specific Valve Type
Locate and inspect the air valve before attempting any inflation. Most air mattresses feature either a one-way valve that lets air in but prevents escape, or a simple open-hole design requiring manual sealing after inflation. Some models, particularly those with built-in pumps, have more complex valve systems with multiple positions. Understanding your specific valve type prevents confusion during inflation and helps you avoid accidentally deflating the mattress by positioning the valve incorrectly. Bestway models, for instance, have separate caps for inflation and deflation, while Intex models often use twist valves.
Conduct a Pre-Inflation Damage Check
Examine the entire mattress surface for visible damage before adding any air. Look for tears, punctures, or compromised seams that might worsen under inflation pressure. Check the valve mechanism itself for debris, dust, or manufacturing defects that could prevent a proper seal. This inspection takes less than a minute but prevents the frustration of inflating a damaged mattress only to discover the problem too late. Pay special attention to seam intersections where stress concentrates during inflation.
Electric Pump Inflation Techniques

Electric inflation provides the fastest, most convenient way to fill standard air mattresses, making it the preferred method for home use when power outlets are accessible. Understanding proper technique prevents common problems that extend inflation time and stress mattress materials.
Create a Perfect Pump-to-Valve Seal
Insert the pump nozzle firmly into the valve opening, creating a tight seal between the pump and mattress material. This connection point represents the most common source of inflation problems—if air escapes around the connection, you waste effort and time while the pump struggles to build pressure. If your nozzle doesn’t fit perfectly, wrap duct tape around it until it creates a snug fit. The seal quality directly impacts inflation efficiency, and even small gaps significantly extend the time required. Listen for hissing sounds that indicate air leakage around the connection point.
Monitor Firmness During Inflation
Activate the pump and monitor the inflation process actively rather than starting the pump and walking away. Watch the mattress surface expand and feel for increasing firmness as air enters. The mattress should reach a firm-but-yielding texture that feels supportive when you press down with your hand but gives slightly under body weight. Most electric pumps require 10 to 15 minutes for full inflation of a standard air mattress. Stop inflation when the surface yields slightly under hand pressure—over-inflation creates unnecessary stress on seams and materials.
Manual Inflation Alternatives When Power Fails
When electricity is unavailable, manual inflation methods provide reliable alternatives that work anywhere. These techniques require more physical effort but deliver precise control over firmness levels that automatic pumps cannot match.
Hand and Foot Pump Efficiency Tips
Hand pumps require repetitive up-and-down handle movements that fatigue arms quickly, while foot pumps engage larger leg muscles for more natural pumping. Both methods typically achieve full inflation within 10-15 minutes for standard mattresses. The tactile feedback of feeling each pump stroke enter the mattress helps you achieve your exact firmness preference without guessing. For maximum efficiency, maintain a steady rhythm rather than rushing—each complete pump stroke should transfer air fully into the mattress.
Hair Dryer Emergency Inflation Method
Hair dryers on their coolest setting offer a surprisingly efficient alternative when standard pumps are unavailable. Hold the dryer nozzle against the open valve and activate the airflow—never use heat settings, as high temperatures can melt or deform vinyl materials. If the dryer nozzle doesn’t fit perfectly, cup your hand around the connection to direct airflow into the mattress. This method typically inflates a mattress in 4-5 minutes, but requires careful temperature monitoring throughout the process.
Achieve Perfect Sleeping Firmness

The hand test provides the most reliable method for determining correct inflation firmness regardless of mattress type. Place your flat hand on the mattress surface and apply moderate body weight through your arm. A properly inflated mattress yields slightly under this pressure, creating a subtle indentation that recovers quickly when weight is removed.
Correct Under-Inflation Without Overdoing It
Under-inflation causes significant sagging where your body sinks into the mattress rather than resting on a supportive surface. This leads to discomfort, potential back pain, and increased likelihood of bottoming out during movement. Correct under-inflation by adding air gradually—add small amounts, wait 30 seconds for the material to adjust, then retest firmness. Rushing this process often leads to over-inflation, requiring you to release air and restart the adjustment process.
Fix Over-Inflation Before Damage Occurs
Over-inflation produces a rock-hard surface with visible bulging around seams. This condition unnecessarily stresses materials, potentially causing premature failure. Correct over-inflation by opening the valve slightly and allowing small amounts of air to escape until the desired firmness returns. Release air in 5-10 second bursts with 30-second waiting periods between adjustments—this prevents accidentally under-inflating the mattress while waiting for the material to stabilize.
Maintain Full Pressure All Night Long
New inflatable mattresses normally lose some air during their first few uses as the material stretches and conforms to pressure. This initial stretching typically completes after 2-3 uses, after which the mattress maintains pressure more consistently throughout the night.
Understand Temperature Effects on Firmness
Temperature fluctuations throughout the night affect air pressure inside the mattress. As ambient temperatures drop during early morning hours, the air contracts and the mattress may appear slightly deflated. This phenomenon occurs in all inflatable products and represents normal physics rather than mattress failure. Simply add air in the morning to restore desired firmness—do not assume your mattress has developed a leak based on morning firmness changes alone.
Deflate and Store Your Mattress Properly
Proper deflation extends mattress lifespan and reduces storage space requirements significantly. Begin by opening the valve fully and allowing air to escape naturally.
Complete Deflation Techniques for Compact Storage
Fold or roll the mattress starting from the end opposite the valve opening, working toward the valve so air escapes ahead of the fold. This technique forces air out systematically rather than trapping it in various sections. For absolutely complete deflation, make small, tight folds similar to squeezing toothpaste from a tube, working progressively toward the valve to extract every last pocket of air. This method reduces storage size by up to 40% compared to passive deflation alone.
Drying and Mold Prevention Before Storage
Before storage, ensure the mattress is completely dry by wiping all surfaces with clean cloths. Any moisture remaining on or inside the mattress promotes mold and mildew growth during storage, potentially damaging the material. Allow the mattress to air dry fully in a well-ventilated area if any moisture is suspected. Never store a damp mattress, even if it feels dry to the touch—trapped moisture inside seams can cause damage over time.
Troubleshoot Common Inflatable Mattress Problems
Slow inflation despite properly functioning pumps usually indicates seal problems between the pump nozzle and valve. Verify that the nozzle inserts fully into the valve opening and creates a complete seal around the connection point. For valves that accept multiple nozzle sizes, try different adapters if available. If using alternative inflation methods, ensure air direction flows into the valve rather than around it.
Solve Uneven Inflation Problems
Uneven inflation creates uncomfortable sleeping surfaces with lumpy or bulging sections. This condition typically results from partially blocked valves, damaged internal baffles, or improper folding during storage. Check that valves operate freely without obstructions and that internal air distribution channels remain intact. If uneven inflation persists across multiple inflation cycles, the internal baffle system may have failed, requiring professional repair or replacement.
Maximize Comfort on Any Inflatable Mattress
Mattress toppers significantly improve comfort on inflatable mattresses by adding cushioning layers that reduce the sensation of sleeping directly on vinyl surfaces. Memory foam toppers conform to body contours and add insulation against temperature fluctuations, while egg-crate foam toppers provide cushioning at lower cost. Secure toppers with fitted sheets that wrap around both the mattress and topper to prevent sliding during sleep.
Sleep Position-Specific Firmness Recommendations
Side sleepers typically require softer inflation that allows shoulders and hips to sink slightly, reducing pressure points and maintaining spinal alignment. Back sleepers generally prefer medium to firm inflation that supports the natural curve of the spine without allowing the pelvis to sink excessively. Stomach sleepers need firm inflation to prevent the abdomen from pushing the spine into uncomfortable curvature. Adjust your inflation level based on your primary sleep position for maximum comfort.
Mastering how to use an inflatable mattress properly transforms it from a temporary convenience into a genuinely comfortable sleep solution. With proper inflation techniques, overnight maintenance, and care during storage, your inflatable mattress can provide reliable service for guests, camping trips, and temporary housing situations for years to come. The key is understanding your specific mattress type, following the correct inflation procedures, and making small adjustments based on your personal comfort needs and environmental conditions.


