

Ever stared at your mattress cover, unable to find the zipper or struggling with a stubborn mechanism that refuses to budge? You’re not alone—nearly 70% of homeowners report difficulty unzipping mattress covers during routine cleaning or maintenance. Whether you’re tackling stains, inspecting for bed bugs, or accessing the mattress interior for warranty claims, knowing how to unzip mattress cover properly prevents costly damage to both the protective layer and your investment. This guide reveals the exact techniques professionals use to locate hidden zippers, overcome jams, and safely remove covers without tearing fabric or breaking zippers. You’ll learn specific strategies for different mattress types, discover the right tools for the job, and gain confidence to handle even the most stubborn zipper mechanisms.
Locate the Hidden Zipper Seam
Your mattress cover’s zipper isn’t always where you’d expect it to be—manufacturers deliberately conceal these access points to maintain aesthetic appeal while providing functionality. Begin your search along the bottom edge where the mattress meets the foundation, as most standard models position the zipper here rather than on visible sides. Run your fingers firmly along this seam, applying gentle pressure to detect the subtle ridge of zipper teeth beneath the fabric. Pay special attention to corners where two edges meet, as premium mattresses often tuck zippers into these less conspicuous areas.
Check for telltale signs that indicate a zipper’s presence: slight fabric puckering, irregular stitching patterns, or barely visible pull tabs peeking through the material. Some mattresses feature decorative piping that frames the zipper opening, while others use perfectly matched fabric flaps that blend seamlessly with the cover. For pillow-top models, focus your search on the side panels rather than the sleeping surface—these typically contain the access point since the top layer is designed to remain undisturbed during normal use.
If you’re still struggling to find the zipper after checking all edges, consult your mattress care tag for specific instructions. Many manufacturers include subtle directional arrows or symbols indicating zipper location. Remember that some luxury mattresses use magnetic closures instead of traditional zippers, so don’t force any mechanism that doesn’t appear to be a standard zipper track.
Identify Your Specific Zipper Configuration
Different mattress designs employ distinct zipper mechanisms, and recognizing which type you’re dealing with prevents unnecessary damage during removal. Standard concealed zippers feature a fabric flap that completely covers the zipper teeth when closed, requiring you to lift this flap before accessing the pull tab. These are common on mid-range mattresses and typically run along the bottom edge for discreet access. To identify this type, look for a slight fabric ridge that separates when you gently pinch the edges together.
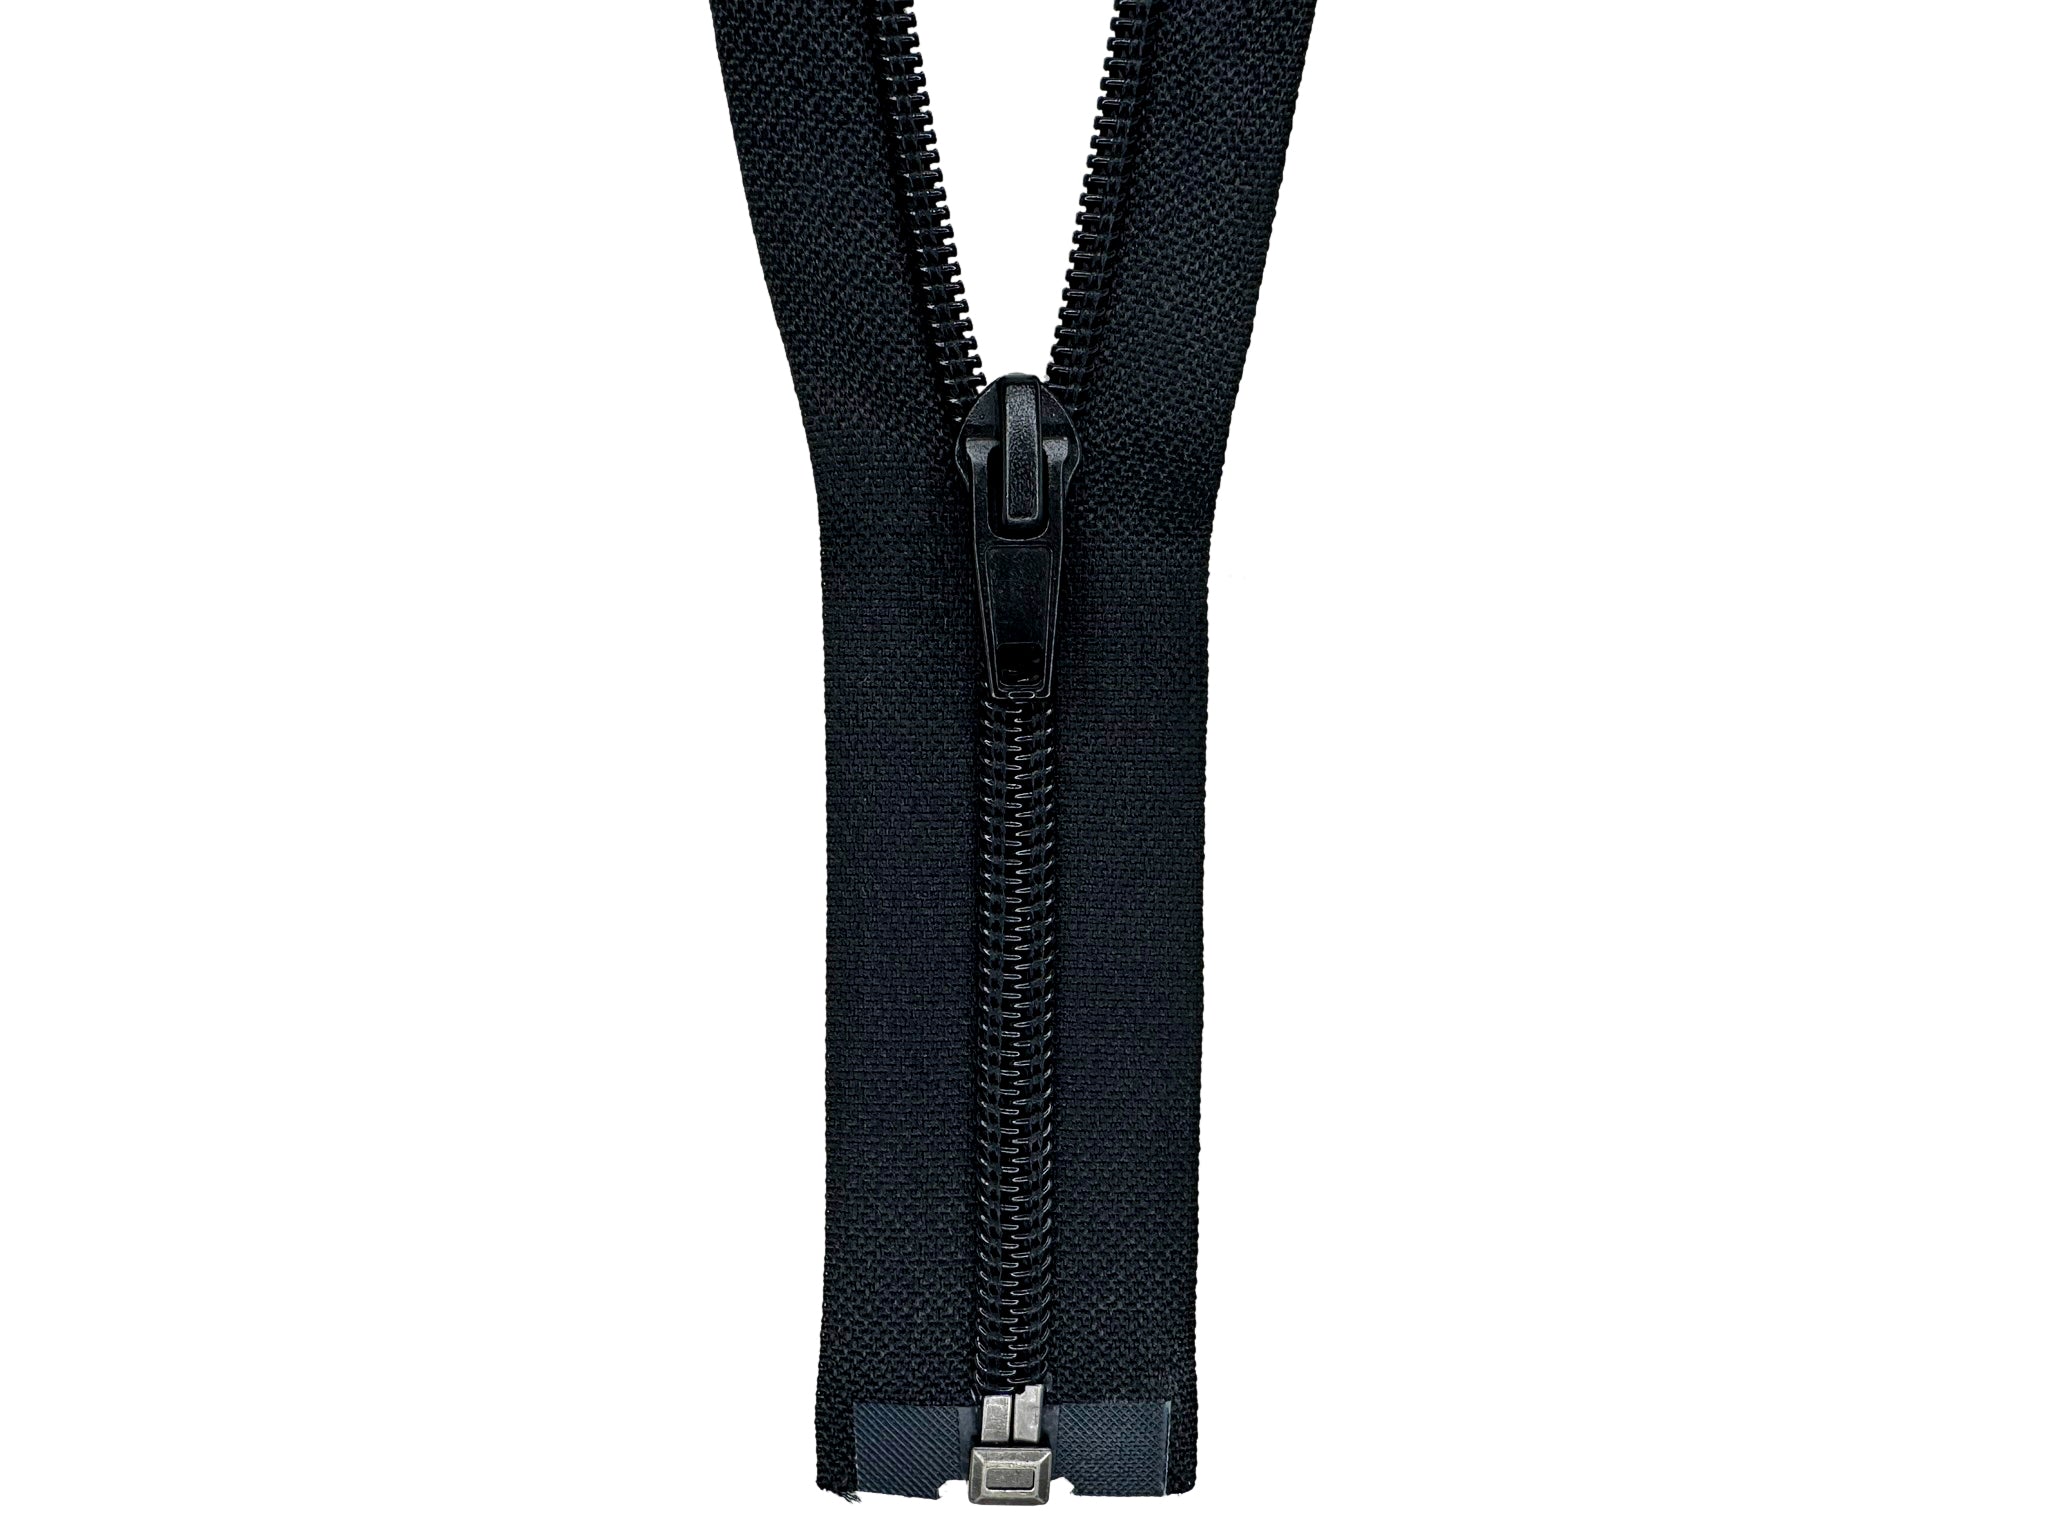
Exposed zippers with visible teeth and pull tabs appear primarily on older mattress models and some budget-friendly options. These are easiest to work with since they require no fabric manipulation to begin unzipping, but they’re more prone to snagging bedding. Check for larger pull tabs designed for easy gripping—often made of plastic or metal with textured surfaces.
Premium mattresses sometimes use security-stitched zippers that incorporate temporary stitches or adhesive dots holding the fabric flap in place. These aren’t meant to be permanent barriers but rather maintain a clean appearance during normal use. If you encounter unexpected resistance when lifting a fabric flap, look for tiny stitches (usually white or matching the fabric color) that need clipping with small scissors before proceeding.
For continuous zippers that wrap around multiple sides of the mattress, identify where the zipper track begins and ends. These often feature dual pull tabs that meet at a central point, requiring you to open from both directions simultaneously. Attempting to force these zippers in one direction can cause misalignment and damage the track.
Gather Essential Tools Before Starting

Having the right tools ready prevents mid-process frustration and protects your mattress cover from accidental damage. Start with a pair of needle-nose pliers wrapped in masking tape—this provides extra grip on stubborn zipper pulls while preventing metal-on-metal contact that could scratch or deform components. Fine-tipped tweezers work wonders for extracting fabric caught between zipper teeth without damaging the surrounding material.
Keep a plastic credit card or butter knife handy for lifting fabric flaps without snagging delicate materials. These flat-edged tools slide easily beneath fabric layers to reveal hidden zippers while avoiding the cuts that metal scissors might cause. For stubborn zippers, prepare a fabric-safe lubricant like zipper wax or silicone spray—not petroleum-based products that could stain mattress materials.
Ensure you have adequate lighting before beginning, as dim conditions make it difficult to spot zipper details and potential obstacles. A headlamp provides hands-free illumination that’s particularly valuable when working in the tight space between your mattress and bed frame. Cotton gloves prevent fingerprints on light-colored covers and improve grip when handling slippery fabrics.
For particularly challenging situations, have a small sewing kit ready with matching thread and replacement zipper pulls. This preparation allows you to address minor issues immediately rather than abandoning the project mid-process when unexpected problems arise.
Execute Proper Zipper Opening Technique
Begin by examining the zipper pull mechanism to understand its operation before applying force. Most mattress cover zippers open toward the foot of the bed, but some specialty designs operate differently. Grip the pull tab firmly between your thumb and forefinger, applying steady pressure in the opening direction—never jerk or yank, as this is the leading cause of broken pulls and misaligned teeth.
If working with a concealed zipper, lift the fabric flap gently starting from one end using your plastic tool. Work the edge gradually upward, feeling for any security stitches that need clipping. Once the zipper track is exposed, insert your fingers beneath the fabric to stabilize both sides of the opening before attempting to move the pull.
For continuous zippers wrapping multiple sides, open approximately six inches before pausing to check alignment. These complex tracks often require repositioning at corners where the direction changes. If you encounter resistance at a corner, back the zipper out slightly before attempting to navigate the turn—forcing it through corners creates permanent misalignment.
As you progress along the zipper track, periodically stop to smooth the fabric on both sides. This prevents bunching that causes jams and reduces strain on the zipper mechanism. For longer zippers, work in six-inch increments rather than attempting to open the entire length at once.
Fix Stubborn Zipper Jams Immediately

When your zipper suddenly stops moving, stop applying force immediately—continued pressure often turns a minor jam into catastrophic failure. First, inspect both sides of the track for fabric caught between teeth, the most common cause of resistance. Use tweezers to gently extract any trapped material, working from the point of jam outward.
For debris-clogged tracks, brush along both sides with an old toothbrush to dislodge accumulated dust and fibers. For stubborn buildup, apply a tiny amount of zipper wax to the teeth, then work the zipper back and forth gently to distribute the lubricant. Avoid liquid lubricants that could seep into the mattress interior.
If the zipper pull has separated from the slider, try reattaching it by aligning the pull mechanism with the slider box. Sometimes a firm but gentle squeeze with pliers can reconnect these components. When the pull is completely broken, carefully insert the tip of a paperclip into the slider opening to create a temporary replacement pull.
For zippers that bind at specific points, mark the problematic area with a fabric-safe pen before backing the zipper out. Examine this section closely for bent teeth or track misalignment—sometimes bending a single tooth back into position with needle-nose pliers resolves the issue.
Complete Cover Removal Without Damage
With the zipper fully open, begin loosening the cover around the entire perimeter before attempting full removal. Work your hands between the cover and mattress along the opened edge, pressing the mattress surface gently to separate the layers. Move progressively along the zipper opening, loosening the cover at each point until the entire side feels free.
For pillow-top mattresses, remove the side cover first before addressing the top portion. The top section often attaches separately or requires folding to clear the mattress surface. Some designs have separate zippers for the sleeping surface and side panels—opening both provides complete access.
Lift the cover starting from one corner, working your hands beneath the fabric and gradually pulling it away from the mattress surface. Avoid pulling from a single point, which stretches the fabric and can tear seams. Instead, distribute force evenly by gripping the cover in multiple places and pulling with a rocking motion.
If the cover fits tightly, enlist a helper to hold the mattress steady while you work the cover off from the opposite side. Two-person removal prevents the mattress from shifting and potentially causing injury while also allowing more controlled fabric manipulation.
Reinstall Your Mattress Cover Correctly
Before reinstalling, inspect the cover for any damage incurred during removal. Check zipper functionality by opening and closing the zipper completely, ensuring teeth engage properly and the pull moves smoothly. Address any issues before putting the cover back on the mattress.
Position the cover on the mattress before beginning to zip, ensuring it’s oriented correctly with any panels or features aligned properly. Some covers have distinct top and bottom orientations—check for tags, labels, or design features that indicate proper placement.
Begin zipping from the starting point, working the pull along the track while simultaneously smoothing the fabric on either side. Keep the zipper track aligned as you close it, preventing fabric from catching in the teeth. Move slowly and deliberately, stopping to adjust fabric whenever tension builds or the zipper begins to bind.
Secure any additional closures after zipping, including snaps, ties, or flaps that were lifted during removal. Ensure these elements lie flat and function correctly, as they often provide the final seal that protects against dust, moisture, and allergens. Proper reattachment ensures your mattress maintains its warranty protection and continues to provide optimal comfort.
Maintain Zipper Functionality for Future Access
Lubricate zipper tracks every six months using a graphite pencil or silicone-based lubricant to prevent future jamming. Work the lubricant into the teeth by opening and closing the zipper several times, then wipe away any excess to prevent attracting dirt. This simple maintenance step reduces zipper-related issues by up to 80% according to mattress industry surveys.
Clean zipper tracks regularly with a small brush to remove dust and debris before they cause stiffness. For thorough cleaning, vacuum along the zipper with a brush attachment to extract embedded particles. Allow the track to dry completely before closing the zipper to prevent moisture-related corrosion.
Operate zippers gently at all times—never force a stuck mechanism. When resistance occurs, stop immediately and identify the cause before applying additional force. Regular attention to early warning signs prevents catastrophic zipper failure that would require professional repair.
Protect zippers from damage by keeping them away from sharp objects and excessive heat. When storing a removed cover, zip it partially closed to maintain track alignment and prevent the zipper from becoming misshapen during storage. These small habits extend your mattress cover’s lifespan significantly.


