
Storing a queen mattress correctly protects your significant investment and ensures it maintains its comfort and support for years to come. Whether you’re moving to a new home, remodeling your bedroom, or temporarily downsizing your space, improper storage can lead to permanent damage that ruins your mattress. Most people don’t realize that a single mistake during storage can cause irreversible issues like mold growth, structural deformation, or permanent body impressions that compromise sleep quality. This guide provides the exact steps you need to store your queen mattress safely, whether for a few weeks or several months.
A quality queen mattress represents hundreds or even thousands of dollars of investment, plus it directly impacts your health through sleep quality. When stored improperly, mattresses develop musty odors, harbor dust mites, and lose their supportive structure—problems that can’t be reversed once they occur. By following these proven methods, you’ll preserve your mattress’s integrity and extend its usable life significantly. Let’s dive into the specific, actionable steps you need to take to store your queen mattress correctly.
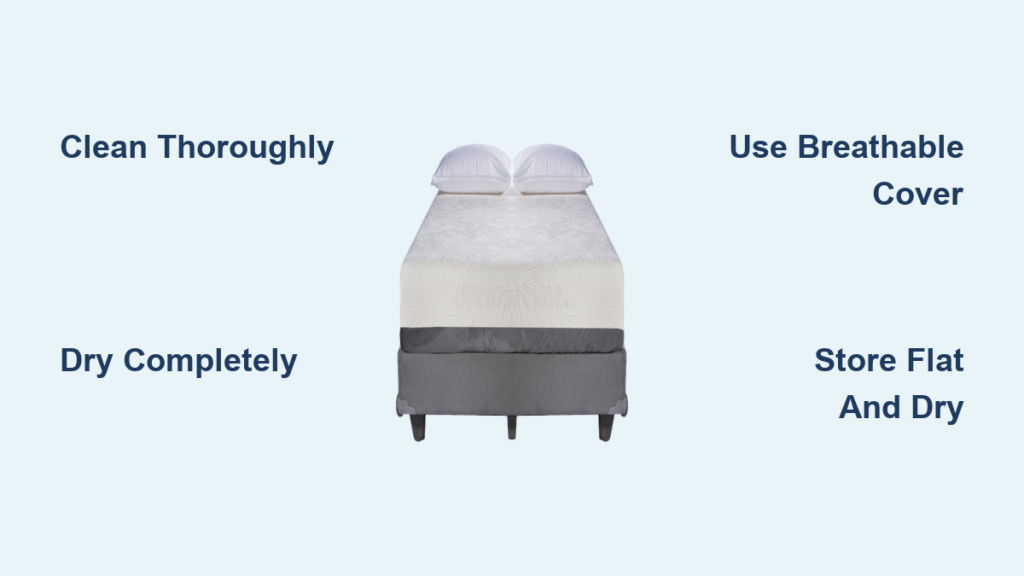
Clean Your Queen Mattress Thoroughly Before Storage
Skipping proper cleaning before storage invites mold, pests, and permanent stains that ruin your mattress. Many people make the mistake of storing a mattress as-is, not realizing that sweat, skin cells, and dust mites accumulate over time and multiply in storage conditions.
Vacuum All Surfaces Systematically
Remove all bedding first, then use an upholstery attachment to vacuum every inch of your queen mattress. Pay special attention to seams and edges where dust mites and debris collect. For best results, vacuum in multiple directions to extract deeply embedded particles. If your mattress has visible wear patterns from regular sleeping positions, spend extra time in these areas where contaminants concentrate.
Treat Stains Gently but Effectively
For stubborn stains, mix a teaspoon of mild detergent with a cup of cool water and apply with a soft cloth using gentle dabbing motions—never scrub aggressively. After treating stains, sprinkle baking soda liberally across the entire surface to neutralize odors and absorb residual moisture. Let it sit for at least one hour before vacuuming thoroughly. Avoid bleach or harsh chemicals that can weaken fabric fibers and leave residues that attract more dirt.
Flip and Repeat on Both Sides
Most people forget to clean the underside, but this surface requires equal attention. Flip your queen mattress and repeat the entire cleaning process on the opposite side. This step prevents hidden moisture buildup and ensures complete protection from contaminants that could damage materials during storage.
Ensure Complete Dryness Before Wrapping
This is the most critical step many people skip. Even slightly damp mattresses develop mold inside storage bags. After cleaning, position fans to circulate air around the mattress for 24-48 hours. Press your hand firmly against seams to check for residual moisture—any dampness means more drying time is needed. Never rush this step, as trapped moisture destroys mattresses from within.
Choose the Right Protective Cover for Long-Term Storage

Using improper wrapping is the second most common storage mistake after inadequate drying. The right cover protects against dust, pests, and moisture while allowing necessary air circulation.
Select Appropriate Storage Bags for Queen Mattresses
For storage under two months, heavy-duty plastic mattress bags work well. For longer periods, invest in breathable mattress storage bags specifically designed for queen sizes. These specialty bags feature reinforced seams and breathable fabric that prevents condensation while keeping out dust and pests. Standard plastic bags trap moisture, so avoid sealing them completely—leave one corner slightly open for air exchange.
Wrap with Plastic If Bags Are Unavailable
If specialty bags aren’t accessible, use heavy-duty plastic sheeting instead of regular trash bags. Lay the plastic flat, center your queen mattress, then wrap all sides tightly. Use packing tape to secure seams, but place cardboard between tape and mattress surface to prevent adhesive damage. Never use duct tape directly on mattress fabric.
Seal All Openings Completely
After wrapping, double-check every seam and corner for gaps. Use zip ties or additional tape to reinforce weak points, particularly at the foot and head of the mattress where movement creates stress. For extra protection during transport or in humid environments, add a second layer of breathable fabric like an old sheet before the final plastic wrap.
Pick the Ideal Queen Mattress Storage Location
Where you store your mattress matters as much as how you wrap it. Climate conditions in your storage space directly impact whether your mattress survives storage intact.
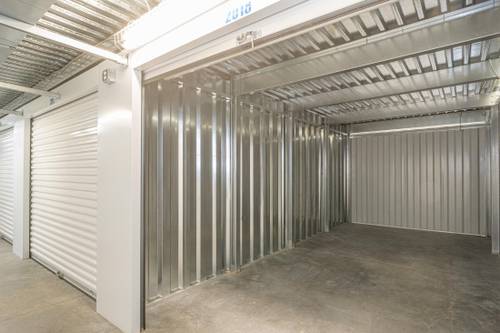
Climate-Controlled Storage Units Offer Best Protection
For storage longer than one month, climate-controlled units maintain the ideal 50-80°F temperature range with humidity below 50%. These units prevent the temperature swings that cause condensation inside storage bags. When selecting a unit, ensure it’s large enough for your queen mattress to lie completely flat—never bend or fold it to fit a smaller space.
Basements Require Careful Evaluation
If using a basement, place a hygrometer to monitor humidity levels first. Only store your mattress if readings stay consistently below 50% humidity. Elevate the mattress at least 6 inches off the floor using wooden pallets, and place a dehumidifier nearby. Check for water stains on walls or floors before committing to basement storage.
Garages Present Significant Challenges
Garages experience extreme temperature fluctuations that damage mattress materials. If you must use a garage, store the mattress away from exterior walls and elevate it on pallets. Check the mattress monthly for signs of moisture damage, especially after seasonal changes. Never store a mattress directly against garage walls where temperature extremes are most severe.
Avoid Attics, Sheds, and Outdoor Areas
Attics become ovens in summer, degrading foam materials and adhesives. Sheds and outdoor structures lack climate control and expose mattresses to pests and moisture. These locations should be avoided completely—no mattress can withstand these harsh conditions for extended periods.
Position Your Queen Mattress Correctly for Storage
How you position your mattress during storage determines whether it maintains its shape or develops permanent damage.
Horizontal Storage Remains the Gold Standard
Store your queen mattress flat on a supportive surface like a bed frame, platform bed, or wooden pallets. This position distributes weight evenly, preventing localized compression that creates permanent body impressions. Ensure the entire surface has support—mattresses stored with overhang develop sagging that can’t be reversed.
Vertical Storage Requires Safety Precautions
If space constraints force vertical storage, secure the mattress upright with bungee cords anchored to wall studs. Place foam padding between the mattress and wall to prevent abrasion. Limit vertical storage to 30 days maximum, as gravity pulls internal materials toward the bottom, creating lumps and uneven support.
Rotate Periodically If Storing Long-Term
For storage exceeding three months, rotate your mattress 180 degrees monthly if stored vertically. This redistributes weight and prevents permanent material shift. Some mattress warranties void coverage for vertical storage, so check your warranty terms before proceeding.
Store Memory Foam Queen Mattresses Safely
Memory foam requires special handling due to its sensitivity to temperature and pressure.
Prevent Permanent Compression
Memory foam develops permanent impressions from even lightweight objects left on its surface. When storing, ensure nothing touches the mattress surface—not even a folded sheet. Store flat on a completely smooth surface, as minor bumps beneath create lasting dents in the foam layers.
Ensure Complete Dryness Is Critical
Memory foam’s porous structure absorbs moisture deeply, making thorough drying essential. After cleaning, extend drying time by 24 hours compared to other mattress types. Wrap in breathable fabric first, then add plastic outer layer to prevent moisture absorption while allowing any residual humidity to escape.
Handle Coils in Innerspring Mattresses Carefully
Innerspring mattresses shouldn’t be bent or folded, as this permanently deforms coils. When moving through tight spaces, minimize flexing time and avoid sharp angles. Once stored, horizontal positioning is crucial—vertical storage can cause coil systems to shift and create uncomfortable pressure points.
Maintain Your Stored Queen Mattress Condition
Proper storage requires ongoing attention, not just initial setup.
Schedule Periodic Inspections
Check your stored mattress every 4-6 weeks. Open the wrapping briefly to inspect for moisture, pests, or mold. For long-term storage, remove the mattress from its cover completely every three months to air it out in a dry, ventilated space for 24 hours.
Monitor Environmental Conditions
Place a hygrometer near your stored mattress to track humidity levels. If readings exceed 50%, add a small dehumidifier to the storage space. During seasonal transitions, increase inspection frequency as humidity fluctuations often occur during these periods.
Remove Your Queen Mattress From Storage Properly
How you retrieve your mattress from storage affects its readiness for immediate use.
Inspect Thoroughly Before Bringing Inside
Before moving the mattress indoors, check for mold, pests, or damage. Pay special attention to seams and edges where problems often start. If you detect musty odors or visible mold, professional cleaning may be necessary before safe use.
Air Out Completely Before Use
Allow your queen mattress to air for 24-48 hours in a well-ventilated space before adding bedding. This dissipates any trapped odors and allows materials to return to normal moisture equilibrium. Direct sunlight for a few hours can help eliminate lingering mustiness.
Avoid These Common Queen Mattress Storage Mistakes
Learning from others’ errors protects your investment.
Never Place Mattresses Directly on Floors
Concrete floors wick moisture into mattress materials even when they appear dry. Always elevate stored mattresses at least 6 inches using pallets, plywood, or bed frames.
Use Breathable Covers, Not Sealed Plastic
Completely sealed plastic creates a moisture trap that breeds mold. Use breathable storage bags or leave plastic covers partially unsealed to allow air exchange.
Keep Storage Environment Dry
Humidity above 50% damages mattresses over time. Monitor conditions with a hygrometer and use dehumidifiers when necessary.
Never Stack Heavy Items on Stored Mattresses
Even lightweight boxes left on a stored mattress create permanent impressions. Keep the surface completely clear.
Check Your Warranty Requirements
Many warranties void coverage for improper storage methods. Review your warranty terms before storing to avoid losing protection.
Following these specific steps ensures your queen mattress emerges from storage in the same condition as when you put it away. Proper cleaning, wrapping, positioning, and environmental control preserve your investment and guarantee comfortable sleep when you’re ready to use it again. By taking these precautions now, you’ll extend your mattress’s lifespan by years and avoid the expense of premature replacement. Remember: the small effort you invest in proper storage pays dividends in mattress longevity and sleep quality for years to come.


