
Felt top air mattresses combine the convenience of inflatable bedding with the comfort of a soft surface that feels more like a traditional mattress. When the inevitable leak or tear occurs, many people assume replacement is their only option—but knowing how to repair felt top air mattress issues can save you both money and waste. The dual-layer construction of these mattresses creates unique repair challenges compared to standard vinyl models, as you’re dealing with both the air-holding vinyl chamber and the outer felt fabric. This comprehensive guide provides field-tested repair methods specifically designed for felt top air mattresses, helping you extend the life of your bedding with professional-quality results.
Find Hidden Leaks in Your Felt Top Mattress
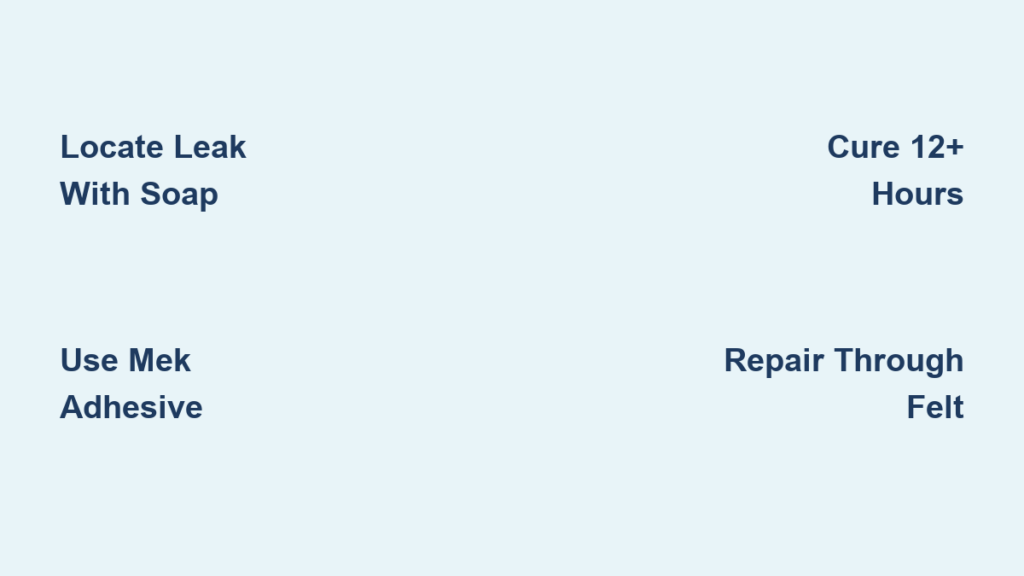
The first critical step in any repair process is accurately locating the source of air loss. Felt top mattresses create a special challenge because the felt layer can conceal small punctures in the vinyl chamber beneath. Start by fully inflating your mattress and listening carefully for the distinctive hissing sound of escaping air. Run your hand slowly across both the top felt surface and the bottom vinyl side—your skin will detect air movement even when you can’t hear it.
For pinpoint accuracy, create a simple leak detection solution by mixing equal parts water and dish soap in a spray bottle. Systematically apply this mixture to the entire mattress surface, paying special attention to seams, valve areas, and any spots showing visible damage. Wherever air is escaping, the soap solution will form bubbles that quickly reveal the leak’s location. Check the valve assembly thoroughly by unscrewing the cap and testing around the base—valve failures account for nearly 40% of all air mattress issues. If bubbles form around the valve stem when inflated but stop when you press down firmly, you’ve identified a faulty valve rather than a puncture.
Why Standard Leak Detection Methods Fail on Felt Tops
Many people make the mistake of using only auditory detection on felt top mattresses, which often fails because the dense felt fibers muffle the sound of escaping air. The felt layer also absorbs moisture, making damp spots less visible than on standard vinyl models. This is why the soap solution method is essential—it works regardless of sound or visible moisture. When applying the solution to the felt side, use a soft brush to gently work the mixture through the fibers without damaging the fabric. For stubborn leaks that don’t bubble immediately, apply gentle pressure to the suspected area to increase air flow through the puncture.
Valve Testing Techniques That Actually Work
Valve issues often masquerade as punctures but require completely different repair approaches. To properly test your valve, inflate the mattress to normal firmness then immediately close the valve. Mark the air level with a piece of tape and wait 15 minutes. If the mattress deflates significantly while maintaining the tape mark (indicating air is escaping through the valve rather than a puncture), you’ve confirmed a valve problem. Another effective test involves submerging the valve area in water while the mattress is inflated—bubbles will clearly show where air is escaping from the valve mechanism.
Assemble Your Felt Mattress Repair Toolkit

Gathering the right supplies before starting your repair prevents mid-process interruptions that compromise adhesive bonding. For felt top air mattresses, you’ll need specialized products that work with both vinyl and fabric components. Start with a high-quality vinyl repair kit containing patches and adhesive specifically formulated for inflatable products—look for products with methyl ethyl ketone (MEK) as the primary solvent, as this creates the strongest chemical bond with vinyl materials. You’ll also need a flexible fabric adhesive designed for outdoor furniture that remains pliable after drying, as rigid glues will crack when the mattress flexes.
Essential Tools Checklist for Precision Repairs
- Vinyl repair patches (multiple sizes)
- MEK-based vinyl adhesive
- Flexible fabric glue for felt repairs
- Fine-grit sandpaper (220-400 grit)
- Isopropyl alcohol (90% or higher)
- Clean lint-free microfiber cloths
- Small paintbrush for adhesive application
- Sharp scissors or utility knife
- Credit card or plastic scraper
- Clamps or heavy books for pressure
Why Household Glues Fail on Air Mattresses
Many DIYers waste time using super glue, hot glue, or standard craft adhesives on air mattress repairs, only to have them fail within days. These products create rigid bonds that can’t withstand the flexible nature of vinyl when inflated. The constant expansion and contraction of the mattress material causes brittle adhesives to crack and separate. MEK-based vinyl adhesives work differently—they partially dissolve the vinyl surface, creating a chemical weld rather than just a surface bond. This fusion creates a repair that’s often stronger than the original material.
Execute Professional-Quality Vinyl Repairs Through Felt
Repairing punctures in the vinyl chamber of a felt top mattress requires working through the felt layer without damaging it. For bottom-side punctures (most common), deflate completely, clean the area with alcohol, and let dry thoroughly. Cut a vinyl patch at least 1.5 inches larger than the hole with rounded corners to prevent peeling. Apply a thin, even layer of vinyl adhesive to both the patch and mattress surface, wait until tacky (typically 5-10 minutes), then press firmly in place with even pressure for 30 seconds.
For top-side punctures where the felt covers the damage, carefully part the felt fibers using a credit card to expose the vinyl beneath. Work slowly to avoid tearing the felt—this takes patience but preserves your mattress’s appearance. Clean the exposed vinyl area, apply your patch using the same adhesive technique, then gently brush the felt fibers back into place over the repair. If the felt won’t lie flat, apply a tiny amount of fabric glue along the edges of the parted felt to secure it without creating stiffness.
Critical Curing Process That Prevents Repair Failure
Over 70% of DIY air mattress repairs fail because people skip or rush the curing process. After applying your patch, allow at least 12 hours of undisturbed curing time before inflating—24 hours is ideal for maximum bond strength. Place the mattress flat during curing with weights on the repair area to maintain constant pressure. Never inflate immediately after repair, even if the adhesive feels dry to the touch—the chemical bonding process continues long after surface drying. Test your repair by inflating to half capacity first, checking for air escape, then fully inflate after 24 hours.
Address Complex Seam Separations Correctly

Seam separations on felt top mattresses require different approaches depending on whether the separation involves the vinyl chamber seams or the felt-to-vinyl bonding. For felt lifting from the vinyl edge, clean both surfaces with alcohol, apply a thin line of flexible fabric adhesive between the layers, press firmly together, and clamp with books for 6-8 hours. Avoid using vinyl cement here—it’s too rigid and will crack when the mattress flexes.
For separated vinyl seams along the air chamber, the repair is more intensive. Clean both seam edges thoroughly, apply vinyl adhesive to both sides, press together firmly, and place a reinforcing patch over the entire separated area. For large separations, create a “bridge patch” that extends at least 2 inches beyond the damaged seam on all sides. This distributes stress more evenly than trying to re-bond the original seam edges, which often fail again under inflation pressure.
When to Call a Professional Repair Service
Some damage scenarios warrant professional attention rather than DIY attempts. Consider professional help for large tears spanning multiple chambers, damage near structural seams, repeated failures at the same location, or if your mattress is still under warranty. High-end repair services use industrial adhesives and heat-sealing equipment that creates bonds stronger than consumer products can achieve. When weighing costs, remember that professional repair typically costs 30-50% of a new mattress price, making it worthwhile for quality models.
Successfully repairing your felt top air mattress comes down to proper diagnosis, using the right materials, and respecting the curing process. By following these specific techniques designed for the dual-layer construction of felt top models, you’ll achieve repairs that last for years rather than days. The investment of $15-20 in proper repair materials pays for itself after just one successful fix compared to replacement costs. Most importantly, take your time with surface preparation and curing—these two steps make the difference between a repair that fails in a week and one that lasts the lifetime of your mattress. With proper maintenance and careful storage, your repaired air mattress will continue providing comfortable temporary bedding for countless future guests or camping trips.


