
Waking up to a partially deflated air mattress can turn a restful night into a frustrating experience, especially when the culprit is a stubborn seam leak. These leaks often develop silently, leaving you puzzled about why your once-reliable mattress suddenly can’t hold air. Whether you’re in the middle of a camping trip or hosting overnight guests, a seam leak threatens your comfort and convenience. The good news is that most air mattress seam leaks can be fixed at home with basic tools and materials you likely already have or can easily obtain.
This practical guide delivers a step-by-step approach to permanently repairing seam leaks in your air mattress. You’ll learn how to accurately pinpoint the leak location, prepare the surface for optimal adhesion, apply patches correctly, and implement prevention strategies that extend your mattress’s lifespan. By following these proven techniques, you’ll transform what seems like a ruined mattress into a fully functional sleeping surface—saving you the cost and inconvenience of premature replacement.
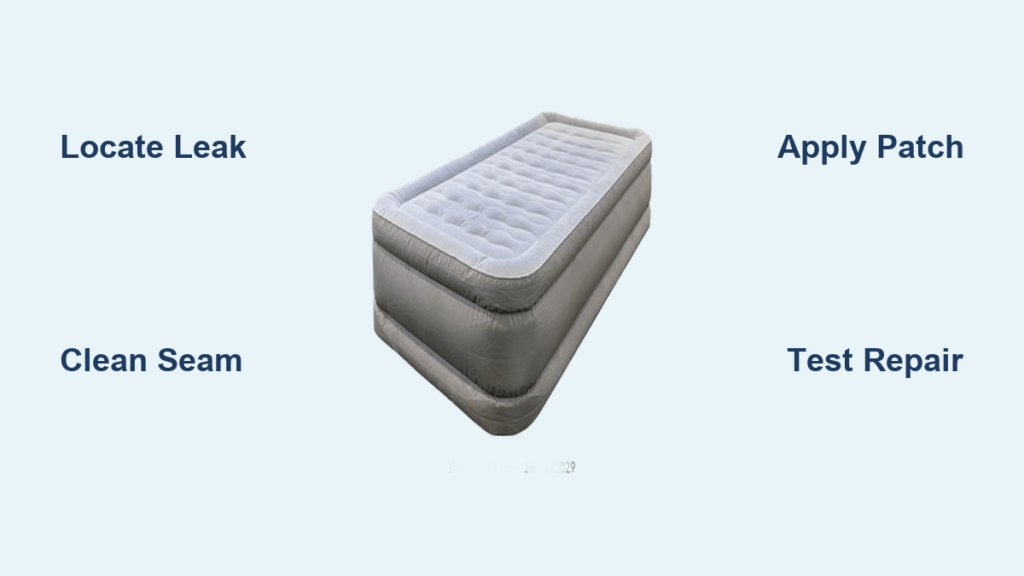
Locate the Exact Leak Position on Your Air Mattress
Finding where air escapes from a seam requires systematic detective work, as these leaks often hide in plain sight. Start by inflating your mattress completely and letting it sit for 15 minutes to build internal pressure. Listen carefully for the distinctive hissing sound that indicates air escaping—seam leaks typically produce a sharper, more focused sound than material punctures. Trace your fingers slowly along all seam lines while listening for changes in airflow intensity, as even tiny separations create noticeable pressure differences.
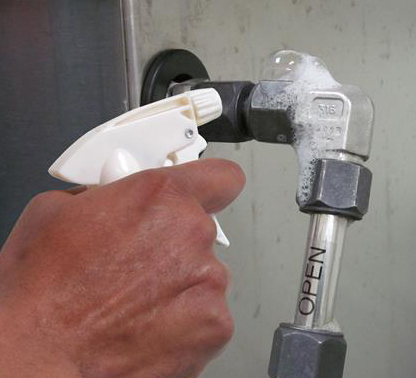
Apply a mixture of liquid dish soap and water to suspected seam areas using a spray bottle or soft brush. The soap solution reacts with escaping air to form visible bubbles at the leak site. Work methodically along each seam, maintaining consistent pressure on the mattress surface to simulate normal use conditions. Pay special attention to high-stress points where seams intersect or where the top panel meets the side walls—these areas experience the most tension during inflation and deflation cycles.
For particularly elusive leaks, submerge sections of the inflated mattress in a bathtub filled with water. Watch for steady streams of bubbles rising to the surface, which will pinpoint the exact location of the seam separation. This method works best for larger leaks that produce significant airflow. If you’re dealing with a camping mattress, fill a large container with water at your campsite and submerge suspected areas section by section until you identify the leak.
Why Your Air Mattress Seam Leak Keeps Returning After Repair
Many DIY repairs fail because people address the symptom rather than the root cause. If your seam leak keeps reappearing after patching, you’re likely dealing with either improper surface preparation or inadequate adhesive flexibility. Vinyl and PVC materials require specific surface treatment before adhesion—simply applying a patch to a dirty or smooth surface creates a weak bond that fails under pressure. Additionally, using rigid adhesives like super glue or standard craft glue guarantees failure, as these products crack when the mattress flexes during normal use.
Another common mistake is underestimating the size of the damaged area. What appears as a small visible separation often extends beneath the surface along the seam channel. Successful repairs require patching an area significantly larger than the visible damage to ensure complete coverage of the compromised seam structure. If your previous repair failed within days, examine the failed patch for signs of edge lifting or adhesive cracking, which indicate either insufficient surface preparation or inappropriate adhesive selection.
Gather Specialized Repair Supplies for Maximum Durability

Selecting the right materials separates temporary fixes from repairs that last through dozens of inflation cycles. Standard household adhesives and generic patches won’t withstand the constant flexing and pressure changes air mattresses experience. Instead, invest in a specialized vinyl repair kit containing flexible adhesive specifically formulated for inflatable products. These kits (available at camping stores, pool supply shops, or online) typically include vinyl patches, industrial-strength adhesive, and application tools designed for optimal bonding with PVC and vinyl materials.
The adhesive must maintain flexibility after curing to accommodate the mattress’s natural expansion and contraction. Look for products labeled for “inflatable repairs,” “vinyl pool toys,” or “PVC inflatables”—these contain polymers that remain elastic while creating waterproof bonds. Avoid rubber cement, super glue, or standard craft adhesives, as their rigid cured state guarantees separation when the mattress flexes. For best results, choose adhesive in a squeeze tube rather than an aerosol can, as this allows precise application control.
Essential Tools Checklist for Professional-Quality Seam Repair
- Industrial-strength vinyl adhesive (flexible when cured)
- Vinyl patches in multiple sizes (slightly larger than standard kit patches)
- Fine-grit sandpaper (220-400 grit) or abrasive pad
- Isopropyl alcohol (90% or higher concentration)
- Clean microfiber cloths (lint-free)
- Toothpicks or small brush for adhesive application
- Heavy books or weights for pressure during curing
- Liquid dish soap for pre- and post-repair testing
Properly Prepare the Seam Area for Lasting Adhesion
Surface preparation accounts for 70% of repair success, yet most people skip this critical phase. Begin by fully deflating the mattress and laying it flat on a clean, dry surface. Use a clean cloth dampened with isopropyl alcohol to thoroughly wipe the entire seam area surrounding the leak—this removes invisible oils, dirt, and contaminants that prevent proper bonding. Pay special attention to the seam channel where the two material panels join, as this area often traps debris.
After cleaning, lightly scuff the surface with fine-grit sandpaper using small circular motions. This creates microscopic grooves that give the adhesive something to grip—without this step, the adhesive merely sits on top of the smooth vinyl surface rather than bonding with it. Work approximately two inches beyond the visible damage in all directions, being careful not to cut through the material. Remove all sanding dust with a dry cloth, then apply another alcohol wipe to eliminate any remaining particles.
Allow the prepared area to air dry completely before applying adhesive—typically 5-10 minutes. During this time, avoid touching the surface with your fingers, as skin oils will compromise adhesion. If working in humid conditions, use a hairdryer on cool setting to accelerate drying without heating the material. This preparation phase takes only 15 minutes but dramatically increases the likelihood of a permanent repair.
Execute a Professional-Quality Patch Application
Cut your vinyl patch to an oval shape approximately 1.5 inches larger than the damaged area in all directions—oval shapes resist edge lifting better than square patches. Apply a thin, even layer of adhesive to both the prepared mattress surface and the back of the patch using a toothpick for precision. Wait the manufacturer-specified activation time (usually 2-5 minutes) until the adhesive becomes tacky but not dry.
Position the patch carefully, starting from one edge and smoothing toward the opposite side to prevent air bubbles. Apply firm, even pressure across the entire patch surface using a credit card or squeegee tool, working from center outward. Pay special attention to the edges, as lifting typically begins at corners or along patch borders. Once positioned, place heavy books or weights across the patch to maintain consistent pressure during curing.
Why Your Adhesive Curing Time Determines Repair Success
Most repair failures occur because people reinflate the mattress before the adhesive reaches full strength. Industrial vinyl adhesives typically require 12-24 hours of undisturbed curing time at room temperature to achieve maximum bond strength and flexibility. Rushing this process by reinflating after only a few hours creates weak spots that fail under pressure. If possible, allow the repair to cure for a full 24 hours in a warm (70-80°F), dry environment—ideal curing conditions significantly improve bond strength. Set a timer and resist the temptation to test the repair prematurely.
Verify Your Repair with Rigorous Testing Methods
After the recommended curing time, perform multiple tests before trusting the repair. Inflate the mattress fully and let it sit for 2 hours while monitoring for deflation. Apply the soap solution test again to the repaired area, watching for any bubbles that indicate residual leaks. Press firmly on the patch from multiple angles to simulate sleeping pressure, then recheck for bubbles.
Leave the inflated mattress undisturbed for 24 hours, checking inflation levels every 6 hours. A properly executed repair should maintain near-full inflation throughout this period. If you notice significant deflation, locate any remaining leaks using the soap test and apply additional adhesive to problem areas. Remember that some slow leaks only become apparent under prolonged pressure, so thorough testing prevents unpleasant surprises during actual use.
Prevent Future Seam Leaks with Proactive Maintenance
Extend your air mattress’s lifespan by avoiding common stress factors that cause seam failures. Never overinflate beyond the point where the mattress feels firm yet still yields slightly to hand pressure—excessive tension strains seams with each inflation cycle. Use a pump with automatic shutoff to prevent accidental overinflation, or stop pumping when the material stops stretching noticeably.
Always place a protective barrier between the mattress and rough surfaces. When camping, use a ground cloth beneath the mattress; indoors, avoid placing it directly on hardwood floors with potential debris. Store the mattress properly by cleaning it thoroughly, allowing complete drying, and rolling it loosely rather than folding it sharply—repeated folding stresses the same seam areas and causes premature failure.
Recognize When Replacement Beats Continued Repair
While most seam leaks are repairable, some situations warrant replacement. If you’re repairing multiple seams simultaneously or have performed three or more repairs on the same mattress, the material integrity has likely degraded beyond practical recovery. High-end mattresses may justify multiple repairs, but budget models often reach the end of their service life after the first major seam failure. Consider replacement if the mattress shows widespread UV damage, permanent creases, or material thinning—these indicate systemic deterioration that repairs cannot fully address.
A properly executed seam repair using appropriate materials and techniques can restore your air mattress to full functionality for years of reliable service. By following these precise methods for leak detection, surface preparation, patch application, and verification testing, you’ll achieve repairs that withstand regular use. Implement the prevention strategies outlined here to minimize future seam stress, and you’ll maximize your mattress’s lifespan while avoiding repeated repair frustrations.


