
Waking up to a damp, smelly mattress after an accident creates immediate stress and uncertainty about what to do next. Whether it’s from a child’s bedwetting episode, pet mishap, or adult incontinence, urine on your mattress requires prompt action to prevent permanent damage and lingering odors. This guide delivers proven methods to neutralize urine on your mattress effectively, eliminating both visible stains and invisible odor-causing compounds. You’ll discover time-sensitive techniques, household solutions, and professional approaches that restore your mattress to a clean, hygienic condition—without wasting money on ineffective products or risking further damage through improper cleaning methods.
Urine contains uric acid crystals that bond tightly to mattress fibers, creating persistent odors that standard cleaning often fails to eliminate. The key to success isn’t merely masking smells but breaking down these chemical compounds at their source. With the right approach within the crucial first hours, you can completely neutralize urine residues and protect your mattress investment for years to come.
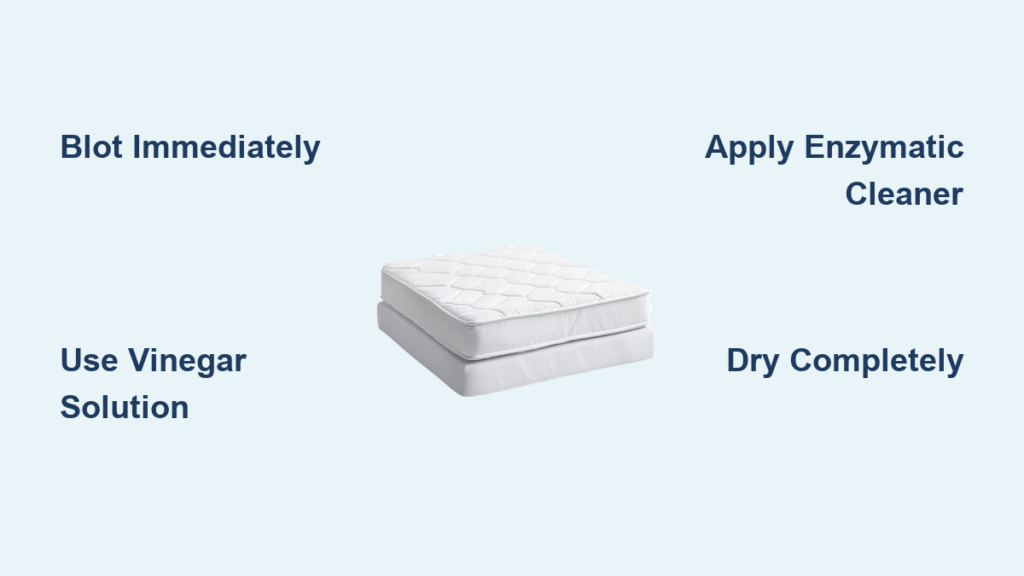
Immediate Action: Critical First Steps Within Minutes
The first 30 minutes after discovering urine on your mattress determine whether you’ll achieve complete neutralization or face lingering odors. Fresh urine responds dramatically better to treatment than set-in stains, so prioritize rapid action even if it means interrupting your schedule.
Begin by gathering clean, absorbent materials—white microfiber cloths work best because they absorb without leaving lint. Press firmly against the affected area without rubbing, as rubbing pushes urine deeper into mattress layers. Continue pressing with fresh cloths until no more moisture transfers, which may require several minutes of sustained pressure. For substantial wetness, place clean towels over the area and stand on them to maximize absorption.
Remove all bedding, mattress pads, and washable protectors immediately. Check your mattress tag for cleaning codes: “W” means water-based cleaners are safe, “S” indicates solvent-based cleaners only, and “X” means professional cleaning is required. This information prevents accidental damage during your cleaning process and guides your entire approach.
Vinegar and Baking Soda: Most Effective DIY Solution

The vinegar and baking soda method works because white vinegar’s acetic acid breaks down uric acid crystals while baking soda neutralizes odors through absorption. This two-step process delivers professional results using household ingredients you likely already have.
Create your cleaning solution by mixing equal parts white distilled vinegar and cool water in a spray bottle. Add half a teaspoon of mild dish soap per cup of solution to help lift residue. Apply the solution sparingly to the stained area, working from the outer edges inward to prevent spreading. The fabric should feel damp but not wet—over-saturation creates drying problems that lead to mold concerns.
Allow the vinegar solution to sit for 5-10 minutes, giving the acid time to penetrate and dissolve uric acid crystals. Blot thoroughly with clean, dry cloths to remove moisture and dissolved residue. Sprinkle a generous layer of baking soda over the entire treated area—about one-quarter inch thick—to draw out remaining moisture. Leave the baking soda in place for at least 8 hours or overnight for complete drying and odor elimination.
When fully dried, vacuum thoroughly using the upholstery attachment. Work slowly to extract all baking soda particles, which may appear as fine white dust. For any remaining discoloration, repeat the entire process until the stain no longer appears.
Enzymatic Cleaners: Professional-Grade Neutralization
Enzymatic cleaners provide the most effective solution for complete urine neutralization because they contain specialized bacteria that digest uric acid crystals rather than simply masking odors. These products target the root cause of persistent smells—proteins and compounds standard cleaners leave behind.
Choose an enzymatic cleaner specifically designed for urine removal, looking for formulations that list protease enzymes among active ingredients. Protease specifically targets protein-based compounds found in urine. Avoid products relying solely on fragrances or masking agents, as these only temporarily cover odors.
Apply the enzymatic cleaner generously to saturate the affected area thoroughly. Unlike vinegar treatments, enzymatic products work better with ample moisture because the bacteria need water to remain active and move through mattress fibers. Allow the product to air dry completely—typically 24-48 hours depending on humidity—without rushing the timeline.
Run a fan or open windows to accelerate drying while maintaining bacterial activity. Once completely dry, vacuum the area and check for remaining odors by pressing your nose closely to the mattress. Any detectable smell indicates the need for repeat treatment. For severe stains, allow the enzymatic cleaner to remain for 48 hours before vacuuming, giving bacteria maximum time to break down stubborn deposits.
Hydrogen Peroxide Treatment for Set-In Stains
:max_bytes(150000):strip_icc()/clean-your-mattress-the-natural-way-350742-dd95404f7ac54f9b90f09045d9b4e98c.png)
When urine stains persist despite vinegar and enzymatic treatments, hydrogen peroxide offers powerful stain-lifting capabilities while continuing to break down odor-causing compounds. This method requires careful application to avoid fabric damage.
Prepare a solution combining one cup of 3% hydrogen peroxide with one tablespoon of baking soda and a small amount of mild dish soap. Mix immediately before application because the active oxygen dissipates quickly. Test on an inconspicuous mattress corner first—apply a small amount, wait 10 minutes, and check for color changes.
If your mattress passes the test, apply the solution sparingly to stained areas using a spray bottle. Allow it to bubble and work for approximately 15 minutes, then blot thoroughly with clean dry cloths. Do not rinse, as residual hydrogen peroxide continues working during drying. Apply baking soda over the treated area to absorb moisture and neutralize odors, leaving it until completely dry before vacuuming.
Exercise caution with hydrogen peroxide on memory foam or latex mattresses, as these materials can be more sensitive to oxidation. Limit applications to visible stains and always allow complete drying before sleeping on the mattress. Never use hydrogen peroxide above 3% concentration or combine it with vinegar.
Complete Drying: Preventing Mold and Mildew
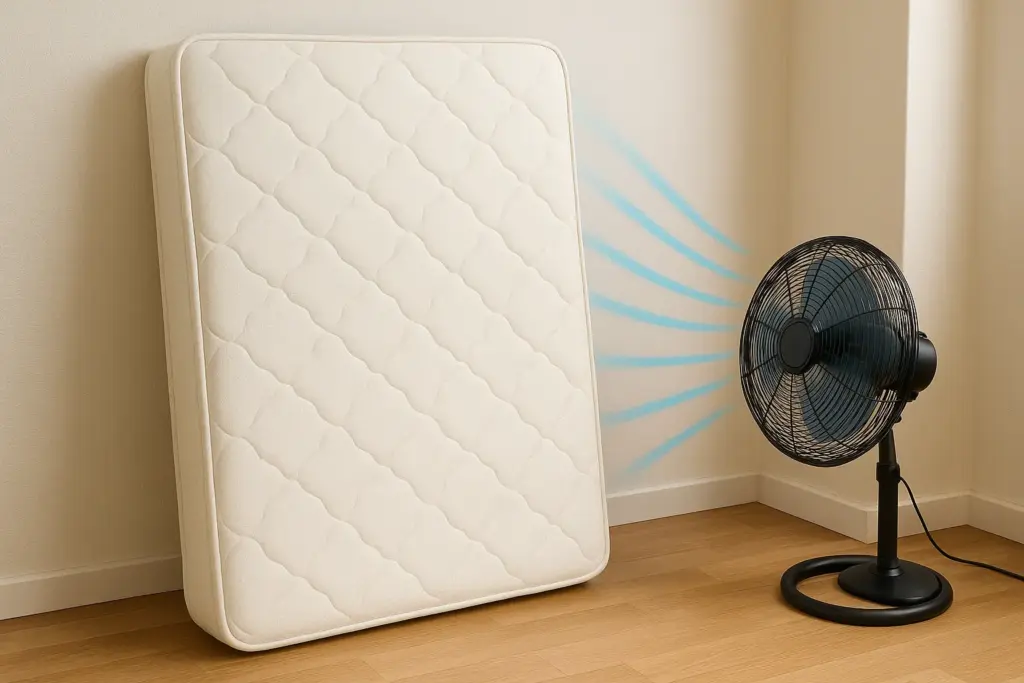
Proper drying prevents mold growth and potential health issues from trapped moisture. Every cleaning method requires thorough drying before the mattress returns to service.
Position the mattress in a well-ventilated room with maximum air circulation. Place fans directed at the mattress from multiple angles and consider using a dehumidifier if your environment is humid. Elevate the mattress to allow air circulation on all sides—prop it against walls or use mattress risers.
Sunlight provides natural deodorizing power, so placing the mattress outdoors on a warm, dry day accelerates drying dramatically. Ensure protection from rain and rotate periodically to expose all surfaces. Outdoor drying works best with at least six hours of direct sunlight exposure.
Expect drying to take 8-48 hours depending on treatment saturation. Press your palm firmly against the mattress surface to check for coolness or dampness indicating retained moisture. Mattress pads and bedding should be completely dry before reassembly. When in doubt, extend drying time—an extra day of patience prevents costly mold issues later.
Mattress Protection: Preventing Future Accidents
Investing in proper mattress protection eliminates stress from urine accidents and preserves your mattress investment. The right protector creates a waterproof barrier while maintaining comfort.
Select a mattress protector specifically designed for urine protection, looking for waterproof membranes, secure fitted designs, and breathability. Avoid plastic sheets which create uncomfortable heat—modern protectors use quiet, breathable materials. For children’s beds, place washable absorbent pads under sheets at the foot of the bed where most accidents occur.
Establish a cleaning protocol for protector care that maintains protective properties. Most wash and dry on warm settings without losing waterproofing, but harsh detergents can degrade membranes over time. Replace protectors every few years or sooner if showing signs of wear.
When Replacement Becomes Necessary
Recognize when cleaning has reached its limits to prevent continued frustration and potential health concerns. Mattresses showing persistent odor despite thorough cleaning, visible staining through multiple layers, or sagging in the affected area typically warrant replacement.
Consider replacement when cleaning costs approach half the price of a new mattress, when multiple cleaning attempts have failed, or when the affected individual requires a clean sleep surface due to health sensitivities. Many manufacturers offer prorated warranties that may cover partial replacement costs for premature mattress failure.
When replacement is necessary, properly dispose of the contaminated mattress by wrapping it in plastic sheeting during transport to contain any remaining residues. Some donation organizations accept stained mattresses for pet shelter bedding or industrial use.


