
Nothing beats the satisfaction of lounging on a futon mattress you crafted yourself. Building your own futon mattress saves significant money compared to store-bought options while giving you complete control over materials, thickness, and firmness. Whether you’re furnishing a small apartment, guest room, or creating flexible living space, a handmade futon adapts perfectly to your needs. This guide reveals exactly how to construct a durable, comfortable futon mattress using basic tools and readily available materials—no professional skills required.
Gather Essential Materials and Tools

Before cutting fabric or handling batting, assemble everything you’ll need for a smooth building process. Having all components ready prevents mid-project delays and ensures professional results.
Core Materials for Futon Mattress Construction
Your futon’s comfort depends entirely on quality materials. For traditional construction, purchase 15-25 pounds of cotton batting—organic, untreated cotton works best for breathability and durability. The batting will compress over time, so buy slightly more than you think necessary to maintain proper thickness throughout the mattress’s lifespan.
Select heavy-duty canvas fabric (minimum 10 ounces per square yard) for the mattress cover. This outer layer must withstand daily folding, sitting, and sleeping without tearing. Measure your desired dimensions (standard full size is 54″ x 75″), then add 2″ to each measurement for seam allowances. For queen size futons (60″ x 80″), purchase proportionally more fabric.
If you prefer modern comfort with less maintenance, consider high-density foam (2.0+ pounds per cubic foot) as a core layer. Cut foam to your mattress dimensions at 1-3 inches thick, then supplement with thinner layers of cotton or polyester batting for a balanced sleeping surface.
Required Tools and Equipment
A heavy-duty sewing machine is non-negotiable for this project—you’ll be stitching through multiple layers of dense fabric and batting. Use size 16 or 18 needles with heavy-duty polyester thread to prevent breakage. Complete your sewing kit with fabric scissors, measuring tape, fabric chalk, straight pins with large heads, and a thimble for hand-finishing.
For cutting efficiency, add a rotary cutter and self-healing mat to your toolkit. If installing a zipper (highly recommended for future maintenance), purchase a heavy-duty #5 or #7 nylon coil zipper at least 12 inches longer than your mattress perimeter.
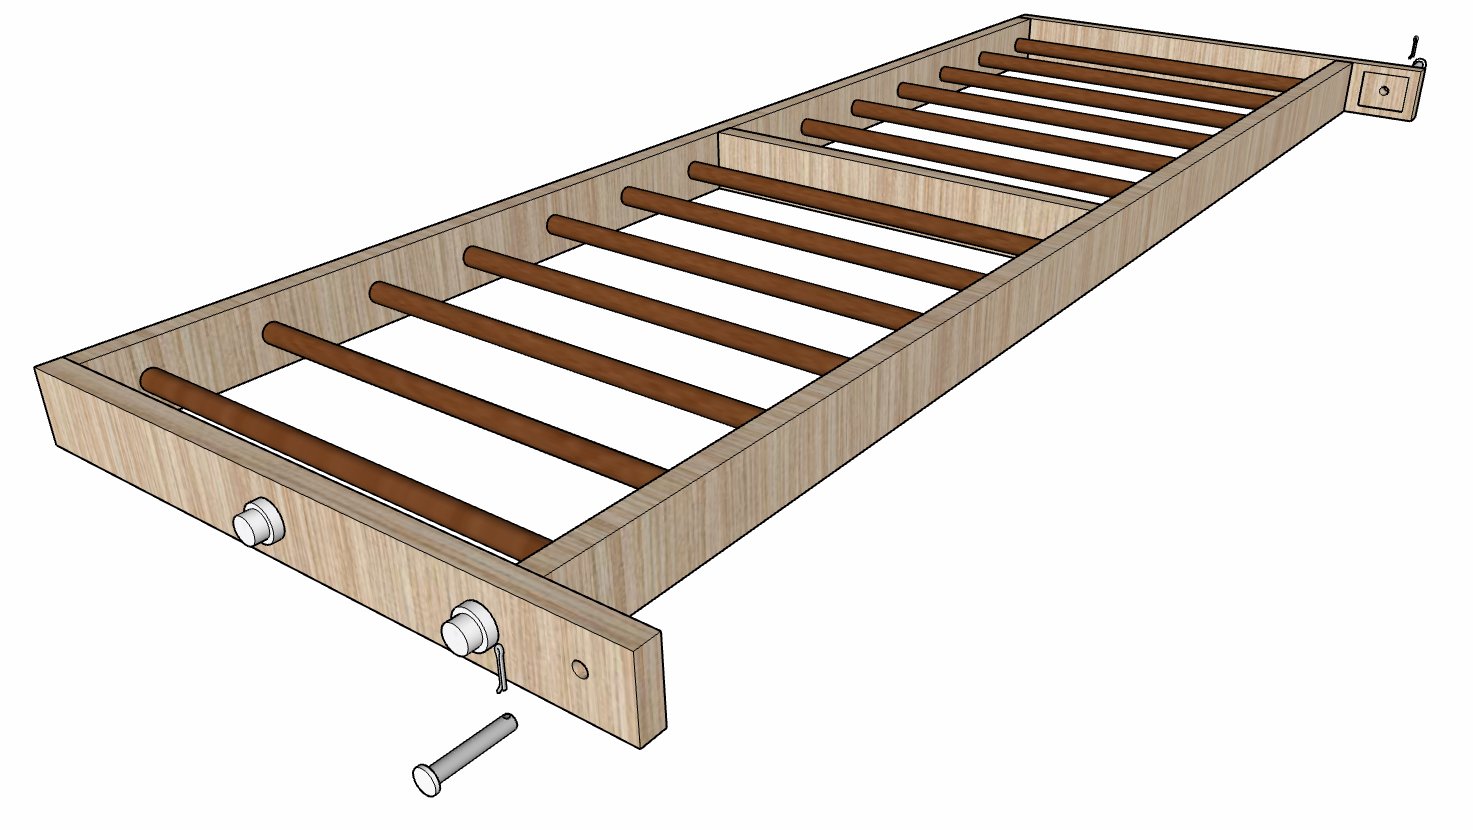
Basic woodworking tools become essential if building a frame simultaneously: circular saw, drill with bits, sandpaper (120-220 grit), wood clamps, and wood glue. A platform frame requires only fundamental carpentry skills using 2×4 lumber and ¾” plywood.
Choose Your Futon Mattress Design
Selecting the right construction method affects comfort, durability, and maintenance requirements. Three primary approaches suit different needs and skill levels.
Traditional All-Cotton Construction
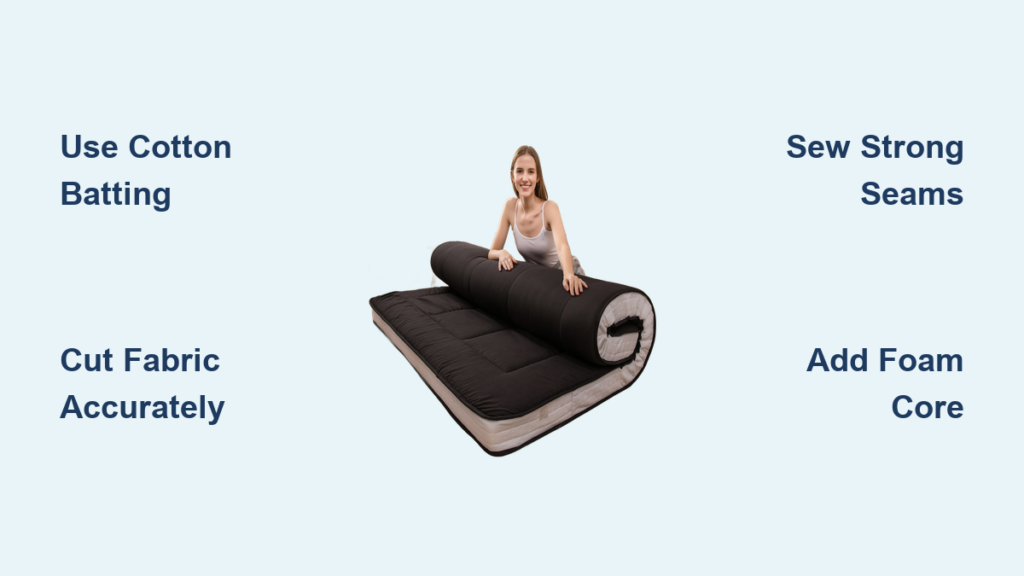
The authentic Japanese-style futon uses layered cotton batting for firm, breathable comfort that softens with use. Stack eight to twelve even layers of fluffed cotton batting inside your canvas cover, smoothing each layer to eliminate lumps. This design produces the heaviest mattress but offers the easiest repairs—you can unzip the cover and add fresh cotton when the mattress compresses over time.
Traditional cotton futons excel in warm climates due to superior breathability, but require weekly flipping during the first month to prevent uneven wear. Expect to spend more on materials, but enjoy natural fibers that breathe better than synthetics.
Modern Foam-Enhanced Design
For consistent support with less maintenance, sandwich a high-density foam core between layers of cotton or polyester batting. This hybrid approach combines foam’s shape retention with natural fibers’ comfort and breathability.
Cut your foam precisely to match mattress dimensions, then wrap with ½ inch of batting on all sides before enclosing in the canvas cover. The foam core maintains firmness across the entire sleeping surface, eliminating the uneven wear patterns common in all-cotton futons.
This design uses less cotton than traditional methods, reducing both weight and cost while delivering reliable comfort. Most DIYers find foam-enhanced futons easier to construct with professional-looking results on the first attempt.
Create the Mattress Cover
Your cover’s construction determines how well the mattress holds its shape through years of folding and use. Precision here prevents future frustrations.
Measure and Cut Fabric
Lay canvas flat and mark dimensions with fabric chalk, adding 2″ to length and width for seam allowances. Cut two identical rectangles for top and bottom surfaces. For side panels, measure the mattress perimeter plus thickness (e.g., 54″ + 75″ + 54″ + 75″ + 6″ thickness = 264″ total for side strip).
Pro Tip: Cut side panels as one continuous strip rather than separate pieces to minimize weak seams. If adding a zipper, cut one side panel in half lengthwise first, then install the zipper before sewing the panel together.
Use sharp scissors for clean cuts that prevent fraying. Canvas distorts easily, so cut with long, smooth strokes rather than short snips. Pin cut pieces together immediately to prevent misplacement before sewing.
Sew the Mattress Cover
Assemble pieces with right sides facing, pinning every 6 inches to prevent shifting. Set your sewing machine for a longer stitch length (8-10 stitches per inch) to create stronger seams that withstand stress. Use a straight stitch followed by zigzag stitching to encase raw edges—a technique called “serging” that prevents unraveling.
Critical Step: Double-stitch all corners and high-stress areas where the mattress folds. These locations bear the most wear during conversion between sofa and bed positions. If installing a zipper, follow manufacturer instructions precisely—misaligned zippers create frustrating gaps that allow batting to escape.
After sewing, turn the cover right-side out and inspect all seams. Test the zipper or opening mechanism thoroughly before adding fill material, as repairs become exponentially harder once batting is inside.
Fill and Finish the Mattress
This final construction phase determines your futon’s comfort and longevity. Patience here pays off with years of reliable use.
Layer Cotton or Foam Materials
For cotton futons, fluff batting thoroughly before adding it to the cover. Insert batting layer by layer, smoothing each addition from center outward to prevent thin spots. Pay special attention to corners—these areas naturally receive less material and become uncomfortable over time.
Continue adding layers until reaching your desired thickness (typically 4-6 inches when compressed). Periodically press down on the accumulating layers to gauge compression. Stop when the mattress feels firm but yields slightly under pressure—remember it will compress further with use.
For foam-enhanced designs, place the foam core first, then add thinner batting layers on top and bottom. This arrangement creates a smooth sleeping surface while preventing direct foam contact with the cover fabric, which can cause premature wear.
Seal and Finalize
Once satisfied with fill distribution, carefully close the cover. For zipped designs, zip slowly while smoothing fabric ahead of the zipper pull to prevent pinching. For sewn openings, pin edges with right sides together, then sew using the same heavy-duty technique applied to other seams.
After sealing, massage the mattress surface to encourage even fill distribution. The mattress may appear slightly lumpy initially—this is normal as materials settle into their confined state. Allow 24 hours for complete settling before heavy use.
Pro Tip: Place your completed futon on its frame and stand on each corner to test stability. Address any thin spots immediately by reopening the cover and redistributing fill before the materials fully settle.
Maintain Your Handmade Futon
Proper care extends your futon’s lifespan significantly. Implement these simple habits to keep your mattress comfortable for years.
Rotate your futon weekly during the first month, then monthly thereafter. This prevents uneven compression patterns from developing in your preferred sleep position. Simply flip the mattress end-to-end and side-to-side to distribute wear evenly.
Air your futon weekly by removing bedding and allowing circulation through the materials. This releases absorbed moisture and prevents musty odors, especially important for cotton futons in humid environments. During dry weather, place your futon in indirect sunlight for 2-3 hours to refresh materials.
Spot clean stains immediately using mild soap and water with gentle blotting motions. Avoid harsh chemicals that degrade fabric fibers. For deep cleaning, unzip the cover (if designed with a zipper), remove batting, and wash the empty cover according to fabric instructions.
Building your own futon mattress delivers personalized comfort at a fraction of store-bought prices. With quality materials and careful construction, your handmade futon will provide reliable service for years while showcasing your DIY skills. The initial effort pays dividends through customized comfort, space efficiency, and the unmatched satisfaction of creating functional furniture with your own hands. Whether you choose traditional cotton construction or modern foam-enhanced design, your handmade futon becomes a versatile centerpiece for any living space.


