
Your baby’s crib should be a safe haven, but improper mattress support installation turns it into a potential hazard. Every year, emergency rooms treat infants injured by unstable cribs where the mattress support wasn’t properly secured. When that mattress support shifts or collapses, it creates dangerous gaps where a baby’s head could become trapped—a terrifying scenario no parent should face. This guide provides essential installation steps you must follow to ensure your crib’s foundation remains stable and secure for your child’s safety.
Before you even unpack that new crib, understand that mattress support installation isn’t just about convenience—it’s a critical safety component required by CPSC (Consumer Product Safety Commission) standards. A properly installed support system maintains the required 2-inch minimum distance between the top of the mattress and the top of the crib sides, preventing entrapment risks. Whether you’re assembling a new Graco, DaVinci, or Storkcraft crib, these universal installation principles apply to virtually all modern drop-side and stationary cribs manufactured after 2011.
Crib Mattress Support Installation Safety Checklist
Before touching any tools, verify your workspace meets safety requirements. Working on carpet creates instability that leads to improper alignment—always assemble cribs on hard, level flooring. Keep small children away from your work area; dropped hardware poses serious choking hazards. Most importantly, locate your crib’s specific instruction manual immediately—this isn’t optional. Federal regulations require manufacturers to include detailed installation diagrams for mattress supports, and skipping this step voids safety certifications.
Essential Tools for Proper Mattress Support Installation
- Phillips #2 screwdriver (cordless drill with torque control works but use lowest setting)
- Rubber mallet for gently seating support brackets
- Measuring tape for verifying height adjustments
- Flashlight to inspect hard-to-see connection points
- Manufacturer-supplied hardware only (never substitute screws)
Critical Pre-Installation Verification Steps
Why matching hardware matters: Crib manufacturers calibrate screw lengths precisely for each model’s wood thickness. Using even slightly longer screws can puncture through crib sides, creating sharp edges inside the sleeping area. Shorter screws won’t achieve necessary thread engagement, causing support brackets to pull out under baby’s weight.
How to identify your crib model: Locate the certification label typically found on the crib’s footboard or headboard underside. This alphanumeric code (like “DV-345B”) determines which mattress support configuration you need. Many parents mistakenly install convertible crib supports backward when converting from toddler bed mode—always match the bracket orientation shown in your manual’s diagrams.
Step-by-Step Mattress Support Installation Process

Positioning the Mattress Support Frame Correctly
Lay the support frame on a flat surface with the拱形 (arched) side facing upward—this curvature provides structural strength to distribute weight evenly. Many parents install these frames upside down, creating a weak point at the center sling. For wooden slat systems, position the thickest edge of each slat toward the crib’s interior; this prevents slats from bowing when weight is applied.
Pro Tip: Place painter’s tape on each slat showing its orientation before disassembly. When reinstalling, match the tape direction to ensure consistent spacing that meets the 2 3/8-inch maximum gap requirement between slats.
Securing Support Brackets to Crib End Panels
Insert support brackets into the pre-drilled holes on both end panels, ensuring the L-shaped flange faces downward toward the floor. This orientation channels weight along the crib’s structural grain rather than against it. Hand-tighten all screws initially—forcing them with power tools strips the softwood commonly used in cribs.
Critical mistake to avoid: Over-tightening creates hairline cracks in the wood that worsen with each height adjustment. Stop tightening when you feel significant resistance—screws should be snug but not compressing the wood fibers. Test stability by lifting the support frame at its center; any movement means brackets aren’t fully seated.
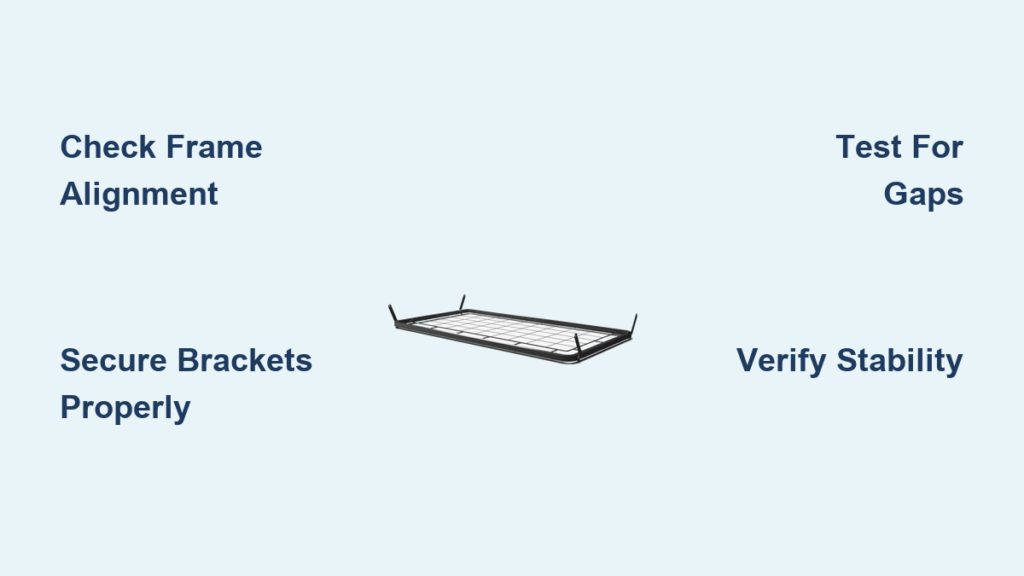
Post-Installation Safety Verification Tests
Weight Distribution Test Procedure
Place 25 pounds of evenly distributed weight (like books wrapped in towels) on the mattress support at three points: center, left edge, and right edge. Observe for any sagging exceeding 1/2 inch—the CPSC’s maximum allowable deflection. If the frame bends noticeably, recheck that all brackets are fully inserted into their slots before the crib was assembled.
Gap Measurement Protocol
Use a toilet paper tube (standard 1.75-inch diameter) to check for hazardous gaps. Slide it between the mattress and crib sides at multiple points—if it fits through, the mattress is too small or the support is improperly positioned. The tube should meet resistance at all points around the perimeter. Repeat this test after every height adjustment.
Common Mattress Support Installation Errors and Fixes
Bracket Misalignment During Height Adjustments
Problem: After lowering the mattress support, the crib rocks when gently pushed.
Solution: Disassemble completely and verify bracket tabs fully engage with the crib’s height adjustment slots. Many parents don’t push brackets upward firmly enough during repositioning, causing partial engagement that fails under weight.
Slat Spacing That Exceeds Safety Standards

Problem: Gaps between wooden slats exceed the 2 3/8-inch maximum.
Solution: Rotate each slat 180 degrees—manufacturers bevel edges asymmetrically. The wider edge must face outward to maintain proper spacing. If gaps persist, contact the manufacturer for replacement slats rather than adding makeshift spacers.
Long-Term Mattress Support Maintenance Schedule
Check all support connections monthly using the “shake test”: firmly grasp the mattress support frame and attempt to move it side-to-side. Any movement beyond 1/8 inch indicates loose hardware requiring immediate attention. Every six months, remove all screws and apply a small drop of wood glue before reinserting—this compensates for natural wood expansion/contraction while maintaining structural integrity.
Urgent warning: Never place plastic bags, bumpers, or loose bedding underneath the mattress support. These items can shift during baby’s movements, creating uneven pressure points that cause the entire support system to fail catastrophically.
When to Replace Your Mattress Support System
Most crib manufacturers recommend replacing mattress supports every 5 years due to metal fatigue in spring systems or wood stress fractures in slat designs. Immediate replacement is necessary if you notice any of these danger signs: visible cracks in wooden components, rust on metal springs, or permanent deformation where weight concentrates. Remember—your baby’s safety depends on this system functioning perfectly every single time.
Proper crib mattress support installation isn’t complicated, but it demands meticulous attention to detail. By following these verified steps and performing regular safety checks, you’ll maintain the critical foundation that keeps your baby sleeping soundly and safely. Always prioritize the manufacturer’s specific instructions over generic advice—when it comes to infant sleep environments, there are no minor details, only potential hazards waiting to be discovered. Keep that instruction manual accessible for every future height adjustment, and never assume previous installations were perfect. Your baby’s life depends on getting this right.


