That unpleasant odor rising from your mattress isn’t just annoying—it’s a sign that sweat, moisture, and bacteria have taken up residence in your sleeping surface. Whether you’ve noticed a musty scent after moving into a basement apartment, dealt with accidental spills, or simply want to refresh a mattress that’s been in use for years, knowing how to get rid of mattress smell effectively can transform your sleep environment and improve your overall wellbeing. This comprehensive guide provides proven methods to eliminate odors at their source, helping you reclaim a fresh, clean-smelling bed without resorting to harmful chemicals or expensive professional services.
Most mattress odors can be successfully eliminated with the right approach and patience. However, different smells require different treatments—what works for mild mustiness won’t solve stubborn pet urine odors. By identifying the specific type of smell you’re dealing with, you can target your cleaning efforts for maximum effectiveness. Let’s explore practical, step-by-step solutions that will restore your mattress to a fresh, comfortable condition.
Identify Your Specific Mattress Odor Type
Before grabbing cleaning supplies, determine exactly what’s causing your mattress smell. Different odors require different treatments, and misidentifying the problem wastes time and effort on ineffective solutions.
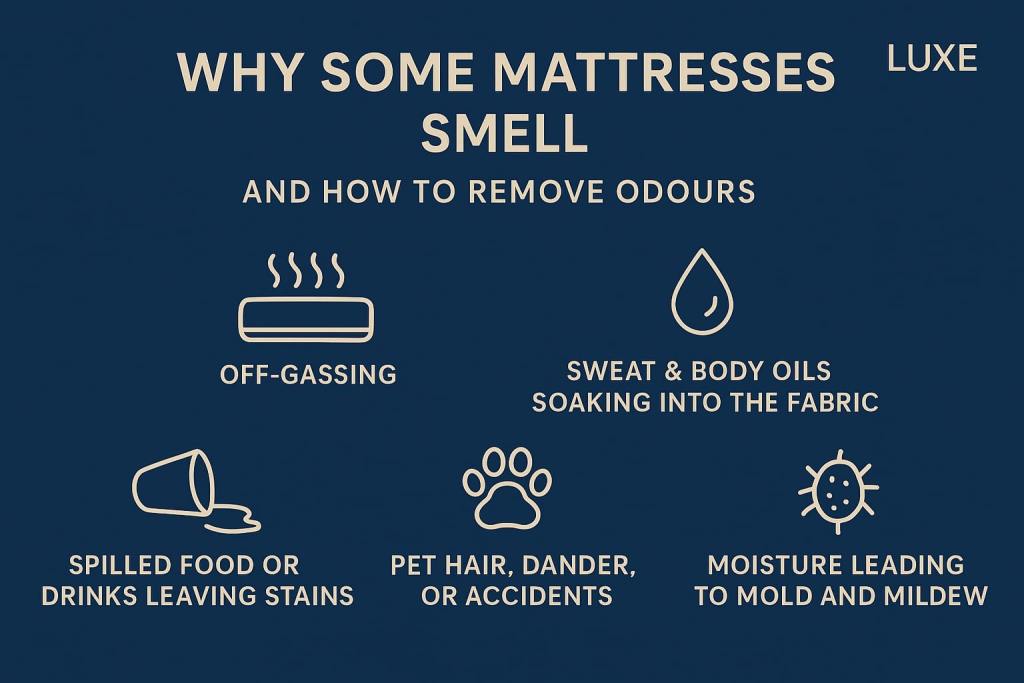
Musty or mildew odors indicate moisture problems and typically smell earthy or damp like a wet basement. These develop when sweat, spills, or ambient humidity gets trapped in mattress layers. You’ll notice this smell worsening in humid conditions or after storing your mattress in a damp environment. Check for visible signs of mold—small black, green, or white spots on the fabric surface.
Urine smells present a particularly challenging problem because they penetrate deep into mattress layers. Fresh urine has an ammonia-like scent that becomes increasingly pungent as bacteria break down proteins over time. These odors require enzymatic treatments that break down uric acid crystals rather than simply masking the smell. If you’re dealing with pet accidents or bedwetting, this is likely your culprit.
Sweat and body odor smells accumulate from nightly perspiration and dead skin cells seeping into your mattress over months of use. This type of odor is usually sour or stale and most concentrated where your body makes contact with the mattress. Unlike musty smells, these don’t necessarily indicate moisture problems—they’re simply the result of organic buildup.
Chemical or “new mattress” smells come from manufacturing processes where foams and adhesives release volatile organic compounds. These odors are often plastic-like or rubbery and most prominent in brand-new mattresses. While generally harmless, they can be overwhelming for sensitive individuals.
Gather the Right Cleaning Supplies for Your Odor Type
Having the proper tools ready before starting ensures efficient, effective odor elimination. The supplies you need depend on your specific odor problem.
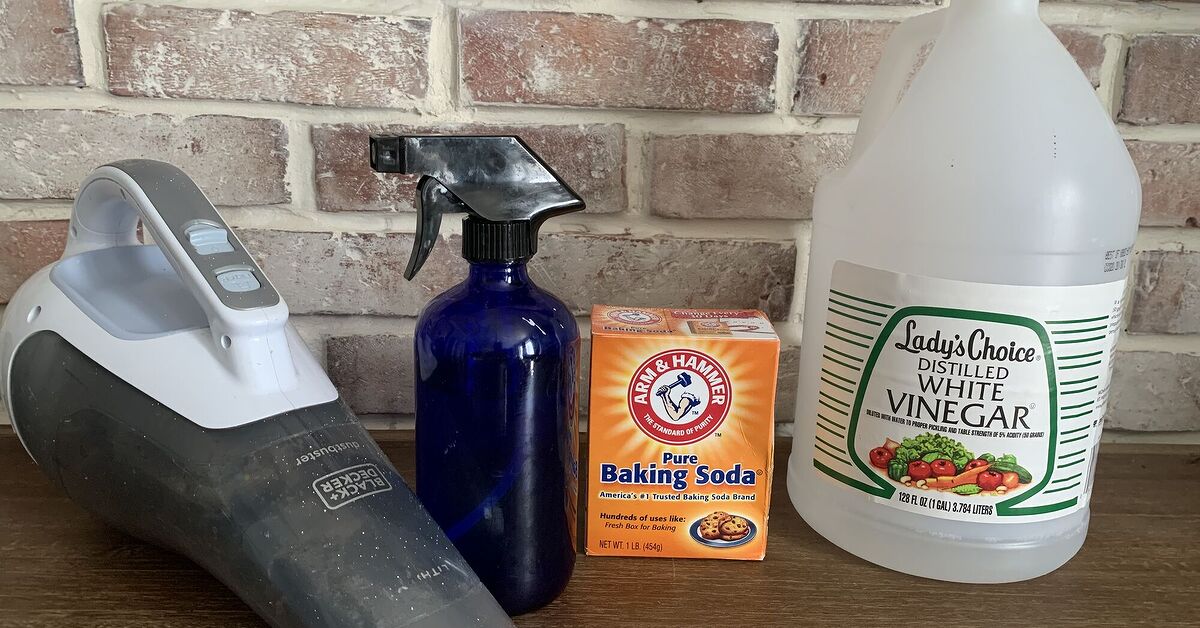
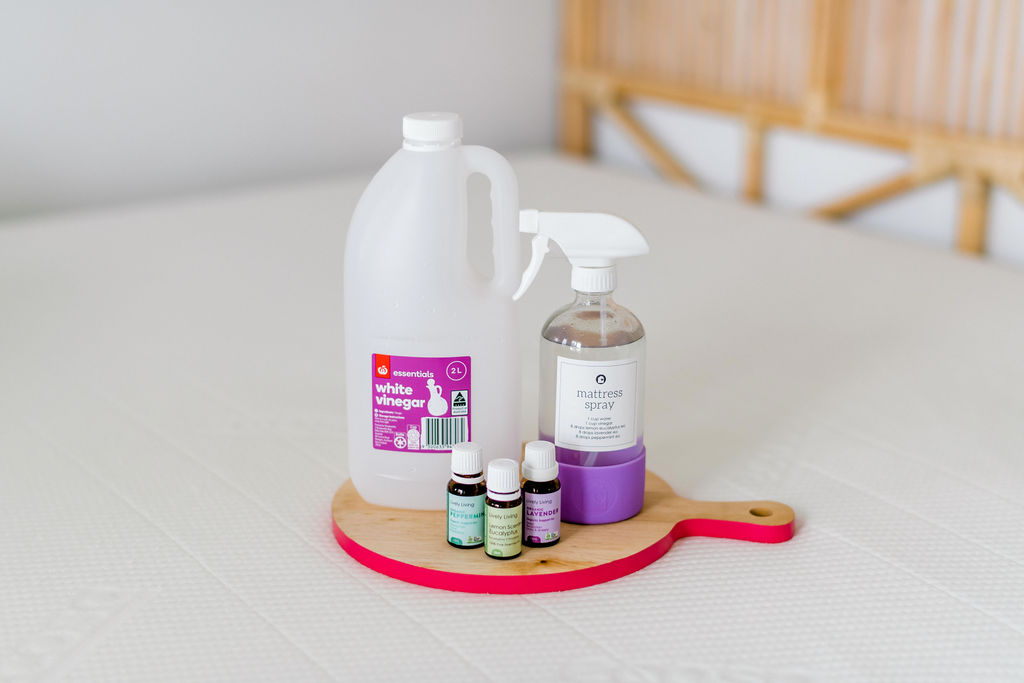
For most natural deodorizing approaches, baking soda is essential—it absorbs moisture and neutralizes acids. Plan to use one to two cups for a queen-sized mattress to create a visible layer across the entire surface. White vinegar serves as a natural disinfectant that breaks down uric acid in urine stains, while essential oils like lavender or tea tree add pleasant scents with antibacterial properties.
If dealing with urine damage, enzyme-based cleaners specifically formulated to break down organic matter at a molecular level are crucial. These contain beneficial bacteria that digest proteins causing odors. You’ll also want clean, dry towels for absorbing moisture and a stiff-bristled brush to work cleaning solutions into mattress fibers without damaging the surface.
Additional supplies include a vacuum cleaner with upholstery attachments, protective gloves, and a fan or dehumidifier to speed drying time. For severe cases, a black light flashlight can help identify organic matter by making it fluoresce.
Execute Proper Initial Vacuuming Technique
Thorough vacuuming before applying any treatments removes loose debris that would otherwise interfere with your deodorizing efforts.
Begin by removing all bedding and washing these items separately in hot water. Take your mattress away from the wall and attach the upholstery brush to your vacuum cleaner. Methodically work across every surface using short, overlapping strokes with moderate pressure.
Pay special attention to seams, tufts, and the crevice where the mattress border meets the sleeping surface—these areas collect the most dust and debris. For memory foam mattresses, use gentler suction to avoid damaging delicate surface layers while still removing surface contaminants.
Flip your mattress if possible and repeat the process on the underside. This step is crucial for mattresses resting directly on foundations, as the underside often accumulates significant dust that contributes to odor problems. Take your time—thorough vacuuming makes subsequent treatments significantly more effective.
Apply Baking Soda for Maximum Odor Absorption
Baking soda works through absorption rather than masking, drawing out moisture and neutralizing acidic compounds causing odors.
Sprinkle a generous layer of baking soda across your completely dry mattress, aiming for complete coverage without clumping. Use at least one cup for a twin mattress, two cups for a queen, and up to three cups for a king. Don’t hesitate to use more than you think necessary—excess baking soda can simply be vacuumed up later.
For best results, leave the baking soda undisturbed for several hours or ideally overnight. This gives it maximum time to absorb odors and moisture. If you want to add a light fragrance, sprinkle a few drops of essential oil onto the baking soda surface.
For stubborn odors, work the baking soda into the mattress fibers using a stiff-bristled brush with gentle circular motions. This helps the powder penetrate deeper into fabric and foam layers. Allow it to sit for at least an hour before vacuuming.
Target Urine Stains with Enzymatic Cleaners
When urine has penetrated your mattress, enzymatic cleaners are the most effective solution because they break down uric acid crystals at the molecular level.
First, blot up as much fresh urine as possible using clean, absorbent towels—never rub, as this spreads the urine deeper. For dried urine, lightly moisten the area with cool water using a spray bottle, then blot again.
Apply enzymatic cleaner generously over the affected area until the fabric is visibly damp. Allow it to remain on the mattress for the recommended period—usually 15 minutes to several hours. During this time, the beneficial bacteria consume the organic matter causing the odor.
After the dwell time, blot the area again with clean towels to absorb moisture. You may need to repeat this process two or three times for old or severe stains. Once complete, apply a thin layer of baking soda to the area to help absorb any remaining moisture before vacuuming up after several hours.
Utilize Vinegar Solutions for Deep Cleaning
White vinegar serves as a powerful natural disinfectant that complements baking soda treatments by breaking down mineral deposits and killing odor-causing bacteria.
Create a solution by mixing equal parts white vinegar and cool water in a spray bottle. Add a few drops of essential oil for additional antibacterial properties and a pleasant scent. Test this solution on a small, inconspicuous area first to ensure it doesn’t cause discoloration.
Lightly mist the solution over the mattress surface, focusing on areas with strongest odors. Avoid oversaturation—your goal is to dampen the fabric, not soak it through to inner layers. Use a clean, soft-bristled brush to gently work the solution into the fabric.
After cleaning, blot the mattress with dry towels to absorb excess moisture. Repeat with fresh towels until minimal moisture transfers, then allow the mattress to air dry completely. Position a fan to circulate air across the surface—drying may take several hours to a full day depending on humidity levels.
Implement Preventive Maintenance Habits
Once you’ve eliminated the odor, preventing its return requires consistent maintenance habits that address root causes.
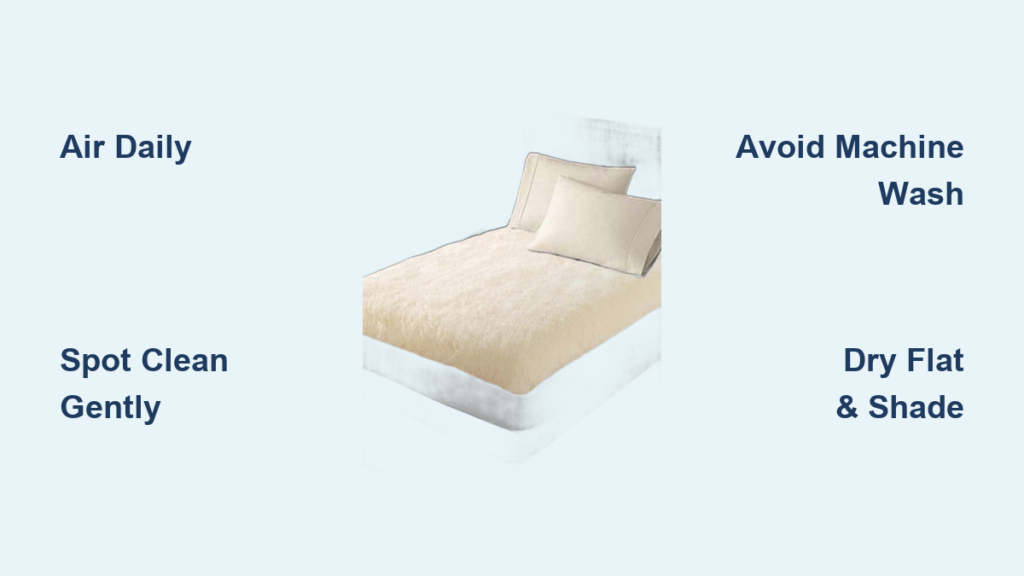
Use a quality mattress protector as your first line of defense against odors and stains. These waterproof covers prevent sweat, oils, and spills from penetrating underlying layers. Choose a breathable protector and wash it monthly in hot water.
Establish a regular cleaning schedule that includes weekly mattress airing while washing bedding and monthly vacuuming using your vacuum’s upholstery attachment. Every three to six months, apply a fresh layer of baking soda regardless of whether you notice odors.
Maintain proper bedroom ventilation to prevent humid conditions that promote mold growth. Use exhaust fans in adjoining bathrooms, open windows regularly, and consider running a dehumidifier in humid climates.
Address spills immediately to prevent them from setting into the mattress. Keep enzymatic cleaner on hand for accidents, and always blot—never rub—wet spots as soon as they occur.
Know When to Replace Your Mattress
Despite your best efforts, some mattresses have reached the end of their useful life and cannot be restored to a fresh condition.
Age is a primary factor—most mattresses begin showing significant wear between seven and ten years of use. If your mattress is approaching this age range and you’re struggling with persistent odors despite thorough cleaning, replacement may be necessary.
Visible degradation such as sagging, lumps, or permanent indentations indicates internal structure failure. These physical changes create pockets where moisture and debris accumulate, leading to persistent odors that cleaning cannot resolve.
Persistent odors that return quickly after thorough cleaning suggest contaminants have penetrated too deeply to be fully eliminated. If you’ve tried multiple cleaning approaches over several weeks and the smell keeps coming back, replacement is likely your best option.
When replacing your mattress, implement all preventive measures immediately with your new mattress to avoid similar problems. A fresh-smelling mattress contributes significantly to your bedroom’s overall comfort and your peace of mind, making proper maintenance well worth the effort.