
That familiar dip in your mattress where your body sinks deeper each night isn’t just uncomfortable—it’s disrupting your sleep quality and potentially causing back pain. Most people immediately assume replacement is the only solution, facing the $500-$2,000 expense of a new mattress. But here’s the truth: how to fix an old mattress is simpler than you think for many common issues like sagging, broken springs, fabric tears, and stubborn odors. With the right techniques, you can extend your mattress lifespan by several years while saving significant money. This guide reveals proven repair methods tailored to your specific mattress type and condition, helping you determine exactly when DIY fixes will work and when replacement makes more sense.
Before grabbing tools or supplies, you must accurately diagnose your mattress condition. Different constructions—whether innerspring, memory foam, latex, or hybrid—require entirely different repair approaches. A broken spring in an innerspring mattress can often be replaced individually, while body impressions in memory foam need surface-level solutions rather than component repair. Investing time in proper assessment ensures you apply the right solution for your specific problem.
Diagnose Your Mattress Problem Before Repairing
Identify Your Mattress Type and Specific Damage
Innerspring mattresses feature metal coils surrounded by padding, making them prone to coil sagging, broken springs, and padding compression. Memory foam models develop body impressions (depressions deeper than 1.5 inches) and lose firmness over time. Latex mattresses show surface cracking or loss of elasticity, while hybrids combine materials requiring separate component assessment. Examine your mattress thoroughly: check for visible sagging exceeding 2 inches, springs poking through fabric, weakened edges, and seam separation. Approximately 80% of support issues actually originate from a failing foundation rather than the mattress itself, so inspect your box spring or platform bed equally carefully.
Apply firm pressure across different sections to identify soft spots, excessive give, or spring noise indicating internal damage. Test edge support by sitting on corners—if you feel yourself sliding off or the edge collapses significantly, reinforcement is needed. Walk your hand across the surface to feel for lumps or material displacement. Smell for musty odors and inspect dark areas around edges for moisture damage, mold, or mildew.
When Repair Makes Sense vs. When to Replace
Repairing your mattress is worthwhile when damage is localized rather than comprehensive, the mattress is less than 8-10 years old with otherwise good structure, and damage is primarily cosmetic (stains, odors, minor sagging). If repair costs represent less than 40% of replacement cost or the mattress has sentimental value or specialty size, DIY fixes become even more appealing.
Replacement becomes necessary when multiple broken springs affect the entire mattress, foam has degraded to the point of bottoming out on the foundation, visible mold or mildew is present inside layers, or structural integrity is compromised by pet damage or liquid saturation. Mattresses showing excessive wear after more than 10 years typically don’t respond well to repair, especially when comprehensive repair costs approach 50% of new mattress cost.
Fix Sagging Mattress Without Buying New
Mattress Topper Solutions for Body Impressions
Adding a high-density mattress topper is the most accessible solution for surface-level sagging. For body impressions 1-2 inches deep, select a 2-inch medium-firmness topper. Impressions 2-3 inches deep require a 3-inch firm-density topper, while severe depressions exceeding 3 inches need a 4-inch dual-layer topper combining firm base foam with softer comfort layer. Memory foam toppers bridge depressions effectively, while latex options provide more responsive support with greater durability. Ensure your topper dimensions match your mattress size exactly to prevent shifting during sleep—this simple fix takes just minutes and costs $50-$200.
Padding Replacement for Innerspring Models
When your innerspring mattress has compressed padding but intact coils, replacing the comfort layer padding can restore original support. Carefully remove the mattress cover by cutting stitching along the bottom panel while preserving the fabric. Document layer arrangement during disassembly, then remove compressed cotton, polyester fiber, or foam padding above the spring unit. Install new padding layers using high-density foam (minimum 1.8 ILD) for support layers and softer foam or fiber for comfort layers. Stretch new batting material over the padding before recovering with original or replacement fabric. This moderate DIY project costs $50-$150 in materials and extends mattress life by 2-4 years.
Repair Broken Springs in Innerspring Mattresses

Locating and Replacing Damaged Springs
Broken springs manifest through visible fabric poking through, discrete hard spots when lying down, or creaking sounds during movement. Locate the problem area by pressing on the affected section and feeling for the spring apex. Cut through the fabric cover at that location with sharp scissors, creating an opening large enough to access the spring unit. Remove insulation pads covering the spring, then expose the broken spring.
Use spring clamps or needle-nose pliers to grip the damaged spring at its base connection points. Compress and twist to release from clip attachments, then extract carefully to avoid damaging surrounding coils. Position a replacement spring (matched to original gauge and height) in the same orientation, securing it to framework clips. Replace insulation padding and sew the fabric cover using heavy-duty thread. This 30-60 minute repair costs $15-$40 per spring and prevents cascade failures that spread throughout the mattress.
Reinforcing Multiple Weak Springs
For multiple adjacent spring failures, inter-spring tying provides structural reinforcement without individual replacement. Thread 18-gauge hog rings or stainless steel wire through upper and lower coils of adjacent spring units, spacing ties 3-4 inches apart in a grid pattern across the affected region. Ensure ties are tight enough to limit spring movement but not so tight they restrict natural compression. This technique redistributes load across a wider support network, extending mattress life by 2-5 years in cases of moderate spring degradation.
Patch Fabric Tears and Holes Permanently
Quick Fix for Small Tears Under 2 Inches
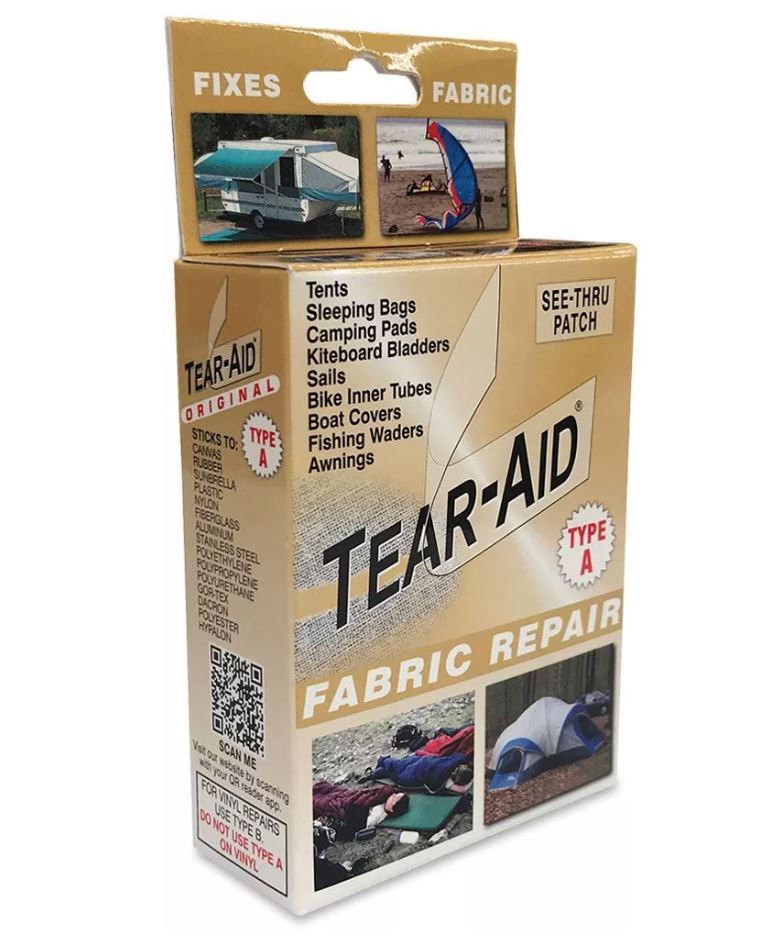
Minor fabric tears can be repaired with fabric adhesive to prevent enlargement and protect interior components. Clean the damaged area with isopropyl alcohol to remove oils and debris. Apply flexible fabric adhesive to both edges of the tear, pressing firmly together. For added strength, apply a matching or contrasting fabric patch over the repair on the mattress underside. Allow adhesive to cure 24-48 hours before use—select adhesives specifically labeled for fabric-to-fabric bonding that remain flexible when dry. This $10-$30 repair takes 15 minutes and prevents minor damage from becoming major problems.
Repairing Larger Holes and Significant Damage
For damage exceeding 2 inches, cut a fabric patch extending 2-3 inches beyond the damaged area in all directions. Position the patch over the damage on the underside, securing edges with heavy-duty staples, upholstery tacks, or fabric adhesive. Place a waterproof barrier between the patch and mattress interior for additional protection, then seal all edges with fabric glue to prevent fraying. This more substantial repair prevents padding from escaping and maintains structural integrity, costing $20-$50 in materials and taking 45-60 minutes.
Deep Clean and Eliminate Mattress Odors
Effective Stain Removal Techniques
Create a cleaning solution using 1 cup hydrogen peroxide, 3 tablespoons baking soda, and a drop of dish soap. Apply directly to stains with a spray bottle, allowing it to sit 5-10 minutes without oversaturating. Blot (never rub) with a clean white cloth until the stain transfers to the cloth. For biological stains like urine or sweat, use enzyme-based cleaners that break down organic matter at the molecular level—apply liberally, allow 30 minutes dwell time, then blot excess and air dry completely. Avoid steam cleaning memory foam exceeding 1 inch thickness, as retained moisture promotes mold growth.
Baking Soda and Sunlight Odor Fixes
Remove bedding and vacuum the mattress thoroughly before sprinkling a generous layer of baking soda over the entire surface. Add 10-15 drops of essential oil (lavender, eucalyptus, or tea tree) for scent enhancement if desired. Allow the baking soda to remain 8-24 hours for maximum odor absorption, then vacuum completely. For natural sanitization, carry the mattress outdoors and place in direct sunlight for 2-4 hours—UV radiation kills bacteria while heat dissipates trapped odors. Flip and repeat on the opposite side, but avoid this method for memory foam which degrades under extended UV exposure.
Strengthen Weak Mattress Edges
Foam Edge Reinforcement Method
Weakened edges reduce usable sleep surface by several inches and increase fall risk. Access the mattress edge by removing the side panel fabric, then cut high-density foam strips (minimum 2 ILD) to fit the edge cavity. Install these strips along all perimeter edges, securing with foam-bonding spray adhesive. Replace or repair the side panel fabric to complete the reinforcement. This technique provides immediate improvement in edge support, extending usable sleep surface by 2-4 inches on each side.
Foundation Assessment and Replacement
A failing foundation causes most mattress support problems. Box springs absorb shock and provide ventilation, while platform beds offer rigid support. Slatted foundations work with most mattresses if slat spacing doesn’t exceed 3 inches. Replace your foundation when you notice visible sagging, broken or missing slats, age exceeding 8-10 years, physical damage, or noise during use. Foundation replacement costs $100-$300—far less than mattress replacement—and often resolves what appears to be mattress problems.
Know When Repair Isn’t Worth the Effort
Cost-Effectiveness Threshold for Repairs
Calculate repair costs as a percentage of replacement cost—repairs exceeding 50% of replacement cost generally favor purchasing new. A $1,200 mattress with $600 in proposed repairs doesn’t make financial sense when that money could go toward a new mattress with full warranty coverage. Factor in remaining warranty coverage and emotional value, but recognize when replacement offers better long-term value.
Environmental Benefits of Proper Disposal
When replacement becomes necessary, explore recycling options rather than landfilling. Metal springs can be recycled at scrap metal facilities, while foam may be accepted by specialty recyclers. Some retailers offer take-back programs, and charitable organizations may accept gently used mattresses. Each mattress kept from landfills reduces environmental impact, making responsible disposal part of sustainable living.
An old mattress doesn’t have to mean an expensive replacement. By accurately diagnosing the problem, applying appropriate repair techniques, and maintaining the restored mattress properly, you can extend its useful life significantly while saving hundreds of dollars. Start with the least expensive solutions (toppers, rotation, cleaning) before progressing to more intensive repairs, and you’ll find that many old mattresses can be restored to comfortable, supportive condition with modest investment and reasonable effort.


