
You’ve enjoyed a restful night’s sleep under the stars or hosted guests comfortably on your Slumberjack air mattress, but now it’s time to pack up. Many campers and homeowners struggle with deflating their Slumberjack air mattress properly—leaving them wrestling with stubborn air pockets, damp storage rolls, or valves that won’t cooperate. Improper deflation doesn’t just make storage frustrating; it can trap moisture inside your mattress, create permanent creases that weaken the material, and even damage the valve mechanism for future use. This comprehensive guide reveals the exact techniques Slumberjack owners use to deflate their mattresses quickly and correctly, ensuring your investment stays in prime condition for countless adventures to come.
Knowing how to deflate Slumberjack air mattress efficiently saves valuable time when breaking camp or preparing for guests. Most users waste precious minutes trying to force air out through incorrect techniques or skip crucial drying steps that lead to mold growth during storage. By following the precise methods outlined here, you’ll transform what many consider a chore into a seamless 5-7 minute process that protects your mattress and makes setup next time noticeably easier. Whether you’re a weekend warrior or occasional guest bed user, mastering these deflation techniques extends your mattress’s lifespan significantly.
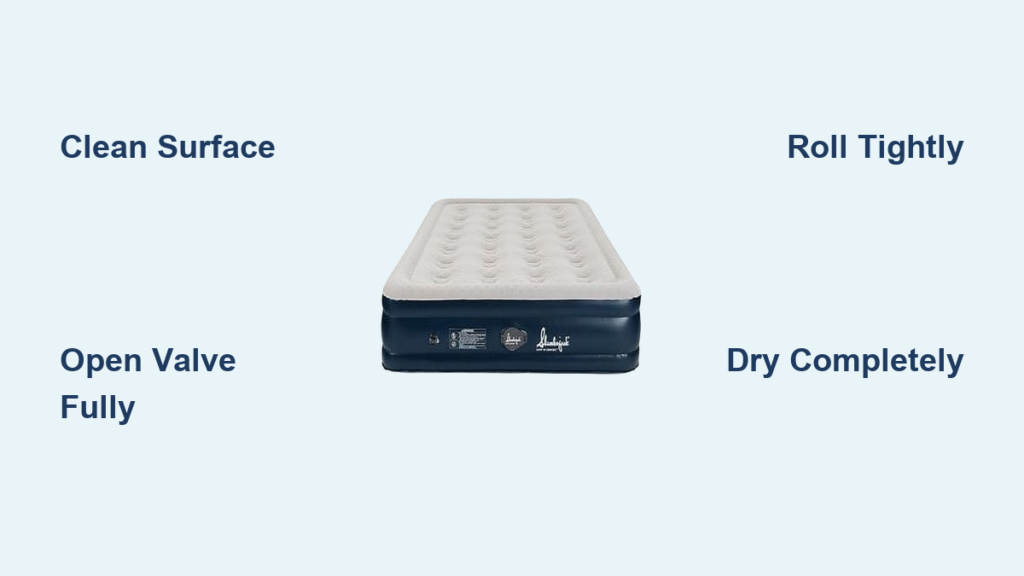
Remove All Bedding and Clean Surface Before Deflation
Start your deflation process by stripping all sheets, blankets, and pillows from the mattress surface. These items often trap moisture against the vinyl material and can accidentally cover the valve during deflation, creating unnecessary delays. Take this opportunity to inspect the sleeping surface for dirt, sand, or spills—especially important if you’ve used your mattress outdoors where debris easily accumulates.
Wipe down the entire surface with a damp cloth mixed with mild soap if needed, then dry thoroughly with a clean towel. Pay special attention to the valve area, as dirt here can interfere with proper air release. Never skip this cleaning step, even for indoor use, as body oils and sweat create conditions perfect for mold growth when trapped inside a rolled mattress.
Why Surface Cleaning Prevents Long-Term Damage
Moisture trapped between the mattress surface and bedding creates a breeding ground for mildew that eats away at the vinyl coating over time. Many Slumberjack owners discover unpleasant odors and weakened material only after multiple storage cycles with improper cleaning. A quick wipe-down before deflation takes less than two minutes but prevents irreversible damage that shortens your mattress’s usable life by years.
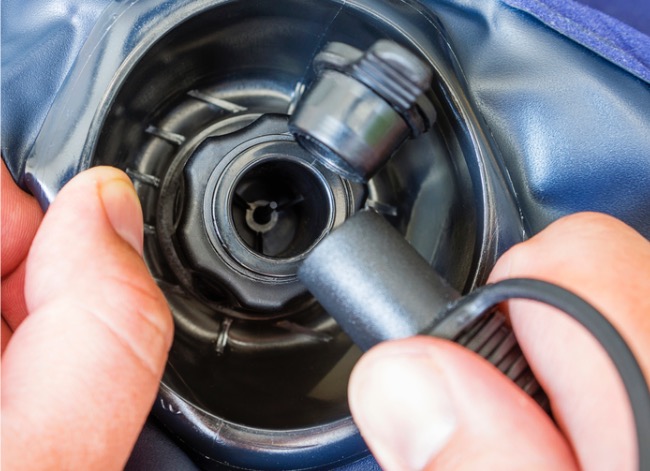
Unlock and Fully Open Your Slumberjack Valve Mechanism
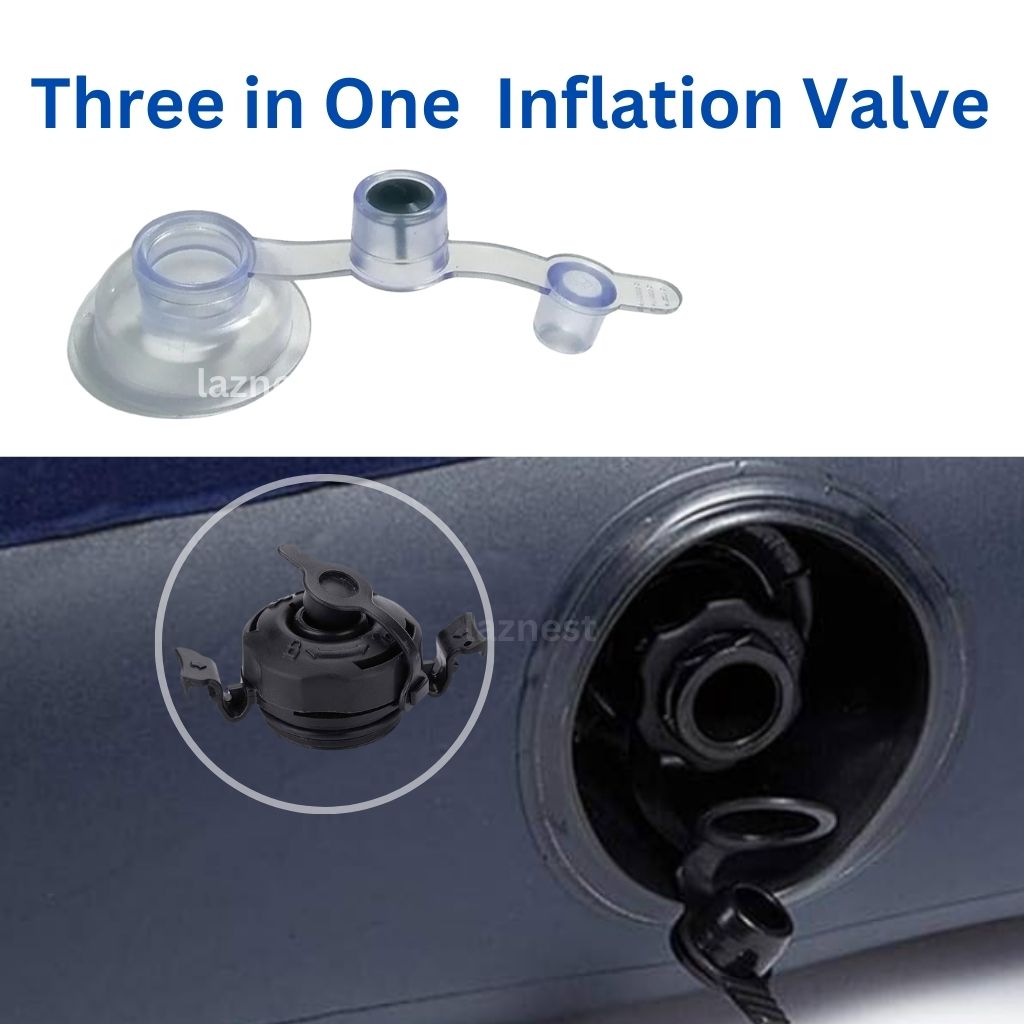
Locate your valve—typically positioned near the foot corner of Queen and King models or along the side of Twin sizes. Most Slumberjack air mattresses use a twist-to-open valve system where you turn the center cap counterclockwise until it stops. Listen carefully for the initial hiss of escaping air, which confirms proper valve operation. If you don’t hear air releasing immediately, press gently on the mattress near the valve to break any internal seal that might be stuck from pressure changes.
Avoid the common mistake of partially opening the valve, which creates frustratingly slow deflation and uneven collapsing. Fully rotate the valve cap until it meets resistance—this ensures maximum airflow during the critical first minutes of deflation. For dual-valve models (common in larger sizes), open both valves simultaneously to cut deflation time nearly in half by allowing air to escape from opposite ends.
Troubleshooting Stuck Valves During Deflation
If your valve won’t turn smoothly, try these field-tested solutions before forcing it: First, moisten the valve mechanism with your breath to lubricate any dried condensation. If that fails, place a rubber grip pad over the valve cap for better traction while turning counterclockwise. Never use tools on the valve, as metal implements can scratch or crack the plastic components. Most Slumberjack valves require only hand pressure to operate correctly—if excessive force is needed, the mechanism may already be damaged and require replacement.
Accelerate Air Release With Professional Rolling Techniques
Once your valve is fully open, immediately begin rolling the mattress from the head toward the foot end where the valve sits. Start with the far end elevated slightly, then make firm, continuous rolls toward the valve while applying steady pressure with your palms. This technique forces trapped air toward the exit point much faster than passive deflation alone. For Queen and King sizes, work with a partner—one person rolls while the other gently presses air toward the valve.
Sit on the elevated end of the mattress and slowly walk your body weight toward the valve area. Your body weight compresses air pockets more effectively than manual pressure alone, especially in thicker mattresses with internal baffles. Stop periodically to check valve operation—sometimes your weight can accidentally press the valve closed if you’re not careful.
Fast-Deflation Hacks for Last-Minute Packing
When you’re racing against time to break camp before sunset, use these emergency techniques: Place a household vacuum cleaner hose near (not inside) the valve opening to create powerful suction that pulls air out rapidly. Alternatively, use your Slumberjack pump in reverse mode—most electric and manual pumps work in both directions with a simple switch flip. These methods can reduce standard 8-10 minute deflation to under three minutes without damaging your mattress when used correctly.
Fix Common Deflation Problems Before They Worsen
Slow or uneven deflation usually indicates one of three issues: a partially closed valve, debris in the valve mechanism, or internal air pockets trapped by baffles. First, verify your valve is fully open by turning it counterclockwise until it stops—many users mistakenly think it’s open when it’s only partially rotated. If air still escapes slowly, press firmly around the valve area to dislodge any stuck internal seals.
For mattresses that deflate partially then stop, gently massage the surface while air releases to break up trapped pockets in the internal baffle system. Most Slumberjack models use interconnected air chambers that require this extra step for complete deflation. If your mattress reinflates slightly after initial deflation, you likely have a small leak—mark the suspected area with tape for repair before your next use.
When to Replace a Damaged Valve
Valves that spin freely without resistance or won’t stay in the open position need replacement before your next use. Slumberjack sells universal valve kits compatible with most models that install in under five minutes. To replace, completely deflate your mattress, peel back the valve surround carefully, remove the old valve by twisting counterclockwise, and press the new valve firmly into place. Test immediately by inflating slightly before full deflation and storage.
Roll and Store Your Deflated Mattress for Maximum Longevity

After complete deflation, ensure your mattress is 100% dry before storage—any moisture leads to mold growth within days. Lay the deflated mattress flat and wipe both sides with a dry towel, paying special attention to the valve area where condensation often collects. If you’ve camped in humid conditions, allow additional air drying time (at least 30 minutes) before rolling.
Fold your Slumberjack mattress in thirds lengthwise, then roll tightly from head to foot with the valve positioned on the outside of the roll. This orientation prevents valve damage during storage and makes setup faster next time. Secure the roll with the included straps or wide rubber bands—never use tape or narrow elastics that can cut into the material.
Ideal Storage Conditions for Slumberjack Mattresses
Store your rolled mattress in a breathable storage bag (never plastic) in a climate-controlled environment between 50-75°F. Avoid attics, garages, or car trunks where temperature extremes degrade the vinyl material. Place the bag on a shelf rather than the floor to prevent moisture absorption and keep it away from direct sunlight which breaks down the material over time. For long-term storage, unroll and reposition your mattress every 3-4 weeks to prevent permanent creases.
Prevent Future Deflation Issues With Regular Maintenance
After each use, clean the valve mechanism with a damp cloth to remove sand, dirt, or body oils that interfere with proper operation. Check the rubber seal inside the valve for cracks or stiffness—replacing this inexpensive part annually prevents most deflation problems. When storing for more than two months, partially inflate your mattress monthly to relieve stress on permanent folds.
Never store your Slumberjack air mattress fully inflated, even for short periods. Constant pressure strains seams and valves, leading to premature failure. Instead, deflate completely after each use, even if you’ll reuse it the next night. This simple habit doubles the typical lifespan of most air mattresses by preventing material fatigue.
Why Proper Deflation Saves You Money Long-Term
Investing five extra minutes in proper deflation and storage prevents the #1 reason Slumberjack mattresses fail prematurely: moisture damage during storage. Campers who skip drying steps often discover mold growth after just 2-3 storage cycles, forcing replacement of otherwise functional mattresses. By following these precise deflation techniques, your Slumberjack air mattress will provide reliable comfort for 5+ years instead of failing after just one or two seasons.
Final Deflation Checklist for Slumberjack Owners
Before storing your Slumberjack air mattress, verify these critical steps: complete surface cleaning, 100% dry material, valve fully open during deflation, tight rolling with valve positioned externally, and storage in a climate-controlled environment. These simple actions transform what many consider a chore into a seamless process that protects your investment. When you master how to deflate Slumberjack air mattress correctly, you’ll spend less time wrestling with stubborn air pockets and more time enjoying restful sleep on your next adventure—whether in the wilderness or your living room. Your properly stored mattress will inflate faster, lie flatter, and provide more consistent support trip after trip, proving that proper deflation is the secret to long-lasting air mattress performance.


