
That yellow ring near your pillow or mysterious dark spot developing in the center of your mattress topper isn’t just unsightly—it’s a breeding ground for bacteria, allergens, and odors that disrupt your sleep quality. Learning how to clean mattress topper stains properly restores both appearance and hygiene while extending your topper’s lifespan. Whether you’re dealing with a fresh coffee spill or years of accumulated sweat stains, the right cleaning approach makes all the difference. The key lies in matching your method to both the stain type and your specific topper material.
Most people make critical mistakes when attempting to clean mattress toppers—using too much water on memory foam, applying heat to blood stains, or rubbing instead of blotting. These errors often set stains permanently or damage the topper beyond repair. This guide provides precise, material-specific techniques that actually work, saving you from costly replacements. By the end, you’ll know exactly how to tackle any stain while keeping your topper fresh and hygienic for years to come.
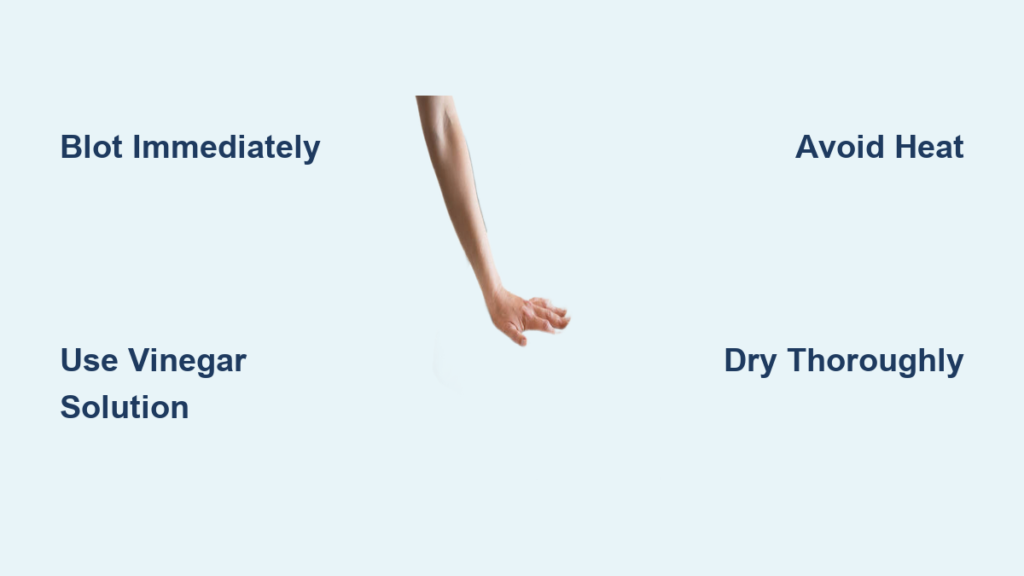
Immediate Action for Fresh Stains

Blotting Techniques That Actually Work
The difference between a five-minute fix and a permanent stain comes down to your first response. When a spill happens, immediately grab clean white cloths—never colored ones, as dyes can transfer to your topper when wet. Press firmly on the stain without rubbing, holding for 10-15 seconds to allow absorption before lifting straight up. Continue with fresh sections of cloth until no more moisture transfers. This simple blotting process removes up to 80% of fresh spills before they penetrate deeply.
Never rub or scrub a fresh stain—that forces liquid deeper into fibers and spreads it outward. Instead, work from the stain’s perimeter toward the center to contain it. For liquid spills, place dry towels under the affected area to catch runoff and prevent moisture from reaching your mattress. Time is critical—organic stains like urine or blood begin bonding with fibers within minutes, making removal exponentially harder.
Identifying Stain Types for Proper Treatment
Your cleaning solution depends entirely on what caused the stain. Protein-based stains (blood, urine, sweat) require cold water treatment, as heat permanently sets these stains by coagulating proteins. For fresh urine accidents, blot immediately then apply an enzyme cleaner—the enzymes break down uric acid crystals at the molecular level. Fresh blood stains respond best to cold water blotting followed by hydrogen peroxide application, which breaks down blood proteins through oxidation.
Oil-based stains (body oils, lotions, food spills) need degreasing agents. Mix one tablespoon of dish soap with two tablespoons of baking soda to create a paste that breaks down oils without damaging most topper materials. For beverage spills like coffee or wine, immediately cover the area with salt to absorb pigments before applying a vinegar-water solution (1:1 ratio) to neutralize tannins. Knowing your stain type before acting prevents wasted effort and potential damage.
Most Effective Natural Cleaning Solutions

Vinegar and Baking Soda Power Combo
White vinegar’s mild acidity makes it ideal for neutralizing alkaline stains like urine while dissolving mineral deposits from sweat. Mix equal parts white vinegar and room temperature water in a spray bottle for general stain treatment. For tougher stains, increase to two parts vinegar to one part water, but test first on an inconspicuous area. Spray generously on the stain, let sit for 10-15 minutes (dwell time is crucial for effectiveness), then blot thoroughly with clean cloths.
For set-in stains, combine vinegar’s power with baking soda’s absorbency. After spraying vinegar solution, sprinkle baking soda directly on the damp area to create a bubbling reaction that lifts deep stains. Let it work for 30 minutes, then vacuum thoroughly once dry. This combination works especially well for sweat stains that cause yellow discoloration near head and shoulder areas—common problem zones that develop over months of nightly use.
Hydrogen Peroxide for Tough Organic Stains
When vinegar isn’t strong enough, 3% hydrogen peroxide provides powerful stain-fighting action without harsh chemicals. It’s particularly effective for blood, urine, and old sweat stains through oxidation—breaking down stain molecules into colorless compounds. Apply directly to the stain using a spray bottle or saturated cloth, watching for the characteristic fizzing that indicates active cleaning. Allow 5-10 minutes of dwell time before blotting thoroughly.
For stubborn stains, create a paste with three parts baking soda to one part hydrogen peroxide. Apply this thick mixture directly to the stain, cover with plastic wrap to prevent drying, and let it work overnight. The following day, vacuum completely once dry. This method safely tackles set-in stains that other treatments can’t touch, but always test first on colored toppers as hydrogen peroxide has mild bleaching properties.
Material-Specific Cleaning Methods

Memory Foam Topper Cleaning Protocol
Memory foam requires the gentlest approach due to its highly porous structure that absorbs moisture quickly. Never submerge or oversaturate—excess water leads to mold growth inside the foam. For spot cleaning, apply cleaning solution with a fine-mist spray bottle, using just enough to dampen the surface without soaking through. Work the solution in gently with a soft cloth using circular motions—never scrub.
After treatment, extraction is critical. Press firmly with dry towels to absorb dissolved stains and cleaning solution, replacing cloths frequently. Elevate the topper to allow air circulation on all sides—propping against a wall or using a drying rack. Complete drying takes 48-72 hours for memory foam; verify dryness by pressing firmly in multiple spots with the back of your hand—no cool or damp sensation should remain. Using a fan or dehumidifier significantly speeds this process.
Cotton and Synthetic Topper Cleaning
Cotton and polyester toppers tolerate more thorough cleaning than foam varieties. Many cotton toppers can be machine washed on gentle cycles with cold water and mild detergent—check care labels first. For spot cleaning, you can use slightly stronger solutions without damage. A mixture of dish soap, hydrogen peroxide, and baking soda works wonders on body oil stains that cause yellow discoloration.
Synthetic toppers dry much faster than natural fibers—typically 12-24 hours. After cleaning, lay flat in a well-ventilated area with fans circulating air across the surface. Unlike memory foam, you can safely use a hair dryer on cool setting to accelerate drying in hard-to-reach areas, keeping it at least 12 inches from the surface. For overall refreshment between deep cleanings, sprinkle baking soda over the entire surface, let sit for 2 hours, then vacuum thoroughly.
Removing Common Stain Types
Urine and Sweat Stains
Urine requires specialized treatment due to uric acid crystals that bond to fibers. Start with vinegar-water solution (1:1 ratio) to neutralize alkalinity, blot dry, then apply baking soda-hydrogen peroxide paste. Cover with plastic wrap and let work overnight before vacuuming. For persistent odors, enzyme cleaners remain essential—they break down odor-causing compounds at the molecular level.
Sweat stains appear as yellow-brown discoloration from mineral deposits in perspiration. Create a paste with equal parts dish soap (degreasing type), hydrogen peroxide, and baking soda. Apply to stained areas, work in gently with a soft brush, and let sit 30-60 minutes before blotting. The dish soap breaks down oils, hydrogen peroxide lifts discoloration, and baking soda absorbs odors—triple action against stubborn body stains.
Coffee and Beverage Spills
For fresh coffee spills, immediately blot then cover with salt to absorb pigments before they set. After 5 minutes, vacuum excess salt, then apply a solution of one tablespoon dish soap, one tablespoon white vinegar, and two cups warm water. Blot firmly toward the center to contain the stain. For red wine, the same solution works, or try sprinkling salt on fresh spills to absorb wine before cleaning.
Set-in beverage stains require hydrogen peroxide treatment. Apply directly to the stain, let fizz for 5 minutes, then blot with clean cloths. Repeat until no more color transfers. Never use hot water on coffee or tea stains—heat sets tannin pigments permanently. For complete removal, multiple treatments with thorough drying between applications often proves necessary.
Preventing Future Stains and Proper Drying
Essential Protective Measures
A high-quality waterproof mattress protector forms your first line of defense against stains. Choose breathable materials like cotton with waterproof backing that don’t compromise comfort. Wash protectors every 1-2 weeks—more frequently with children or pets—and keep a spare for immediate replacement during laundering. This simple barrier prevents 90% of stains from ever reaching your topper.
For additional protection, establish a nightly routine of wiping your skin with a damp cloth before bed to remove excess oils and lotions. Keep a stain emergency kit in your bedroom with white cloths, vinegar solution in a spray bottle, baking soda, and enzyme cleaner for immediate response to accidents. Quick action within the first 5 minutes prevents most stains from becoming permanent.
Drying Techniques That Prevent Mold
Improper drying causes more damage than the original stain. After cleaning, position fans to blow air across both sides of the topper—never apply direct heat. Outdoor drying in sunlight provides UV sanitization and faster drying, but bring the topper inside if rain threatens. Indoors, place near open windows with cross-ventilation or use a dehumidifier to pull moisture from the air.
Verify complete dryness by pressing firmly in multiple locations with the back of your hand—no cool or damp sensation should remain. Memory foam requires special attention; press deep into the material to check internal dryness. Rushing this step risks mold growth that creates health hazards and permanent damage. When in doubt, add another 12 hours of drying time—your health and topper longevity depend on it.


