

Waking up to dog vomit on your mattress is a nightmare scenario for pet owners, but knowing exactly how to respond can save your bedding from permanent damage. The acidic nature of stomach contents combined with your mattress’s porous structure creates a cleaning challenge that demands quick action—your first five minutes determine whether you’ll successfully eliminate stains and odors or face lingering problems. Whether your dog got sick after a car ride, ate something questionable, or experiences occasional motion sickness, this step-by-step guide delivers proven techniques for restoring your mattress to fresh, usable condition. You’ll learn immediate response protocols, effective cleaning solutions, and prevention strategies that keep future accidents from ruining your sleep sanctuary.
Stop the Spread: First 5 Minutes After Discovery
Your immediate actions when finding dog vomit on your mattress directly impact the final outcome—delaying even briefly allows acidic contents to penetrate deeper into fibers and begin bonding with materials. Before grabbing cleaning supplies, take a 10-second assessment: determine the vomit’s freshness (wet vs. dried), approximate volume, and whether solid chunks remain on the surface. This quick evaluation helps you choose the right approach before contamination spreads further through your mattress layers.
Remove Solids Before Touching Liquid
Always wear disposable gloves before beginning cleanup, even when handling your own pet’s vomit—gastric contents can contain bacteria and parasites that pose health risks. Use a plastic spoon, spatula, or stiff card to carefully scoop up any solid material, working from the edges toward the center to prevent spreading. Deposit everything into a plastic bag and seal it immediately. Avoid paper towels for this step—they’ll become saturated instantly and push liquid deeper into the mattress. For dried vomit, gently loosen material with a stiff brush before vacuuming thoroughly to remove debris.
Blot Liquid Without Rubbing or Spreading
Press white paper towels, clean white cloths, or disposable absorbent pads firmly against the affected area—never rub, as this drives liquid deeper into mattress fibers. Apply consistent pressure for 15-20 seconds, then lift and check for transferred moisture. Replace saturated materials with dry ones immediately and repeat until minimal moisture transfers. This process may require multiple towel changes over 3-5 minutes. If you own a wet-dry vacuum, use it now for superior extraction—this single step can remove up to 70% more liquid than blotting alone and dramatically improve your final results.
Select the Right Cleaning Solution for Complete Removal
Choosing between commercial enzyme cleaners and household alternatives depends on your situation, but understanding how each works ensures you select the most effective option for your specific mattress and vomit scenario. Enzyme cleaners represent the gold standard for organic stains, while DIY solutions work well when commercial products aren’t immediately available.
Enzyme Cleaners: The Secret Weapon Against Organic Stains
Enzyme-based cleaners work differently from standard household cleaners because they contain specific proteins that break down organic matter at a molecular level. These products digest proteins, fats, and carbohydrates in vomit rather than simply masking odors. When shopping, choose formulations specifically designed for pet stains and verify they list protease, amylase, and lipase among ingredients—these enzymes target proteins, starches, and fats respectively, covering vomit’s main components.
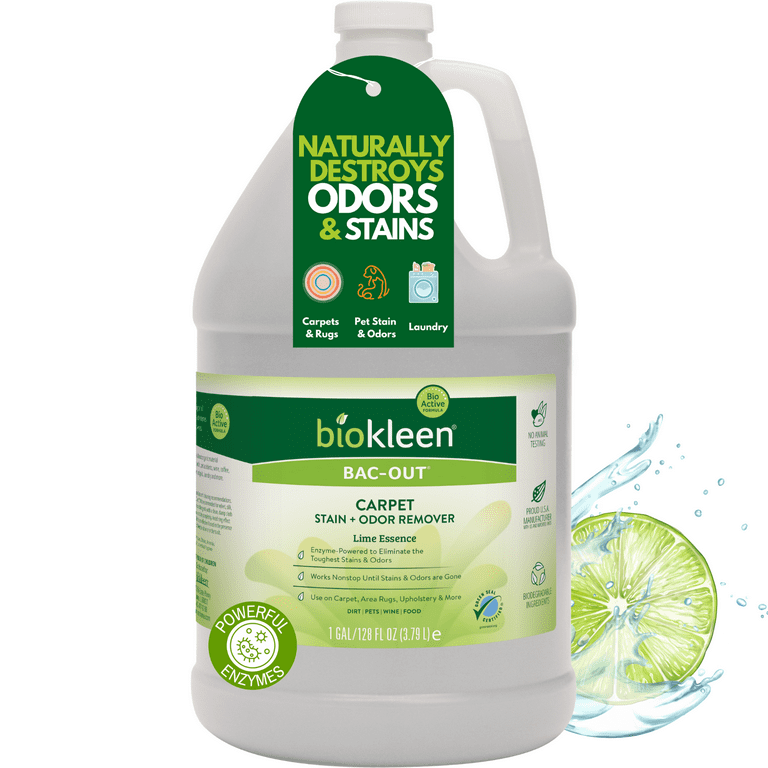
Apply enzyme cleaners generously to saturate the affected area, then allow the recommended dwell time (typically 15-30 minutes). This extended contact time is essential for enzymes to penetrate mattress fibers and break down bonded contamination. Popular brands like Nature’s Miracle and Biokleen work well for most situations, though professional-grade products offer greater concentration for severe cases. Pro tip: Cover treated areas with plastic wrap during dwell time to prevent evaporation and maximize penetration.
Effective DIY Alternatives When Commercial Products Aren’t Available
When enzyme cleaners aren’t immediately accessible, household ingredients can effectively address dog vomit on mattresses. A paste made from baking soda and hydrogen peroxide (3% solution) provides excellent absorbent and deodorizing properties along with mild bleaching action for stains:
- Mix baking soda with hydrogen peroxide to create a spreadable consistency
- Apply generously to the affected area
- Allow it to dry completely before vacuuming
For odor neutralization, a solution of equal parts white vinegar and water effectively breaks down residue. Spray the solution generously (without over-wetting), let it sit for 5-10 minutes, then blot thoroughly. The vinegar smell dissipates as it dries, taking vomit odors with it. For stubborn cases, combine hydrogen peroxide with baking soda and a drop of dish soap to create a powerful cleaning foam that penetrates mattress fibers when worked in with a soft brush.
Deep Cleaning Process: From Stain to Fresh Mattress
With initial absorption complete and your cleaning solution selected, it’s time to perform the deep cleaning process that will restore your mattress to a fresh, sanitary condition. This multi-step approach addresses both surface contamination and residue that has penetrated into mattress layers.
Pretreat and Agitate Without Damaging Fibers
Ensure the mattress is as dry as possible from the initial response phase before beginning deep cleaning. Remove all bedding and launder separately using the hottest water safe for the fabric. Set up your cleaning station with multiple clean cloths, your chosen solution, a spray bottle, a soft-bristled brush, gloves, and a fan for drying.
Apply your cleaning solution generously to saturate the affected area and allow it to dwell according to product instructions (10-15 minutes for DIY solutions). After dwell time, gently agitate the area with a soft-bristled brush using circular motions from the outer edges toward the center. Avoid aggressive scrubbing, which can damage fibers and push contaminants deeper—gentle agitation is key for effectiveness without harm.
Extract Thoroughly and Accelerate Drying
Begin extraction by pressing clean, dry cloths firmly against the treated area and holding for several seconds. Lift, check for transferred moisture, and rotate to clean sections or switch to fresh cloths. Repeat this process multiple times until cloths come away mostly clean. A wet-dry vacuum significantly improves results—use the upholstery attachment with overlapping strokes across the treated area.
After initial extraction, allow the mattress to rest for several minutes as residual liquid may wick up from deeper layers. Apply a generous layer of baking soda across the entire treated area and allow it to remain for several hours or overnight. This provides additional deodorizing by absorbing remaining moisture and binding odor molecules. Accelerate drying using fans positioned to blow directly across the mattress surface, a dehumidifier in the room, or sunlight if weather permits. Complete drying typically takes 24-48 hours—never use the mattress until it feels completely dry and warm to the touch.
Eliminate Stubborn Stains and Lingering Odors
:max_bytes(150000):strip_icc()/clean-your-mattress-the-natural-way-350742-dd95404f7ac54f9b90f09045d9b4e98c.png)
When standard cleaning doesn’t fully resolve the issue, you’ll need to address set-in stains and persistent odors that have penetrated deeper into mattress layers. These situations require more intensive methods and additional patience, but most cases can be resolved with proper technique.
Target Set-In Stains That Resist Initial Cleaning
Dried and set-in vomit requires rehydration to be effectively removed. Begin by loosening dried material with a stiff brush or plastic scraper, then vacuum thoroughly before applying liquid solutions. For stubborn stains, use a soak-and-extract approach with enzyme cleaner: apply generously, cover with plastic wrap, and allow 30 minutes to several hours of penetration time. Periodically add more solution if the area begins to dry.
After soaking, agitate gently and extract thoroughly. You may need to repeat the entire cycle multiple times over several days until no further improvement occurs. For residual staining after enzyme treatment, a hydrogen peroxide paste applied and allowed to dry before brushing away can address discoloration. Always test these treatments in an inconspicuous area first to prevent unintended damage.
Eliminate Persistent Odors That Won’t Disappear
When odors persist despite initial cleaning, the contamination has likely reached deeper layers. Professional-grade enzyme cleaners from janitorial supply sources may succeed where consumer products fail. For extreme cases, consider renting a carpet cleaner with upholstery attachment for more aggressive extraction, or hire professional mattress cleaning services with experience in pet stains.
If home methods prove insufficient after multiple attempts, professional services offer specialized equipment including hot water extraction and deodorizing fogging treatments. Document your cleaning attempts before calling professionals, as this information helps them select appropriate treatments. In some cases, particularly with memory foam or heavily contaminated mattresses, replacement may ultimately be more practical than continued restoration attempts.
Prevent Future Mattress Disasters With Smart Protection
After successfully cleaning your mattress, implementing protection strategies prevents future incidents from causing similar damage and simplifies cleanup considerably. These approaches combine physical barriers with behavioral modifications to keep your mattress safe.
Waterproof Mattress Protectors That Actually Work
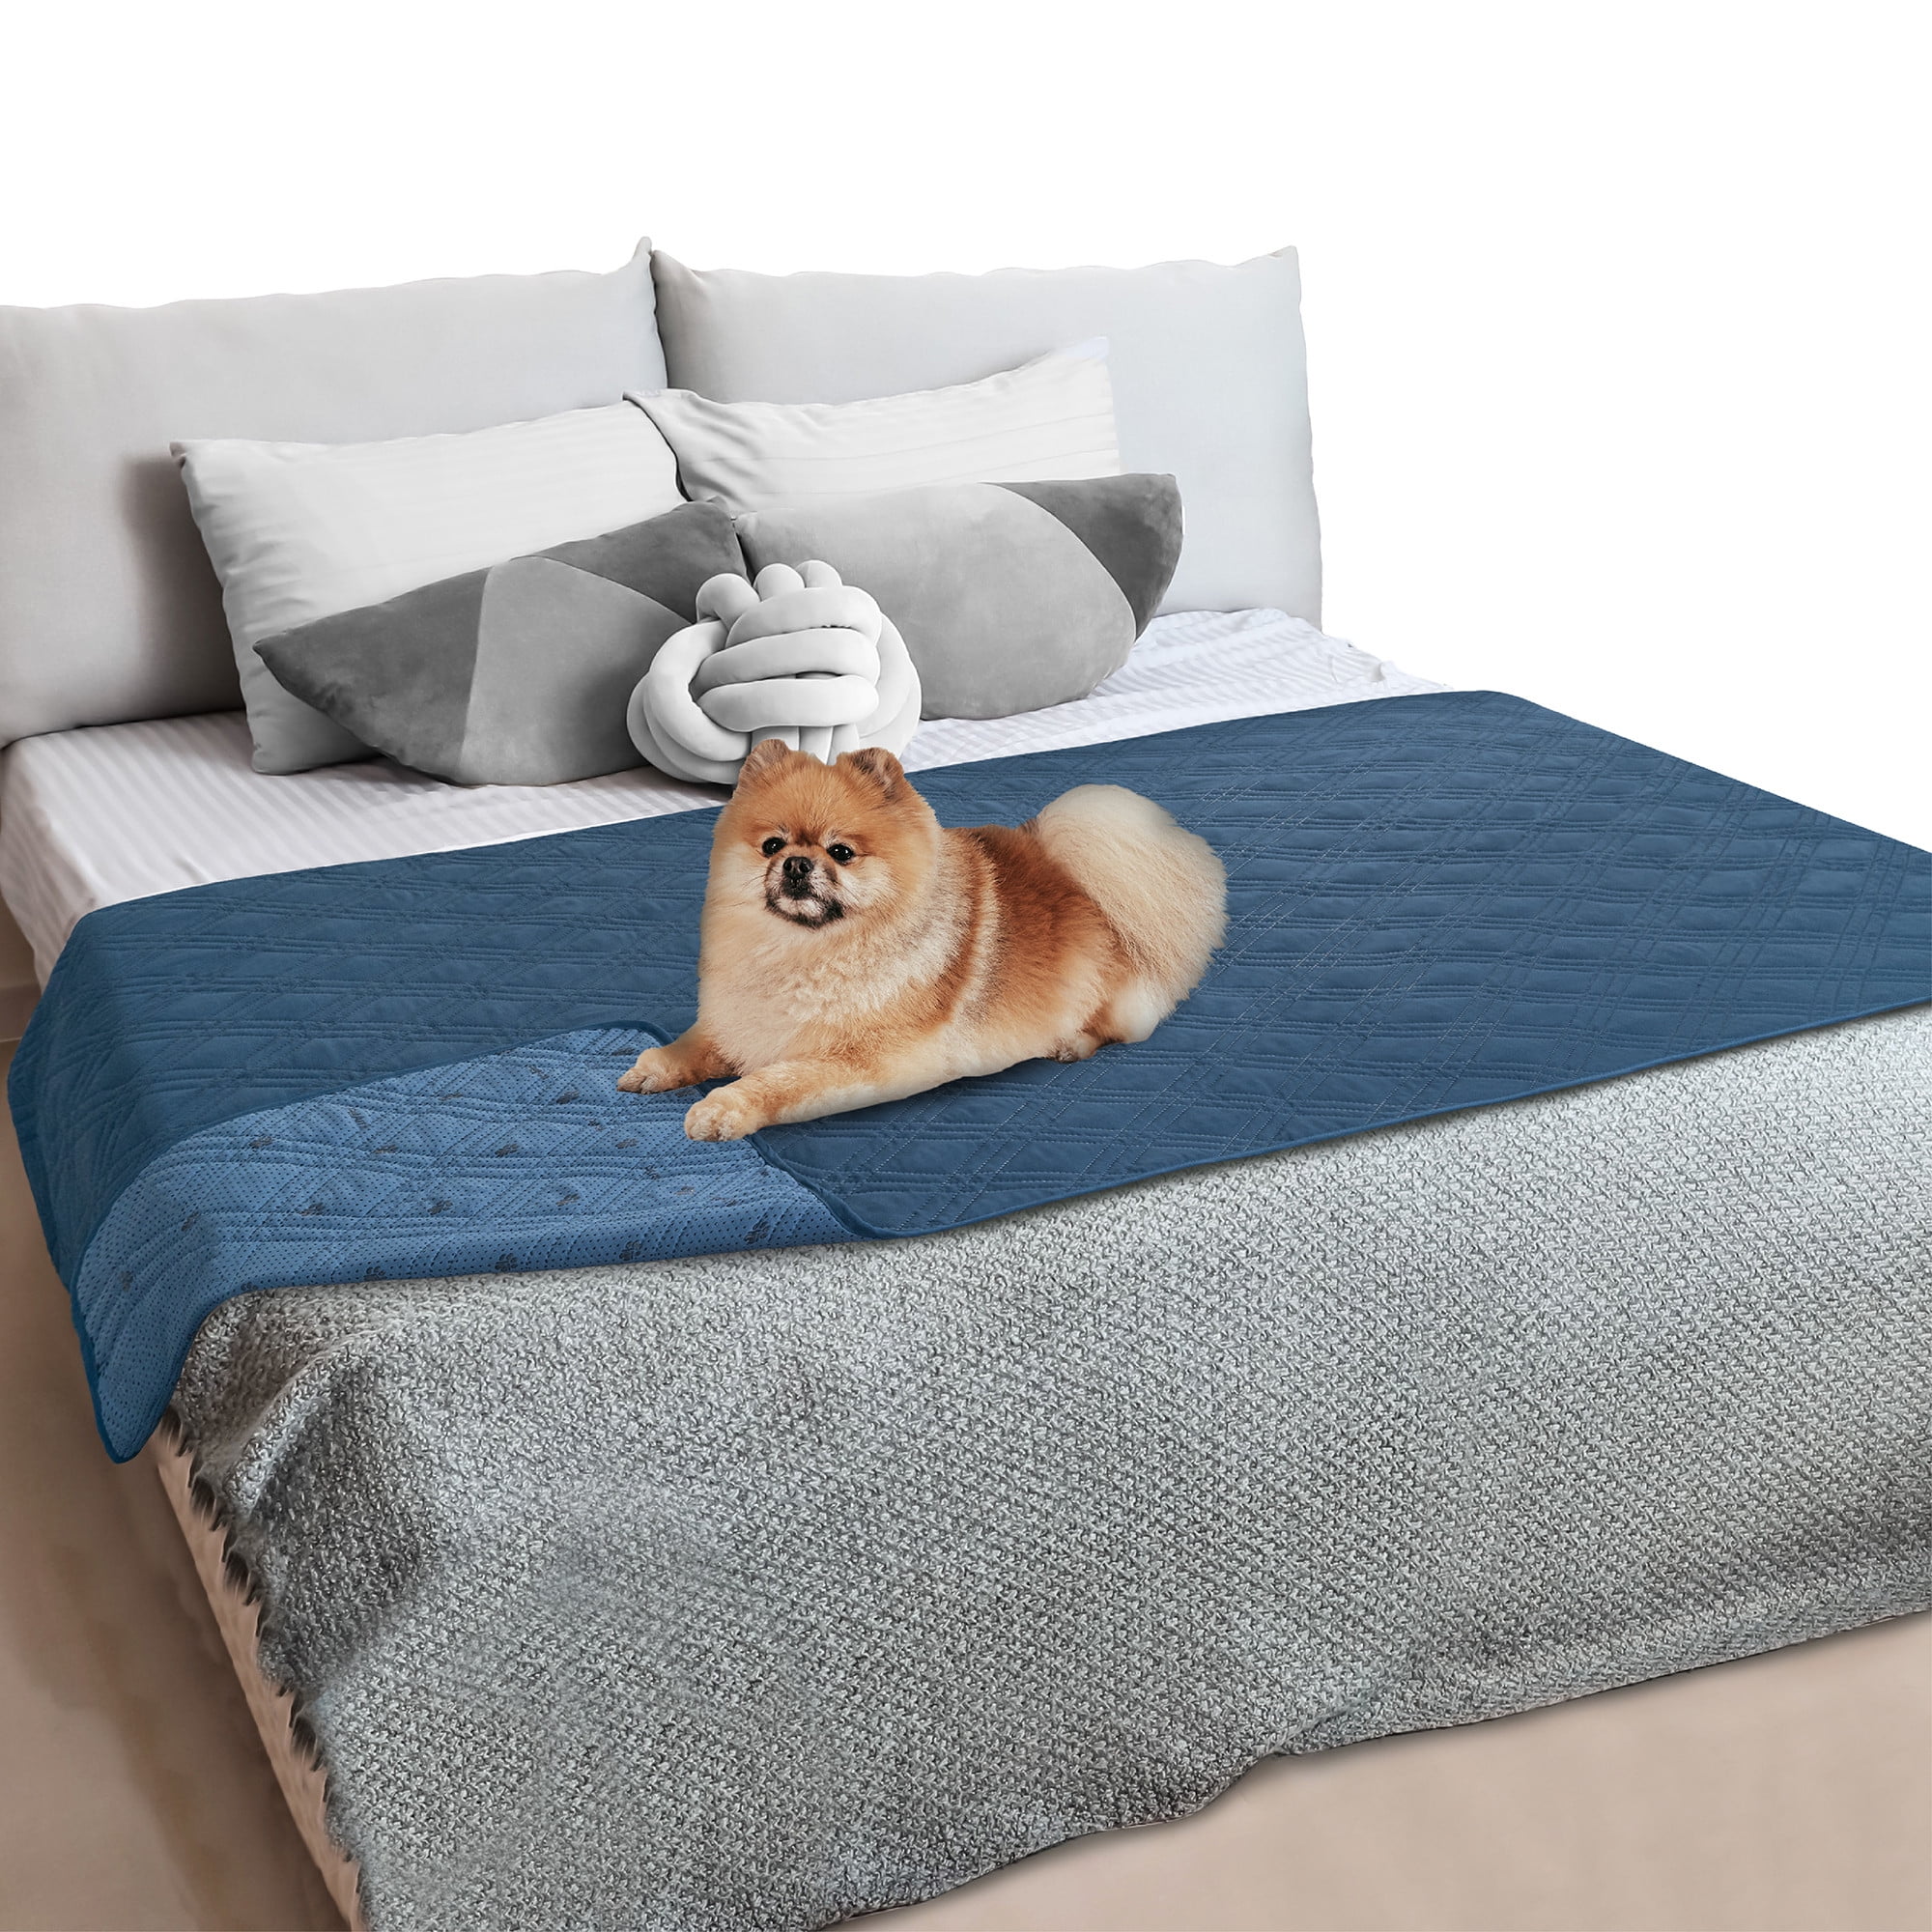
A quality mattress protector is the single most effective investment for preventing damage from dog vomit. Look for waterproof (not just water-resistant) protectors with a polyurethane membrane layer sandwiched between comfortable surface layers. These prevent liquids from reaching the mattress while allowing air flow for comfort. Deep-pocket designs accommodate mattress toppers and provide a secure fit that won’t shift during use.
Wash mattress protectors regularly according to manufacturer instructions, typically every few weeks or immediately after any accident. For additional protection, consider using a waterproof mattress pad that can be removed and laundered separately from sheets. Some pet owners also use dedicated pet blankets on the bed, protecting underlying bedding and simplifying cleanup when accidents occur.
Address Underlying Causes of Dog Vomiting
Preventing dog vomit on the mattress begins with understanding why your dog vomits. If dietary indiscretion is the cause, manage access to foods, garbage, and other triggers. For motion sickness, consult your veterinarian about preventive medications before car travel. Dogs who vomit frequently should be evaluated by a veterinarian to rule out medical conditions requiring treatment.
Restrict mattress access during high-risk periods such as immediately after meals, during car travel recovery, or when your dog shows signs of illness. Establish a routine of limiting bed access for at least one hour after eating. Having cleaning supplies readily accessible near the bed allows immediate response when accidents happen, minimizing damage.
Quick Action Checklist for Future Vomiting Emergencies
When dog vomit lands on your mattress, follow this sequence: put on gloves and remove solids first, then blot aggressively with absorbent materials to pull out liquid. Apply enzyme cleaner generously, allow proper dwell time, agitate gently, and extract thoroughly with repeated blotting or wet-dry vacuum. Cover with baking soda for extended deodorizing, vacuum after drying, and accelerate the process with fans and dehumidifiers. For set-in stains, repeat cleaning cycles and consider professional services if needed. Going forward, use waterproof mattress protectors and address the underlying causes of your dog’s vomiting to prevent recurrence.


