
Discovering dog poop on your mattress is one of the most frustrating cleaning challenges a pet owner can face. Whether your furry friend had an accident overnight, experienced digestive issues, or simply made a mistake while you were away, acting quickly and using the right techniques can mean the difference between a completely restored mattress and permanent damage. This comprehensive guide walks you through every step of the process, from immediate action to deep cleaning and odor elimination, ensuring your mattress returns to its fresh, clean state.
The key to successful mattress cleaning lies in understanding that dog poop contains bacteria, enzymes, and proteins that standard cleaning methods won’t fully address. Unlike human waste or simple food stains, pet messes require specific approaches that break down biological material and neutralize odors at their source. With the right supplies, proper technique, and a bit of patience, you can restore your mattress completely—without needing expensive professional services or mattress replacement.
Note: This guide is based on general best practices for organic stain removal on mattresses. Always check your mattress warranty before applying any cleaning solutions, as some treatments may void manufacturer protections.
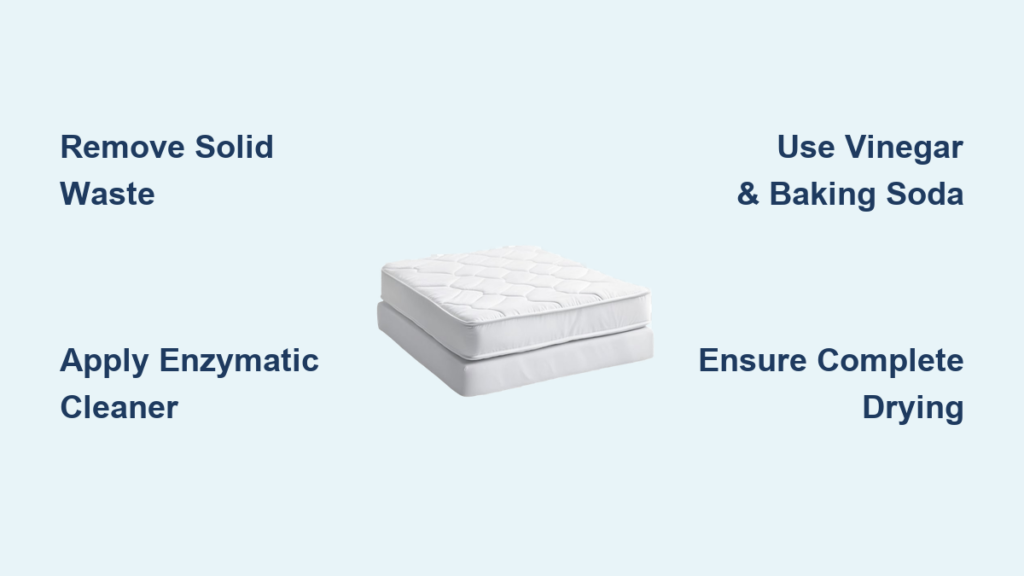
Remove Solid Waste Immediately
The moment you discover dog poop on your mattress, your speed of action directly impacts your cleaning success. Organic matter begins seeping into mattress layers within minutes, making prompt response essential for preventing deep-set stains and persistent odors that become nearly impossible to remove later.
Begin by removing any solid waste carefully using disposable gloves—rubber or latex gloves protect your hands from bacteria and make cleanup more hygienic. Use paper towels or plastic bags to scoop up the bulk of the waste, working from the outside edges toward the center to prevent the mess from spreading further into the fabric. If the poop has already been absorbed into the mattress surface, use a plastic scraper or dull knife to remove as much solid material as possible without pushing it deeper into the fibers.
After removing solid waste, blot the affected area with clean, dry paper towels or white cloths to absorb moisture. Press down firmly and continue blotting until no more moisture transfers to your cloths. Avoid rubbing or scrubbing at this stage, as this forces the waste deeper into mattress layers and spreads the contamination area. The blotting process may need to be repeated multiple times with fresh cloths as moisture is drawn out from deep within the mattress padding.
Why Blotting Beats Rubbing Every Time
Many pet owners instinctively rub at stains, but this spreads contamination through capillary action. When you rub, you’re essentially using the stain as “ink” to color surrounding fibers. Blotting creates negative pressure that draws material out rather than pushing it in. For best results, place multiple layers of paper towels on the spot, then stand on them with firm but gentle pressure for 30 seconds before replacing with fresh towels. Repeat this process until minimal transfer occurs.
Prepare Your Cleaning Arsenal
Before diving into the deep cleaning process, having all necessary supplies within reach prevents interruptions and ensures you can complete the job thoroughly once started. The right products make a significant difference in results—household cleaners may mask odors temporarily but won’t address the biological components that cause lasting smells.
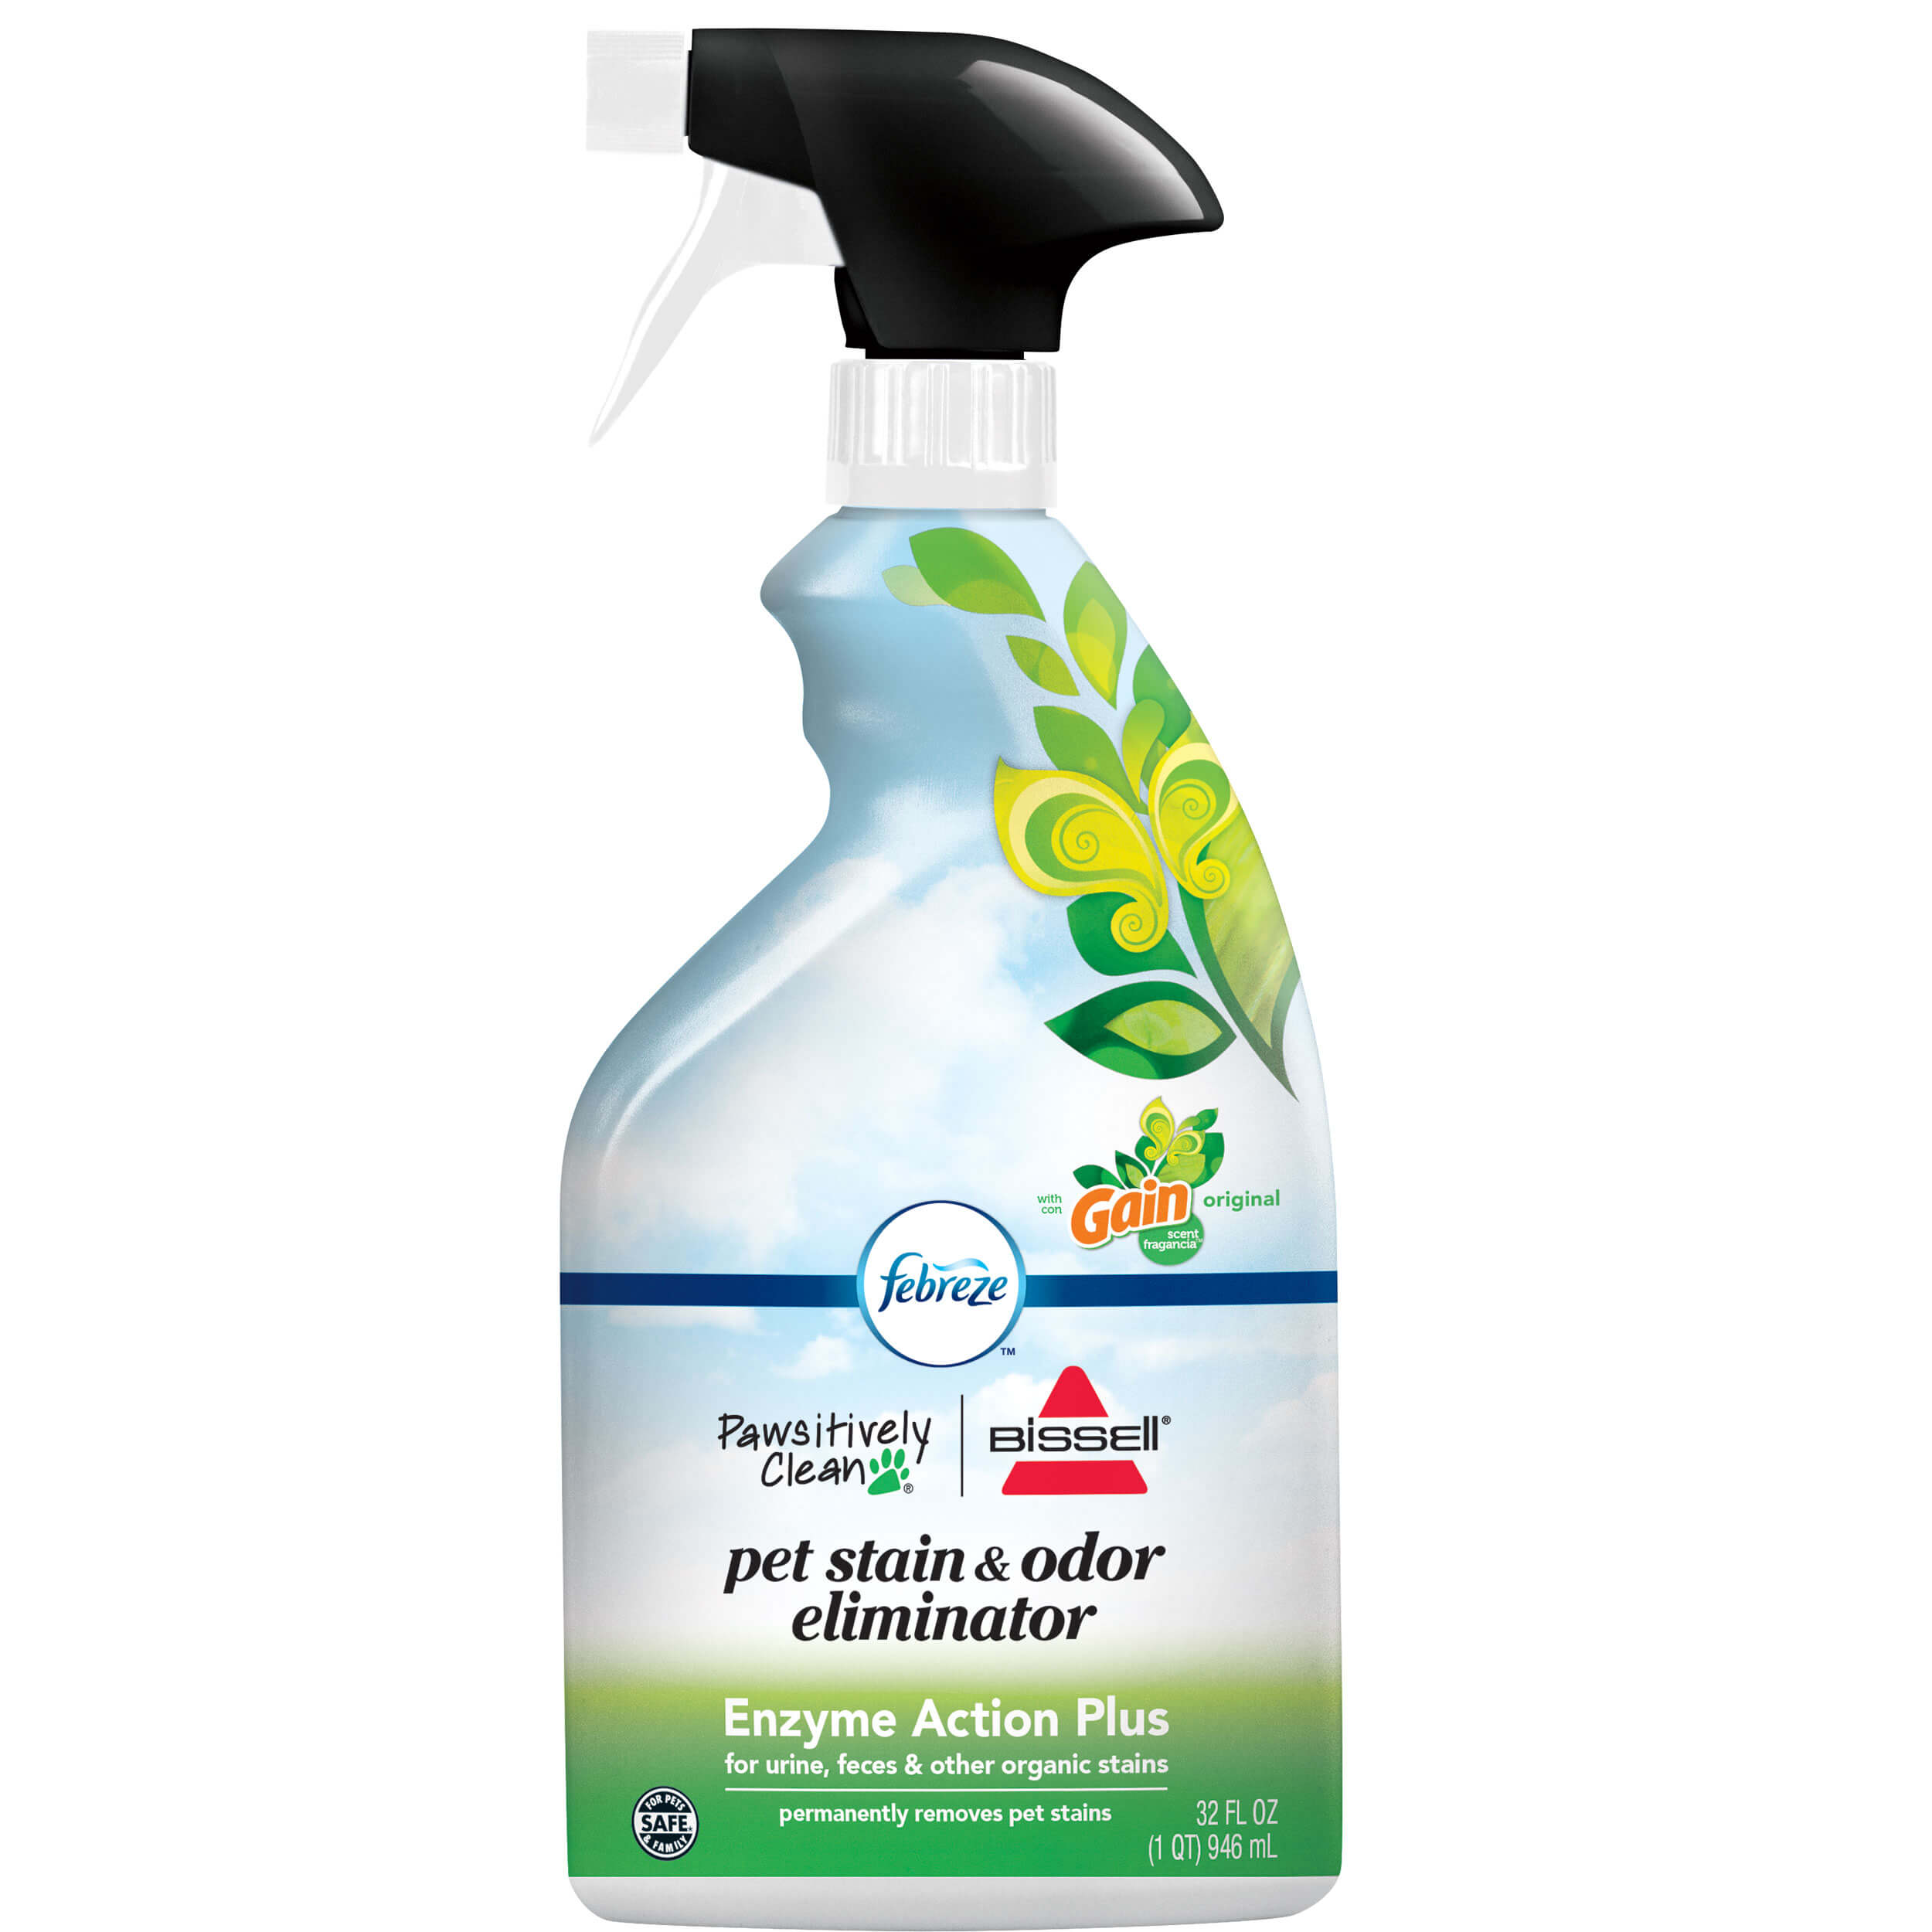
Your cleaning arsenal should include an enzymatic cleaner specifically designed for pet messes, as these products contain bacteria that break down the proteins and enzymes in waste at a molecular level. Look for enzymatic cleaners labeled safe for use on mattresses and fabrics, and avoid products containing bleach or ammonia, which can damage mattress materials and actually attract pets to the same spot again. White vinegar serves as an excellent natural alternative or supplement to enzymatic cleaners, working to neutralize odors and lift stains without harsh chemicals.
Additional supplies you’ll need include baking soda for odor absorption, clean white cloths or microfiber towels in abundance, a spray bottle for applying cleaning solutions, rubber gloves, a vacuum with upholstery attachment, and optionally, a handheld steam cleaner for final sanitization. Having a fan or dehumidifier nearby speeds drying time, which is crucial because trapped moisture leads to mold growth and lingering odors. Prepare your workspace by laying down plastic sheeting or old towels to protect surrounding floors and furniture from splashes during cleaning.
Apply Enzymatic Cleaner for Biological Breakdown
Enzymatic cleaners represent your most powerful weapon against pet messes on mattresses, but their effectiveness depends entirely on proper application. These cleaners work through beneficial bacteria that consume organic matter—the same bacteria that make compost heaps work—meaning they need direct contact with the contaminated area and adequate time to perform their work.
Spray the enzymatic cleaner generously over the affected area, ensuring the solution saturates the stain and penetrates into mattress layers. The mattress should be damp but not soaking wet—if excess liquid pools on the surface, blot it away with dry cloths before proceeding. For particularly saturated areas or old stains, apply the cleaner, allow it to sit for five minutes, then blot again before applying a second round. The bacteria need moisture to move and feed, but too much water dilutes their effectiveness and extends drying time.
Once applied, patience becomes your most important tool. Allow the enzymatic cleaner to work for the full recommended time listed on the product label—typically between 15 minutes and several hours depending on the product strength. For best results with dried or set-in stains, apply the cleaner, cover the area with a damp (not wet) cloth, and allow it to sit overnight. This extended contact time allows bacteria to penetrate deep into mattress layers and break down accumulated waste completely. Never skip this waiting period, as premature rinsing or drying defeats the entire purpose of using enzymatic cleaners.
How to Test Cleaning Solutions First
Always test any cleaning solution on an inconspicuous area of your mattress (like a side panel) before full application. Spray a small amount, wait 10 minutes, then check for:
– Color bleeding or fading
– Fabric texture changes
– Unpleasant chemical odors
– Residue formation
If any negative reactions occur, discontinue use and try an alternative method. Different mattress materials (memory foam, latex, innerspring) react differently to cleaning solutions.
Neutralize Odors with Vinegar and Baking Soda
For stubborn stains or as a follow-up to enzymatic cleaning, a white vinegar solution provides powerful stain-lifting and odor-neutralizing properties. White vinegar’s acetic acid breaks down residue while simultaneously neutralizing the alkaline compounds that cause pet waste odors, making it an excellent complementary treatment to enzymatic cleaners.
Create a cleaning solution by mixing equal parts white vinegar and warm water in a spray bottle—add a few drops of dish soap for enhanced cleaning power if desired. Lightly mist the stained area with this solution, taking care not to oversaturate the mattress. The vinegar smell is strong initially but evaporates completely as the mattress dries, so don’t be alarmed by the potent aroma during cleaning. For particularly stubborn stains, apply the vinegar solution, let it sit for five to ten minutes, then blot thoroughly with clean cloths to lift the dissolved residue.
After vinegar treatment, follow with a generous sprinkling of baking soda over the entire treated area, covering at least one foot beyond the original stain boundaries in all directions. Odors travel laterally through mattress materials, so treating beyond the visible stain prevents residual smells from seeping back to the cleaned spot. Allow the baking soda to sit for several hours or overnight for maximum odor absorption, then vacuum thoroughly using the upholstery attachment on your vacuum cleaner.
Ensure Complete Mattress Drying
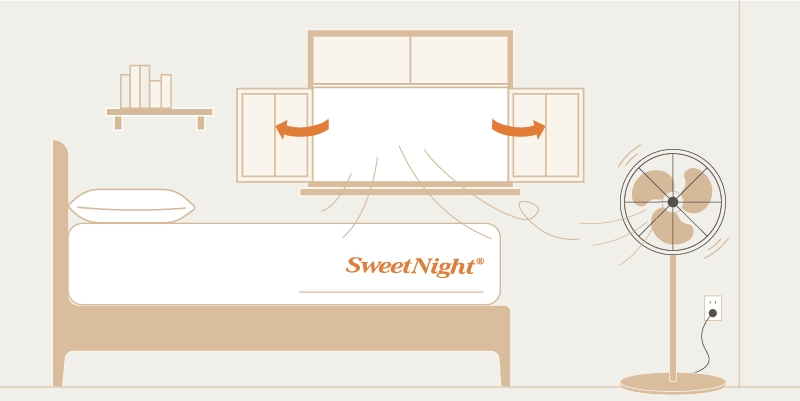
Proper drying represents the final and potentially most critical step in mattress cleaning—trapped moisture creates ideal conditions for mold, mildew, and bacteria growth, transforming your clean mattress into a health hazard. Depending on your climate and cleaning method, complete drying may take anywhere from several hours to a full day or longer.
Maximize air circulation by positioning fans around the mattress, directing airflow across the cleaned surface. A box fan placed adjacent to the mattress works well, while ceiling fans help if present in the room. For accelerated drying, use a dehumidifier in the room to pull moisture from the air and the mattress simultaneously. If weather permits, moving the mattress to a well-ventilated area outdoors—ideally in direct sunlight, which provides natural antimicrobial benefits—dramatically speeds the process and leaves your mattress smelling fresh.
Before making the bed or allowing pets or people to use the mattress, verify complete dryness by pressing firmly on the surface with your palm. No moisture should transfer to your hand, and the mattress should feel uniformly dry with no cool or damp spots. Check seams, crevices, and the center of the treated area particularly carefully, as these spots retain moisture longest. If any doubt remains, extend the drying period another several hours—rushing this step undermines all your previous cleaning efforts.
Prevent Future Mattress Accidents

After investing significant effort in cleaning your mattress, implementing preventive measures protects your investment and saves future cleaning headaches. Understanding why accidents occur and addressing underlying causes reduces recurrence while maintaining your mattress cleanliness long-term.
Consider whether medical issues, anxiety, dietary changes, or environmental factors might have contributed to your dog’s accident. Sudden changes in bathroom habits often signal health problems requiring veterinary attention, while anxiety-related accidents may benefit from behavioral training or calming supplements. Establishing consistent routines for feeding, walking, and bathroom breaks helps regulate your dog’s digestive system and reduces accident likelihood.
Physical barriers provide the most reliable protection for your mattress. Invest in a waterproof mattress protector specifically designed for pet owners—these encase your mattress completely, creating an impermeable barrier against future accidents while remaining comfortable for sleep. Look for protectors with secure fitted designs that won’t shift during use, and choose breathable materials that won’t affect sleep quality. For additional protection, consider training pads or waterproof sheets beneath your regular bedding, creating multiple layers of defense that make cleanup trivial when accidents do occur.
When to Call Professionals
Some situations exceed what home cleaning methods can address effectively, and recognizing when to call professionals prevents wasted effort and potential mattress damage. Extensive saturation, repeated accidents in the same spot, persistent odors despite multiple cleaning attempts, or concerns about deep bacteria penetration all indicate professional intervention may be necessary.
Professional mattress cleaning services utilize industrial-grade equipment and commercial-strength enzymatic cleaners that penetrate deeper than consumer products achieve. They also possess specialized drying equipment that ensures complete moisture removal, eliminating the mold and mildew risks associated with incomplete home drying. While professional cleaning represents an investment, it’s typically a fraction of mattress replacement costs and extends your mattress lifespan significantly.
In some cases, particularly with very old mattresses, mattresses that have experienced multiple accidents, or those showing signs of structural damage from moisture, replacement may prove more practical than continued cleaning attempts. Consider the mattress age, overall condition, and your budget when making this decision—an older, sagging mattress may not be worth the investment regardless of cleaning success.
Final Note: This guide provides general best practices for addressing dog poop on mattresses. Specific cleaning methods may vary based on your mattress type, the age of the stain, and manufacturer recommendations. Always consult your mattress warranty before attempting deep cleaning, as some treatments may void coverage. For persistent issues or health concerns, consult both cleaning professionals and your veterinarian to address both the immediate problem and any underlying causes of your dog’s accidents.


