
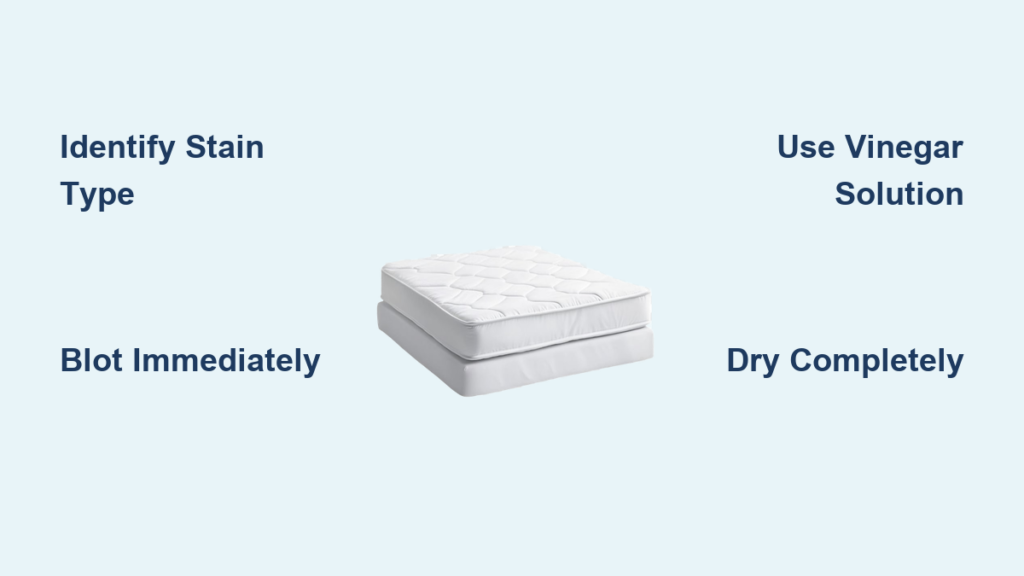
Discovering an unsightly stain on your mattress can trigger immediate frustration—especially when you’re unsure how to effectively remove it without damaging your investment. Learning how to clean a mattress stain properly is essential for maintaining a hygienic sleep environment and extending your mattress’s lifespan. Whether it’s from sweat, spills, or accidents, prompt and correct stain treatment prevents permanent discoloration and potential mold growth. This guide delivers actionable, step-by-step methods using household items you likely already have, eliminating the need for expensive professional services in most cases.
Identify Your Mattress Stain Type Immediately
Treating the wrong stain with inappropriate methods can permanently set discoloration into your mattress fabric. Correct identification determines your cleaning approach and significantly increases your success rate. Different stains require specific solutions—using hot water on blood, for example, will cook the proteins and make removal impossible.
Protein-Based Stains Require Cold Treatment
Blood, urine, sweat, and vomit create protein-based stains that bond tightly with mattress fibers when exposed to heat. These stains typically appear yellowish or brownish after drying, though fresh blood shows as reddish spots. Never use hot water on these stains, as it permanently sets the proteins. Instead, apply cold water and enzyme cleaners that break down protein structures without cooking them into the fabric. Act within 24 hours for best results—older stains require multiple treatment sessions.
Bodily Fluid Stains Need Specialized Approaches
Sweat stains develop as yellowish patches where your body rests most, forming from accumulated perspiration, oils, and dead skin cells. Blood stains change color as they age—from red when fresh to brown when dried—requiring different treatments based on timing. Urine stains present unique challenges due to uric acid crystals that bond strongly with mattress materials, creating persistent odors that spread beyond the visible spot. Understanding these specific properties prevents wasted effort and potential damage to your mattress.
Gather Essential Cleaning Supplies Before Starting
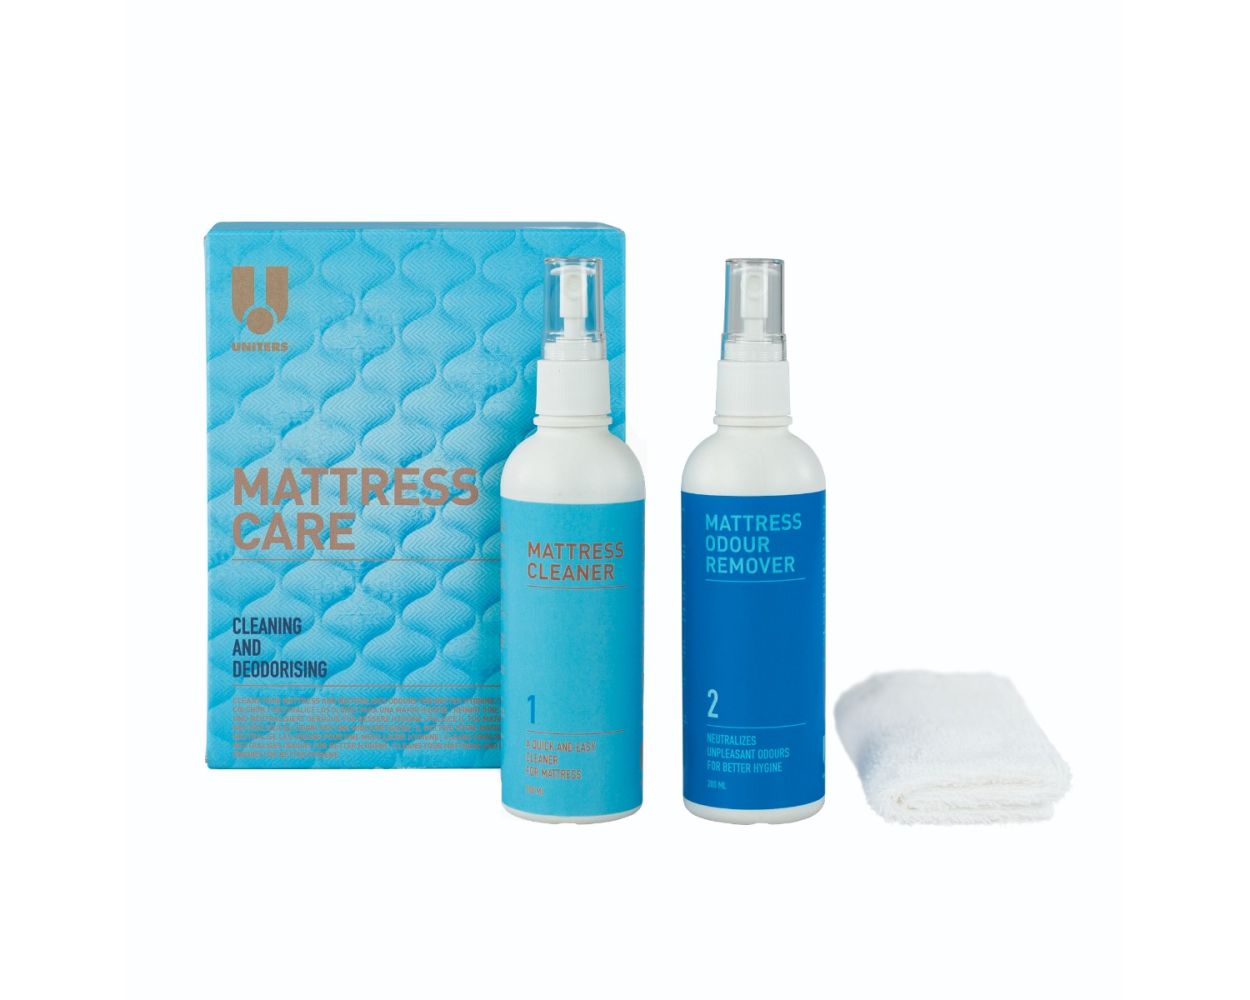
Collect all necessary materials before beginning to avoid mid-process interruptions that could worsen the stain. Having everything ready ensures thorough treatment without oversaturating your mattress—a common mistake that leads to mold growth in the foam layers.
Effective Household Cleaning Solutions
White distilled vinegar breaks down mineral deposits while neutralizing odors. Baking soda serves as both a gentle abrasive cleaner and powerful odor absorber essential for drying. Hydrogen peroxide (3% concentration) lifts organic stains while disinfecting without harsh chemicals. Mild dish soap provides surfactant action that releases stains without damaging mattress fabrics. For protein stains, enzyme cleaners specifically designed for pet accidents offer specialized bacterial action that breaks down organic compounds causing both stains and odors.
Critical Tools for Professional Results
A stiff-bristled brush or old toothbrush works solutions into fabric without oversaturating. Several clean white microfiber towels are essential for blotting—colored cloths may bleed dye onto your mattress. A spray bottle enables controlled solution application to prevent oversaturation. A wet-dry vacuum extracts deep moisture far more effectively than standard household vacuums. Fans and dehumidifiers accelerate drying, while plastic sheeting protects your floor from drips during cleaning.
Pre-Treat Stains Using Proper Blotting Techniques
Immediate action on fresh stains prevents substances from penetrating deeper into mattress layers. Proper technique makes the difference between complete removal and permanent discoloration.
Correct Blotting for Fresh Spills
For liquid stains, apply gentle pressure with a clean, dry cloth working from the stain’s outer edges inward. This directional approach prevents spreading. Never rub or scrub, as this forces the substance deeper into foam layers. Continue blotting until no more moisture transfers, switching to fresh cloth sections as needed. Your goal at this stage is maximum moisture extraction—not stain removal. For solid residues, carefully scrape away excess material before blotting.
Loosening Set-In Stains Effectively
For older stains, begin by vacuuming the entire mattress surface to remove loose debris. Apply a pre-treatment solution (equal parts water and white vinegar) and let it sit 15-30 minutes before deeper cleaning. Lightly agitate with a soft brush using gentle circular motions. This waiting period allows cleaning agents to begin breaking down staining compounds, making subsequent cleaning more effective. Enzyme cleaners require longer dwell times—follow product instructions carefully.
Apply Deep Cleaning Solution Without Oversaturating

The actual cleaning phase requires controlled application to release stains without creating moisture problems that lead to mold.
Creating Powerful Cleaning Mixtures
Mix two parts hydrogen peroxide with one part dish soap and one tablespoon of baking soda for organic stains. This combination produces oxygenation that lifts stains while soap emulsifies compounds. For a gentler solution, combine one cup warm water with one tablespoon mild dish soap and one tablespoon white vinegar. Always test solutions on an inconspicuous area first—including the mattress tag or underside—to check for discoloration.
Proper Application Methods
Apply solutions using a spray bottle held several inches above the stain, dampening fabric without oversaturating. Use a clean, well-wrung cloth if no spray bottle is available. The mattress should feel damp, not wet—excess moisture creates mold risks deep in foam layers. Work the solution into the stain with gentle circular motions using a soft brush, following fabric grain if visible. Allow five to ten minutes dwell time, then place a clean cloth over the area and apply gentle pressure to begin absorbing dissolved stain.
Extract and Rinse Thoroughly to Prevent Residue
Incomplete extraction leaves cleaning residue that attracts dirt and creates odors. Proper moisture removal ensures your cleaning efforts don’t create new problems.
Effective Moisture Extraction Techniques
Place dry cloths over treated areas and apply firm, even pressure to draw out solution and dissolved stains. Change to fresh cloths as they saturate. A wet-dry vacuum provides significantly more extraction power than manual blotting—use an upholstery attachment and move slowly over the area with multiple passes. This step may require 15-20 minutes depending on saturation level. Maximum moisture extraction now drastically reduces drying time.
Critical Rinsing for Residue-Free Results
Mix one cup cold water with one tablespoon white vinegar for a light rinse that removes cleaning residue. Apply sparingly with a fine mist spray bottle—this isn’t another deep cleaning. Blot thoroughly to extract rinse solution along with loosened residue. The mattress should feel damp but not wet, with no visible moisture pooling. This careful rinsing prevents residue buildup that makes mattresses attract dirt faster post-cleaning.
Dry Mattress Completely to Prevent Mold Growth
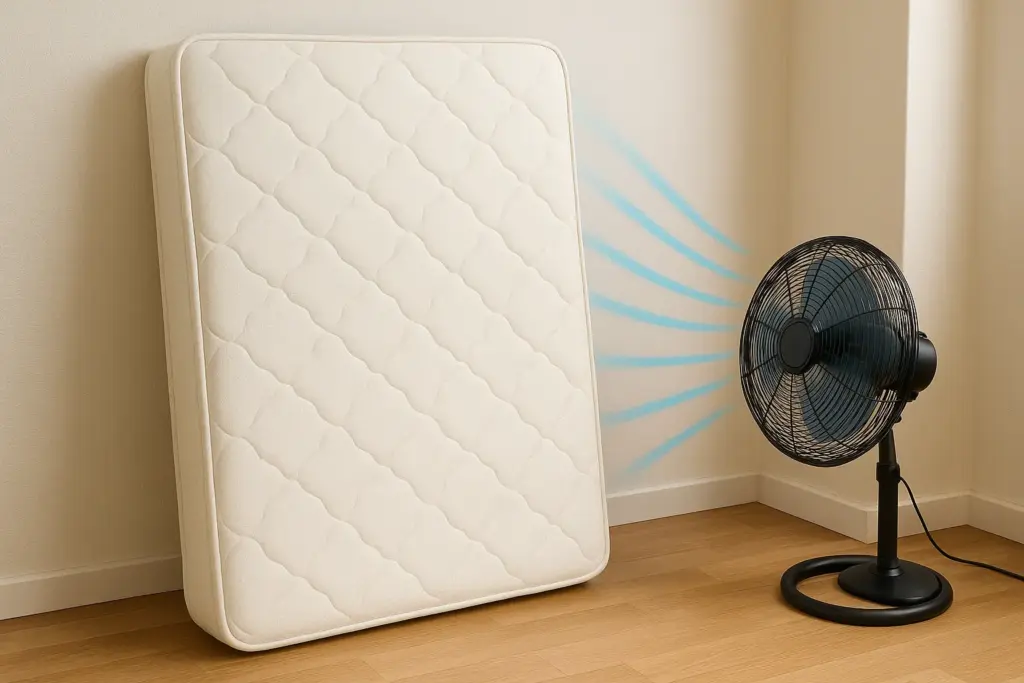
Proper drying is the most critical yet often neglected phase of mattress cleaning. Incomplete drying creates ideal conditions for mold and mildew that compromise health and damage your mattress.
Accelerating the Drying Process
Position fans to circulate air across and beneath the mattress. Open windows for cross-ventilation if weather permits. In humid conditions, use a hair dryer on cool setting or run a dehumidifier in the room. Never use high heat that could damage mattress materials—cool airflow maximizes evaporation without risks. Rotate the mattress periodically to ensure even drying of all surfaces.
Testing for Complete Dryness
Mattresses typically require 24-48 hours drying time—never rush this phase. Test dryness by pressing your palm firmly against the surface to feel for coolness indicating moisture. Press a dry paper towel against multiple areas—if it remains dry after several seconds, your mattress is ready. When in doubt, allow additional drying time. Using a damp mattress risks mold growth that requires professional remediation.
Remove Stubborn Mattress Stains with Targeted Methods
Some stains resist standard cleaning, requiring specialized approaches without damaging your mattress.
Addressing Yellowing and Discoloration
Create a paste with baking soda and just enough hydrogen peroxide to spread evenly across yellowed areas. Let dry completely (4-6 hours), then vacuum thoroughly. This treatment can be repeated for severe yellowing, though results may be gradual. For large discolored areas, consider professional cleaning services that use specialized equipment to extract deep-set compounds.
Treating Old and Set-In Stains
Apply enzyme cleaner according to instructions, then cover treated areas with plastic sheeting to prevent evaporation and allow extended contact time (several hours or overnight). After extraction, repeat the cleaning process. Many old stains require 3-5 cleaning cycles with proper drying between sessions. Maintain realistic expectations—some deeply set stains may only fade rather than disappear completely.
Prevent Future Mattress Stains with Smart Strategies
Protective measures significantly reduce cleaning frequency while maintaining sleep hygiene.
Mattress Protectors as Essential Barriers
Invest in a quality waterproof protector with breathable cotton or Tencel top and waterproof membrane. Wash monthly to maintain effectiveness. For added protection, use a replaceable mattress pad that creates an additional washable barrier. These minimal investments save substantial cleaning time and extend your mattress lifespan significantly.
Establish a Regular Maintenance Schedule
Vacuum your mattress monthly with an upholstery attachment to remove dust and allergens. Rotate your mattress every 3-6 months to distribute wear evenly. Address spills immediately using proper blotting techniques—prompt action prevents fresh stains from becoming permanent discoloration requiring intensive treatment.
Final Note: Mastering how to clean a mattress stain properly transforms an intimidating chore into a manageable task that protects your sleep environment. By identifying stain types correctly, using appropriate solutions, extracting thoroughly, and drying completely, you’ll maintain a cleaner, healthier mattress for years. Implementing preventive measures like quality protectors and regular maintenance reduces deep cleaning frequency while preserving your investment. With these techniques, you’ll confidently handle any mattress stain that appears, ensuring restful nights on a fresh, clean sleeping surface.


