
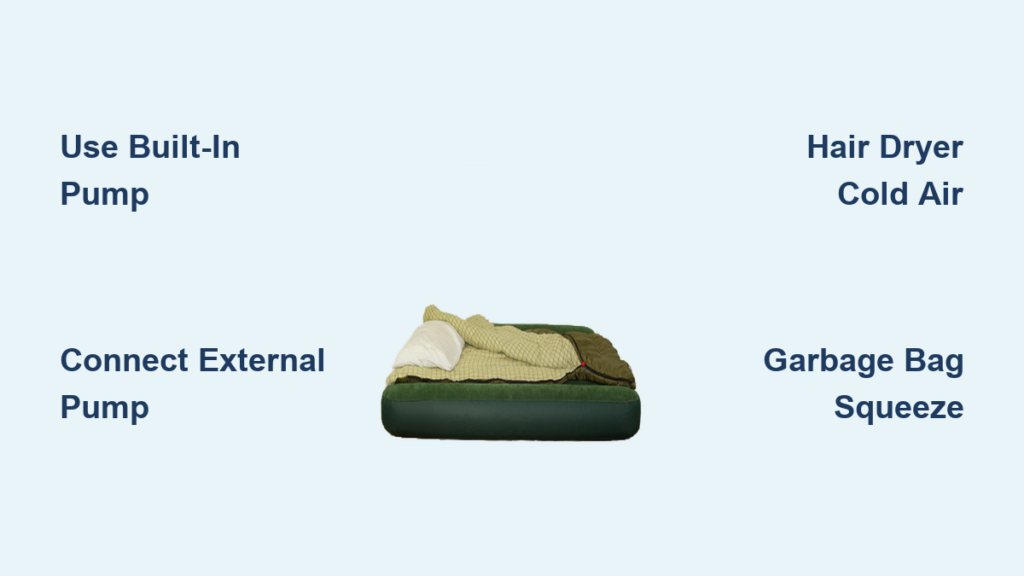
Nothing ruins a camping trip or overnight guest stay faster than struggling to inflate an air mattress. You’ve set up your sleeping area, gathered your bedding, and now you’re faced with a stubbornly flat mattress that refuses to fill with air. Whether you’re in a fully-equipped home or miles from the nearest power outlet, knowing how to air up air mattress properly saves time, frustration, and potentially your night’s sleep. The right inflation method depends on your equipment, mattress type, and location—this guide covers every technique from electric pumps to improvised solutions that work when nothing else is available.
Most air mattresses require 4-15 minutes to fully inflate depending on your method, but improper technique can double that time or leave you with an unevenly inflated surface that compromises comfort. By the end of this guide, you’ll know exactly how to air up air mattress efficiently in any scenario, maintain proper firmness throughout the night, and troubleshoot common inflation issues before they ruin your rest.
Fix Your Built-In Pump Before Wasting Time
Many modern air mattresses feature integrated electric pumps that eliminate the hassle of carrying separate inflation equipment. When your mattress includes this feature, proper pump activation prevents hours of manual labor. First, locate the power cord storage compartment—often hidden in a side pocket or seam—and carefully extract it without damaging the wiring. Check for model-specific power requirements; standard home models require 110V outlets, while camping versions often use 12V car adapters or rechargeable batteries.
Plug in your pump and turn it on, watching closely as inflation begins. Most built-in systems automatically shut off when reaching optimal pressure, but monitor the process to prevent over-inflation. If your mattress isn’t firming up within 60 seconds, check for these common issues:
- Loose electrical connections – Wiggle the cord at both ends to ensure proper contact
- Incorrect valve position – Some models require turning a dial to “inflate” rather than “deflate”
- Clogged air channels – Run the pump for 10 seconds with the mattress partially unrolled to clear obstructions
Built-in pumps typically inflate standard queen mattresses in 3-5 minutes, significantly faster than external options. The key advantage? No lost pumps or mismatched valves. However, when these systems fail, replacement requires technical skill since they’re integrated into the mattress structure. Always carry a backup inflation method for critical trips.
Inflate Fast With External Pumps (Electric or Manual)

When built-in pumps aren’t available, your success depends on proper pump-to-valve connection. Start by identifying your valve type—most mattresses use either Schrader valves (similar to bicycle tires) or proprietary one-way valves. Remove the valve cap and inspect for debris that could prevent a tight seal. For Schrader valves, press the center pin lightly with your fingernail; if air escapes, you’ve found your inflation point.
How to Connect Any Pump to Your Air Mattress
- Select the correct nozzle attachment for your valve type (most pumps include multiple options)
- Press the nozzle firmly into the valve opening until you hear air begin flowing
- Hold the connection steady for the first 30 seconds to establish proper seal
- For electric pumps, position the unit on a stable surface to prevent tipping
- For manual pumps, maintain consistent stroke speed—rushing causes air leakage
Electric pumps typically inflate a queen mattress in 4-7 minutes, while manual pumps require 10-15 minutes of steady effort. To maximize efficiency with manual pumps:
– Use a foot pump for larger mattresses to conserve arm strength
– Position yourself directly above the valve to apply full body weight
– Take short breaks every 2 minutes to avoid fatigue-related air leakage
Pro Tip: Keep a small tube of petroleum jelly near your pump. A tiny amount on the valve rim creates an airtight seal that prevents the frustrating “hissing” sound of escaping air during manual inflation.
Transform Your Hair Dryer Into an Emergency Pump
When power outlets are available but your dedicated pump isn’t, your hair dryer becomes the fastest backup solution. This method works in 4-5 minutes but requires careful temperature control to avoid melting your mattress. Set your dryer to the absolute coldest setting—many users skip this critical step and damage their mattress within minutes.
Hair Dryer Inflation Step-by-Step
- Remove all valve caps and ensure the valve is in “inflate” position
- Set hair dryer to cold air setting only (no heat)
- Hold dryer nozzle against valve opening with firm, even pressure
- If air leaks around the connection, cup your free hand around both dryer and valve
- Inflate for 2-minute intervals, checking firmness between sessions
The key to success is maintaining constant pressure between the dryer and valve. If your dryer has a “cool shot” button, use it continuously to prevent accidental heat activation. This method works best with standard round valves—if your mattress has a proprietary valve system, you may need to create an adapter using plastic tubing from a hardware store.
Warning: Never use hot air on vinyl or plastic mattresses. The resulting damage often appears as a small melted hole that’s difficult to patch and causes immediate deflation.
Inflate Without Power Using Heavy-Duty Garbage Bags
For camping trips or power outages, the garbage bag method provides reliable inflation without electricity. Standard grocery bags won’t withstand the pressure, so start with a 30-gallon heavy-duty contractor bag. The technique mimics commercial pump sacks but costs pennies and works anywhere.
Garbage Bag Inflation Technique
- Open the bag fully and swing it upward in a wide arc to capture maximum air
- Quickly twist the opening closed before air escapes
- Position the twisted end against your mattress valve
- Squeeze the bag from bottom to top using firm, consistent pressure
- Repeat 15-20 times for a full queen mattress
This technique takes 8-12 minutes but requires no special equipment. For better efficiency:
– Use two bags in rotation—one filling while the other inflates
– Apply duct tape around the bag opening to prevent tearing
– Position yourself close to the mattress to minimize air loss during transfer
Critical Mistake to Avoid: Don’t use thin garbage bags—they’ll tear during the first few inflations, leaving you with shredded plastic and a half-inflated mattress. Heavy-duty contractor bags withstand 30+ inflation cycles before showing wear.
Repurpose Your Bicycle Pump for Instant Inflation

If you’ve transported your air mattress by vehicle, your tire pump doubles as an effective inflation tool. Most modern air mattresses accept standard Schrader valves (bicycle/car tire valves), eliminating the need for adapters. This method works particularly well for thicker camping mattresses that require higher pressure.
Tire Pump Inflation Process
- Attach your pump’s Schrader valve head to the mattress valve
- Begin pumping with smooth, full strokes (don’t rush)
- Check firmness every 20 strokes to avoid over-inflation
- For dual-action pumps, use both up and down strokes for maximum efficiency
This technique typically inflates a mattress in 8-12 minutes with moderate effort. The advantage over manual hand pumps? Tire pumps generate higher pressure with less physical strain. Campers report this method works reliably in temperatures as low as 20°F, where electric pumps might fail due to battery limitations.
Pro Tip: Carry a $2 Schrader-to-proprietary valve adapter in your camping kit. These small brass connectors solve compatibility issues with non-standard valves and weigh less than an ounce.
Perform the Hand Test to Avoid Over/Under-Inflation

Proper inflation isn’t about visual firmness—it’s about supporting your body weight without strain. The hand test reveals whether your mattress has optimal air pressure:
- Place your palm flat on the mattress surface
- Apply moderate downward pressure (about 10-15 pounds of force)
- Ideal firmness allows slight give (1-2 inches of depression)
- If your hand touches the floor, add air; if it barely depresses, release some
Most users over-inflate their mattresses, creating uncomfortable pressure points and stressing seams. Under-inflation causes body impressions that disrupt sleep quality. First-time users often need to adjust inflation 2-3 times before finding their ideal pressure level.
Critical Insight: Air mattresses naturally lose 5-10% of air during the first 2-3 uses as materials stretch. Don’t mistake this normal break-in period for a leak—simply add small amounts of air before each use until the mattress stabilizes.
Prevent Overnight Deflation With These Proven Techniques
Inflating right before bedtime solves most overnight air loss issues. Mattresses inflated hours in advance lose significant air through natural permeability—especially in temperature fluctuations. Follow this pre-sleep routine:
- Inflate mattress 20 minutes before bedtime
- Perform final hand test adjustment 5 minutes before use
- Verify combined weight stays within manufacturer limits
- Place a thin foam pad beneath the air mattress to reduce ground friction
Exceeding weight limits is the #1 cause of overnight deflation. Most standard air mattresses support 300-400 pounds—check your model’s specifications before adding extra sleepers. For heavy-duty models, distribute weight evenly by inflating slightly firmer in the center.
Emergency Fix: If your mattress deflates overnight, locate leaks by applying soapy water to suspected areas. Bubbles reveal leak locations—mark them with a pen, then apply a patch kit during daylight hours.
Deflate and Store Your Mattress to Prevent Mold
Proper deflation extends your mattress lifespan significantly. After opening the valve, follow these steps for compact storage:
- Roll from the foot toward the head, applying steady pressure
- Fold sides inward as you roll to create a tight cylinder
- Secure with included straps (don’t overtighten)
- Store in a cool, dry place with valve open for 24 hours before sealing
Moisture causes 90% of air mattress failures. Always wipe interior surfaces dry before storage and avoid lung inflation, which introduces moisture that promotes mold growth inside air chambers. For long-term storage, place silica gel packets inside the storage bag to absorb ambient humidity.
Critical Warning: Never store an air mattress damp or folded tightly for more than 48 hours. This creates perfect conditions for mold that can ruin the mattress and create health hazards.
Pro Tip Summary: For fast home inflation, use your hair dryer on cold setting. When camping, repurpose your bicycle pump with a $2 adapter. Always perform the hand test before sleeping, and store your mattress completely dry to prevent mold. Knowing how to air up air mattress properly transforms frustrating nights into restful sleep—no matter your location or available equipment.


