
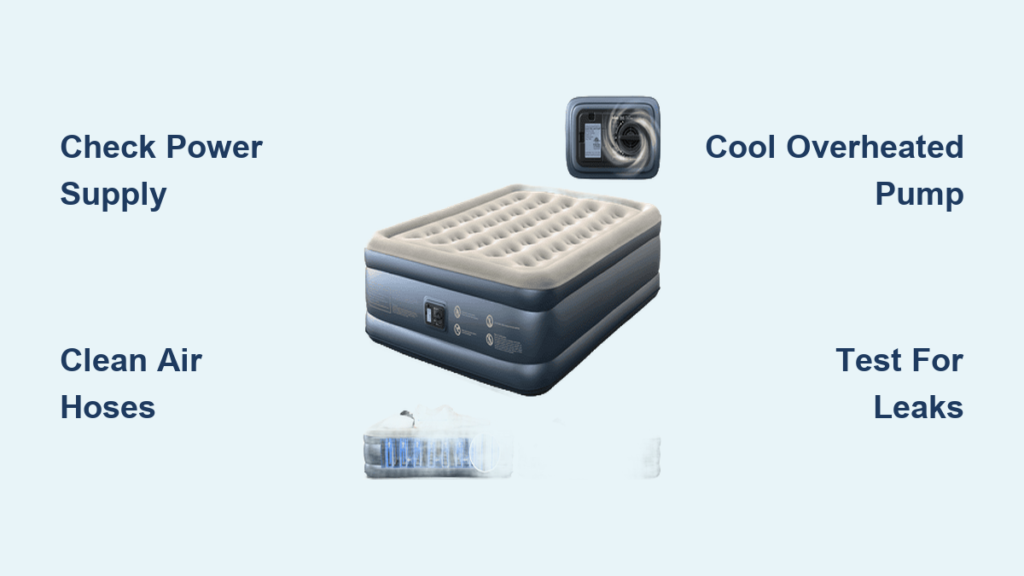
You unpack your air mattress for unexpected guests, plug in the built-in pump, and hear only a weak hum before it abruptly stops—leaving you with a half-inflated mattress and frustrated guests. This common scenario affects countless users of air mattresses with integrated pumps, from budget camping models to premium home-use versions. When your air mattress built-in pump not working scenario strikes, systematic troubleshooting saves time, money, and sleepless nights. This guide provides step-by-step solutions to diagnose and resolve pump failures, whether caused by simple electrical issues or complex mechanical failures.
The most frequent symptom occurs when your pump starts inflating normally but suddenly stops after 10-15 seconds, leaving the mattress partially deflated. This pattern appears even in relatively new units—some users report failures within just four months of purchase. Understanding whether the problem stems from power issues, blockages, overheating, or actual pump failure determines your next course of action. By following these diagnostic steps in order, you’ll quickly identify the root cause and implement the appropriate solution.
Verify Power Supply Before Assuming Pump Failure
Electrical connection problems cause more pump failures than actual mechanical defects. Before concluding your air mattress built-in pump not working issue requires complex repair, confirm electricity actually reaches the motor with these specific checks.
Test the outlet using another device like a lamp or phone charger. If that device fails, you’ve found your problem: the outlet isn’t supplying power. Check your home’s circuit breaker panel for tripped switches and verify that outlet-controlled wall switches are in the “on” position. Some users waste hours troubleshooting pumps when a simple tripped breaker was the actual culprit.
Inspect the power cord thoroughly for damage along its entire length. Bend the cord gently at various points while attempting to operate the pump—any response indicates a broken internal wire. Frayed insulation, bent prongs, or scorch marks near connections all require immediate attention. For battery-powered models, replace existing batteries with fresh ones from a new pack; stored batteries often appear functional but have depleted charge.
Unclog Critical Airflow Pathways in Minutes
Dust, pet hair, and debris accumulation within hoses and nozzles restricts airflow and causes premature pump shutdown. This second most common failure point requires simple cleaning that takes just minutes but resolves many “air mattress built-in pump not working” scenarios.
Remove all detachable hoses and hold them against a bright light source. Reduced light passage indicates blockages. Flush obstructed hoses with warm, soapy water, using a bottle brush for stubborn debris. Ensure complete drying—trapped moisture creates new problems—before reassembly. For models with intake screens or filters, remove these components and clean them thoroughly with a soft brush.
Prevent future blockages by operating your pump in clean environments and covering intake vents during storage. Vacuum cleaner attachments work well for removing dust from hard-to-reach areas without disassembly. If your pump has operated in dusty conditions, this simple cleaning procedure often restores full functionality without further intervention.
Reset Overheated Pumps Without Tools
Modern air mattress pumps include thermal protection that automatically shuts down the motor when temperatures exceed safe limits. This safety feature often gets misdiagnosed as pump failure when it’s actually preventing permanent damage.
If your pump ran continuously for more than 5 minutes before stopping, thermal protection likely activated. Confirm by feeling the pump housing—if it’s hot to the touch, allow 30-60 minutes for cooling before attempting operation again. Never force operation during overheating; this causes irreversible motor damage. During cooling, place the pump on a hard surface with ample ventilation rather than soft bedding that blocks airflow.
Prevent future overheating by operating in short bursts: inflate for 2 minutes, pause for 30 seconds. This simple technique maintains optimal temperature while completing inflation. For frequent users, consider purchasing a pump with higher duty cycle ratings designed for extended operation without overheating.
Recognize Defective Pump Warning Signs

When power checks, blockage removal, and cooling periods fail to restore function, internal pump failure becomes the probable cause. Specific symptoms distinguish true mechanical failure from other issues:
Complete silence during operation—no humming, clicking, or vibration—indicates likely motor failure. Unusual grinding or squealing sounds suggest internal component damage. The most definitive sign appears when the pump starts normally but consistently stops after 10-15 seconds of operation, regardless of cooling periods or power source changes.
Before concluding replacement is necessary, perform a hard reset: unplug power for 24 hours, then reconnect. Some electronic control boards recover from temporary malfunctions with extended power disconnection. For models with control buttons, press and hold all buttons simultaneously for 30 seconds while unplugged—a procedure that resets internal circuitry on many popular brands.
Confirm Whether Leaks Mimic Pump Failure
Many users mistakenly diagnose “air mattress built-in pump not working” when the actual problem is mattress leaks. This critical distinction determines whether you should troubleshoot the pump or search for air escape points.
Seal the inflation valve immediately after starting the pump. If the pump continues running normally but the mattress still deflates, you have a leak—not a pump problem. Common leak locations include seams, valve connections, and puncture points from sharp objects. Test for leaks by applying soapy water to suspected areas and watching for bubble formation.
Small leaks respond well to vinyl repair patches and adhesive, while larger damage may require professional repair. Remember: if your pump operates continuously without shutting down prematurely, the pump functions correctly and your efforts should focus on leak detection and repair.
Inflate Without the Built-In Pump When Necessary
When immediate pump repair isn’t feasible, these alternative inflation methods keep your mattress usable:
- Trash bag technique: Seal a large plastic bag around the valve opening and compress forcefully to push air into the mattress
- Hairdryer method: Use cool setting only (no heat) held 6 inches from valve opening for controlled inflation
- Vacuum cleaner blow function: Use lowest setting with careful monitoring to avoid over-pressurization
- Dedicated external pump: Purchase a universal air pump matching your mattress specifications for reliable long-term use
These methods prove especially valuable for camping trips or when awaiting replacement parts. Most require minimal equipment you likely already own, turning potential sleepless nights into comfortable solutions.
Determine When Pump Replacement Makes Sense

The decision to replace versus repair depends on warranty status, pump design, and cost comparisons. New mattresses (typically under 1-3 years) often qualify for free pump replacement under warranty—contact the manufacturer first before pursuing other options.
For out-of-warranty units, compare costs: genuine replacement pumps often cost 30-70% of a new mattress price. When replacement approaches new mattress cost, or when the mattress shows significant wear, complete replacement becomes the practical choice. Universal replacement pumps offer lower-cost alternatives but require matching voltage and airflow specifications.
Some manufacturers discontinue pump parts after 2-3 years, making universal replacements your only option. Search online marketplaces using your specific model number before concluding parts are unavailable—many third-party suppliers offer compatible alternatives.
Extend Pump Life With Simple Maintenance
Prevent future “air mattress built-in pump not working” scenarios with these maintenance practices:
- Always ensure complete dryness before storage to prevent mold and component corrosion
- Store in climate-controlled environments away from extreme temperatures
- Test pump operation before each use season rather than discovering problems when needed
- Avoid extended continuous operation beyond manufacturer specifications
- Keep intake vents clean and operating in dust-free environments
Roll rather than fold your mattress for storage to prevent material stress at fold lines. Remove batteries from battery-powered models during extended storage to prevent corrosion. These simple habits prevent 80% of premature pump failures according to industry service data.
When your air mattress built-in pump not working crisis strikes, systematic troubleshooting saves unnecessary replacement costs. Start with power verification, progress through blockage removal, then assess for overheating or actual pump failure. Most issues resolve with basic maintenance or simple fixes, while recognizing when replacement becomes necessary prevents wasted effort. By implementing proper maintenance practices, you’ll ensure reliable performance from your air mattress for years of comfortable use.


