

Your RV mattress shouldn’t be the reason you dread bedtime on the road. Most factory-installed RV mattresses deliver poor support and comfort that leads to restless nights and sore mornings—but you don’t need to replace your entire mattress to transform your sleep experience. Whether you’re dealing with a lumpy short queen or an undersized bunk bed mattress, strategic improvements can dramatically enhance your comfort without costing thousands. This guide reveals proven methods that actually work for RV-specific sleep challenges, from simple fixes you can implement today to more comprehensive solutions for chronic discomfort.
Diagnose Your Specific Mattress Problem First
Before spending money on upgrades, pinpoint exactly what’s wrong with your current setup. Lie flat on your back and slide your hand under your lower back—any gap larger than your palm indicates insufficient lumbar support. If your hand slides through easily, your mattress is too firm in critical areas. Check for visible body impressions deeper than 1.5 inches, which signal foam degradation that toppers can’t fully mask.
Test your mattress during different conditions: Does it feel significantly harder on cold mornings or softer during summer heat? Memory foam mattresses notoriously change firmness with temperature fluctuations common in RVs. Notice when discomfort peaks—morning stiffness suggests support issues, while pressure point pain indicates inadequate cushioning. Identifying your specific problem ensures you invest in solutions that actually address your needs rather than wasting money on unnecessary upgrades.
Install the Right Mattress Topper for Your Sleep Style
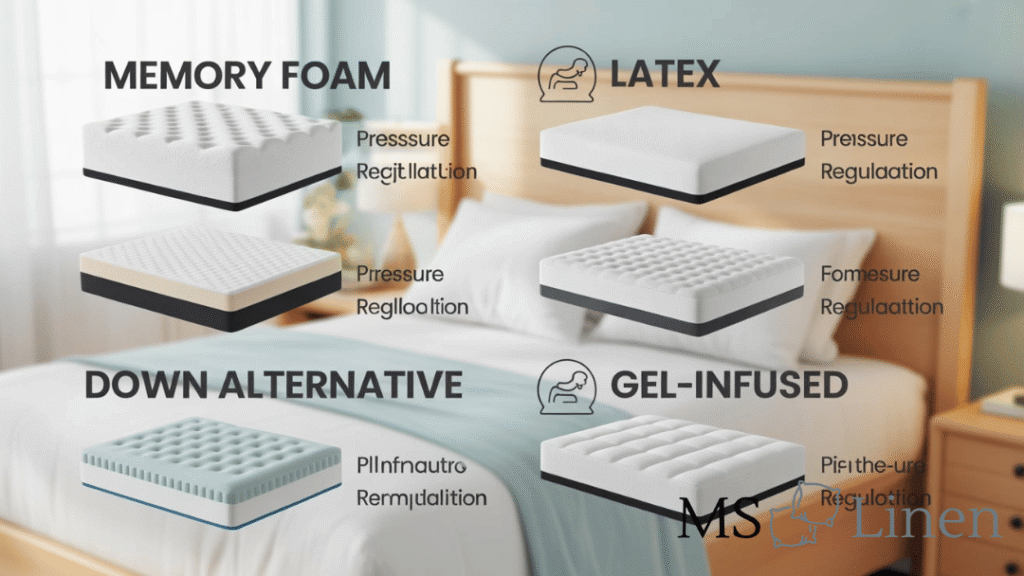
Adding a quality topper delivers the biggest comfort improvement per dollar spent for most RV owners. For side sleepers needing pressure relief, choose a 3-inch memory foam topper with at least 3-pound density—lower densities compress too quickly in RV conditions. Gel-infused varieties help with heat retention issues but won’t eliminate warmth entirely. Avoid extremely thick toppers (over 4 inches) as they can interfere with fitted sheets and exceed your RV bed’s height limitations.
Back and stomach sleepers often benefit more from latex toppers, which provide responsive support without the heat retention of memory foam. Natural latex maintains its properties across wider temperature ranges—critical for RVs that experience extreme conditions. Look for GOLS-certified latex if you want verified organic materials. For those who prioritize softness but want low maintenance, synthetic down alternatives offer similar loft without the allergy concerns of feather toppers, which require frequent fluffing and careful moisture management in RV environments.
Strengthen Your Mattress Foundation Immediately

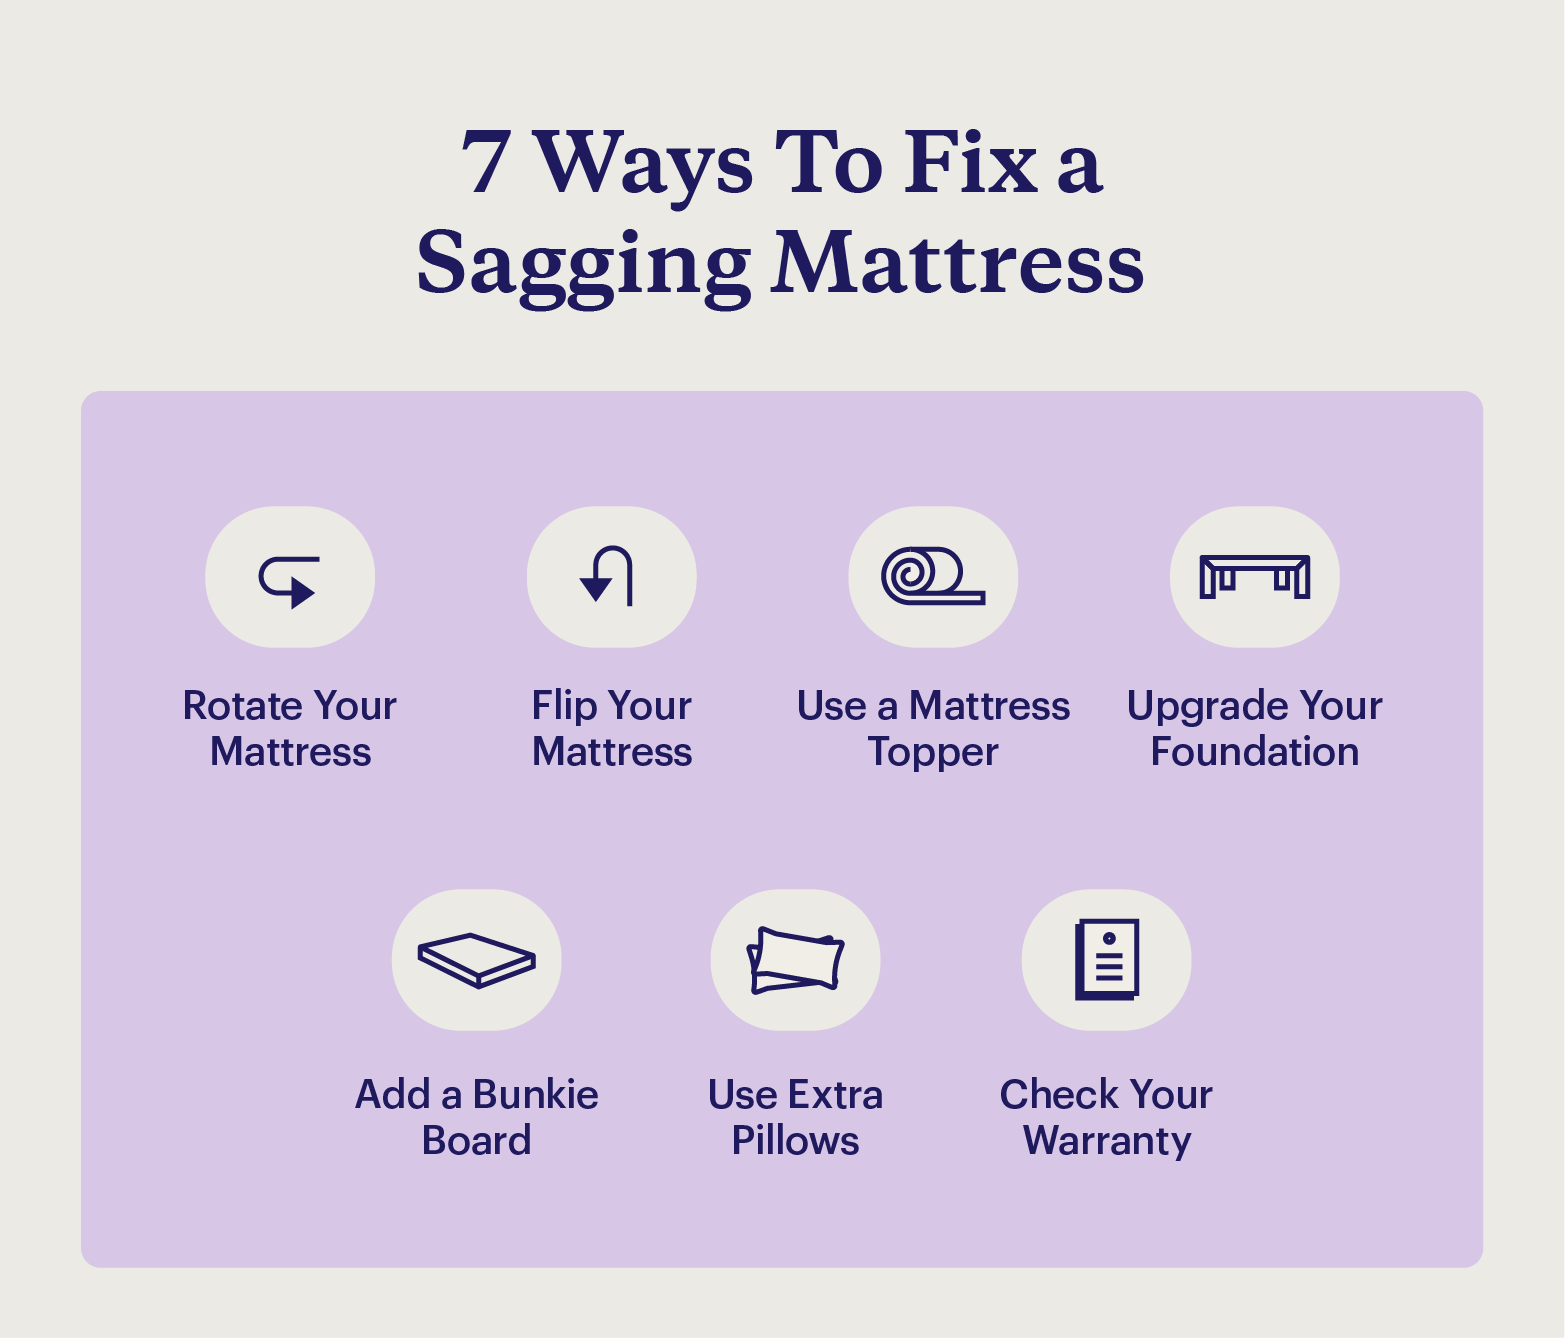
No topper can compensate for a failing foundation. Most RV bed platforms use thin plywood over widely spaced slats that flex under weight, causing premature mattress wear. Flip your mattress and inspect the support system—any gaps between slats wider than 2 inches create weak spots that lead to sagging. The fastest fix? Cut a piece of 3/4-inch plywood to match your mattress dimensions and place it between your existing foundation and mattress.
For better ventilation, drill 1/4-inch holes every six inches across the plywood surface. Alternatively, invest in RV-specific support boards with built-in ventilation channels, typically costing $50-$150. These boards account for non-standard RV mattress sizes and prevent the “hammock effect” that occurs when slats bow under weight. If your RV has an adjustable bed frame, ensure it’s properly calibrated—misaligned mechanisms create uneven pressure points that degrade mattress comfort regardless of surface materials.
Solve Heat Retention Problems for Cooler Sleep
Excessive heat ranks among the top RV mattress complaints, especially with memory foam models. Combat this by replacing standard polyester sheets with high-thread-count cotton (300-500 count), which breathes significantly better. Bamboo-derived sheets offer superior moisture-wicking properties but require gentle washing to maintain their cooling benefits.
Install a breathable waterproof mattress protector labeled “cooling” or featuring phase-change materials that actively regulate temperature. These create a thin barrier that moves heat away from your body while protecting against inevitable RV moisture events. For severe cases, consider a powered mattress cooling pad that drops surface temperatures by 5-15 degrees—though these require consistent electrical access and add complexity to your setup. Avoid vinyl protectors, which trap heat and create uncomfortable sleeping conditions.
Protect Against RV-Specific Wear and Tear
RV mattresses face unique threats that accelerate degradation. Install a high-quality waterproof protector that blocks moisture while allowing air circulation—this defends against spills, pet accidents, and condensation common in RV living. Choose protectors with secure fitted designs that won’t shift during travel, as misaligned protectors create uncomfortable lumps.
Combat UV damage by applying window films that filter harmful rays, especially if your bed receives direct sunlight. Rotate your mattress quarterly to prevent uneven wear from consistent sleeping positions. Maintain at least 2 inches of clearance between your mattress and exterior walls to allow air circulation and prevent moisture buildup. During storage, leave your mattress uncovered in a well-ventilated space with a dehumidifier running to prevent mold growth that often occurs in compressed, covered mattresses.
Fix Common Size and Fit Issues
RV mattresses come in frustrating non-standard sizes that create fitting challenges. Measure your current mattress at multiple points—short queens (60″x75″) often vary by an inch in either direction. Common mistakes include ordering standard queen toppers for short queens, creating awkward overhangs that interfere with bedding.
For bunk beds with curved corners, flexible foam toppers can be trimmed to match the shape using an electric carving knife. Custom-sized protectors and toppers typically cost 20-30% more but eliminate gaps that cause premature wear. If you have slide-out beds, choose low-profile toppers (under 3 inches) that won’t interfere with the mechanism’s travel path. When replacing your entire mattress, verify dimensions with your RV manufacturer—many “RV king” sizes differ significantly between brands.
Recognize When Replacement Beats Improvement
Sometimes improvement efforts can’t overcome fundamental problems. Replace your mattress rather than upgrading when you notice permanent body impressions deeper than 2 inches, visible wear through the fabric, or springs poking through. Mattresses older than 7 years typically deliver subpar performance regardless of topper additions due to material degradation from constant vibration during travel.
If you feel individual springs or notice pronounced sagging valleys, the core support structure has failed—adding padding merely creates a softer surface over an uneven foundation. Significant moisture exposure or musty odors indicate potential mold growth within the mattress core that cleaning can’t address. In these cases, replacement delivers better long-term value than continued patching.
Maximize Your Investment with Proper Care
Extend the life of any mattress improvement with consistent maintenance. Rotate your mattress or topper monthly during the first year, then quarterly thereafter, to ensure even wear. Address spills immediately with appropriate cleaners—never let moisture sit on foam surfaces. Use a quality mattress pad for added protection against daily wear.
Consider total cost of ownership rather than initial price—$200 toppers lasting three years outperform $80 options needing annual replacement. When traveling, secure your mattress with straps to prevent shifting and vibration damage. During storage, keep your mattress in a climate-controlled environment if possible, and never store it compressed for extended periods.
Your RV mattress doesn’t have to be the weak link in your travel experience. By targeting improvements to your specific comfort issues rather than applying generic solutions, you can achieve sleep quality that makes every trip more enjoyable and every morning start with renewal rather than discomfort. Start with the simplest, most affordable fixes that address your diagnosed problems, then build from there—quality sleep on the road is worth the investment.


