
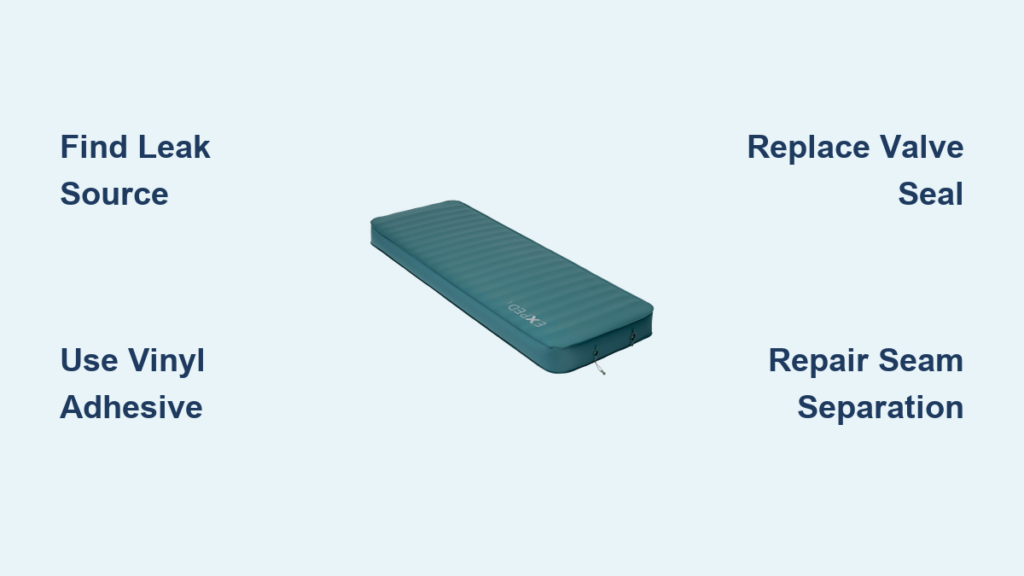
Nothing ruins a camping trip faster than waking up on cold, hard ground because your Exped mattress developed a leak in the middle of the night. These premium air mattresses represent a significant investment for outdoor enthusiasts, with prices ranging from $100 to $300 depending on the model. When your Exped mattress starts losing air, the smart move isn’t automatically reaching for your wallet to buy a replacement—it’s learning how to properly diagnose and repair the issue yourself. Most common problems with Exped air mattresses can be fixed with basic tools and materials, saving you money while extending the life of your reliable camping companion.
The specialized construction of Exped mattresses makes them particularly susceptible to specific failure points that differ from cheaper alternatives. Whether you’re dealing with a tiny puncture from a stray pine needle, a malfunctioning valve, or separating seams after years of use, understanding exactly how to address each problem ensures your repair will last through multiple camping seasons. This guide delivers step-by-step instructions for identifying and fixing the most common Exped mattress issues, using only materials you can find at outdoor retailers or hardware stores.
Locating Leaks in Your Exped Air Mattress
Finding the exact source of an air leak requires systematic inspection rather than random patching. Start by inflating your Exped mattress completely in a quiet room where you can hear subtle air escaping. Run your hand slowly across the entire surface, paying particular attention to areas that frequently contact the ground during use. Many leaks occur along the bottom panel where sharp objects penetrate during setup.
For leaks too small to hear or feel, create a simple detection solution by mixing dish soap with water in a spray bottle. Spray this mixture across the mattress surface and watch for bubbles forming at the leak site. Focus your search on high-risk areas first: the valve assembly, welded seams along the edges, and any location showing previous repair attempts. The valve mechanism deserves special attention as it’s the most common failure point on Exped models—the rubber seals degrade over time while the plastic housing can crack from repeated use.
If you’ve checked the entire surface without finding the leak, submerge sections of the inflated mattress in a bathtub or large container of water. Watch for streams of bubbles indicating air escaping through damage. Work methodically, checking one section at a time, and mark each potential leak site with a waterproof pen before deflating for repairs.
Gathering the Right Repair Supplies for Exped Mattresses

Using inappropriate materials guarantees repair failure on Exped’s specialized fabrics. Standard household adhesives like super glue or duct tape won’t bond properly with the vinyl-polyester blend used in Exped construction and will peel off during your next camping trip. Instead, invest in a quality vinyl repair kit specifically designed for inflatable sleeping pads, which typically includes:
- Vinyl-compatible adhesive that remains flexible when cured
- Reinforced polyester patches in multiple sizes
- Fine-grit sandpaper for surface preparation
- Cleaning wipes with isopropyl alcohol
For valve repairs, identify your specific Exped model before purchasing replacement parts, as valve designs vary significantly between generations. Most Exped valves use proprietary components that won’t interchange with generic replacements. Contact Exped customer service with your model number to obtain the correct valve assembly or rubber seals. Essential tools include small precision screwdrivers for disassembling valve mechanisms, clamps for applying even pressure during adhesive curing, and a soft cloth for surface preparation.
Pro Tip: Keep a compact Exped-specific repair kit in your camping gear so you can fix minor leaks in the field before they become major problems. Include a small tube of adhesive, several patches, alcohol wipes, and sandpaper in a waterproof container.
Fixing Punctures and Tears in Exped Mattress Fabric
Surface damage requires meticulous surface preparation for a lasting repair. Begin by completely deflating your mattress and cleaning the damaged area with isopropyl alcohol to remove oils and debris. Use fine-grit sandpaper to gently roughen a 2-inch diameter area around the puncture—this creates microscopic grooves that help the adhesive bond properly. Clean the sanded area again with alcohol and allow it to dry completely before applying adhesive.
Apply a thin, even layer of vinyl-specific adhesive to both the prepared surface and the back of your patch. Wait the recommended time (usually 2-5 minutes) for the adhesive to become tacky before positioning the patch. Press firmly from the center outward to eliminate air bubbles, then apply consistent pressure using a clamp or heavy books for at least 24 hours. Choose patch sizes that extend at least 1 inch beyond the damaged area in all directions—smaller patches inevitably fail under the stress of inflation and body weight.
Warning: Never use heat sources like hair dryers to accelerate adhesive curing—this can damage the mattress material and weaken the bond. Allow repairs to cure at room temperature for the full recommended time.
Resolving Exped Valve Assembly Failures
Valve problems account for more Exped mattress failures than surface punctures. Start by removing the valve cover and inspecting the rubber seal for cracks, permanent compression marks, or debris preventing proper closure. If the seal appears damaged, order an exact replacement part rather than improvising with generic materials.
To replace the seal, completely deflate your mattress and unscrew the valve housing counterclockwise. Take photos during disassembly to ensure correct reassembly. Clean all components with mild soap and water, paying special attention to the groove where the seal seats. Rinse thoroughly and allow to dry completely before installing the new seal.
When reassembling, hand-tighten the valve housing until snug—over-tightening can crack the plastic housing while under-tightening allows air leakage. Test the repair by inflating the mattress and submerging the valve area in water to check for bubbles. If the housing itself is cracked, replacement valve assemblies are available directly from Exped, though costs may approach 50% of a new mattress price for older models.
Repairing Separating Seams on Exped Mattresses

Seam failures require different techniques than surface punctures since the problem involves delamination rather than a hole. Inflate your mattress and run your fingers along all seams feeling for gaps or bubbling where layers have separated. Look for areas where light passes through what should be a solid seam bond.
For minor separations, apply a flexible seam sealer designed for outdoor gear along the affected area. Clean the seam with alcohol first, then apply sealer with a small brush, working it into the separation. Allow to dry completely before inflating. For extensive seam failures where layers have completely separated, apply sealer to both surfaces, then clamp the seam under even pressure while curing.
Expert Note: Exped’s welded seams use heat-bonding technology that’s difficult to replicate perfectly with DIY methods. While seam repairs can extend your mattress life, they may not restore factory-level durability for heavily used models.
Preventing Future Exped Mattress Damage
Proper storage significantly extends your Exped mattress lifespan. Always store it partially inflated in a cool, dry place away from direct sunlight—complete deflation creates stress points along fold lines that weaken material bonds over time. Use the original storage sack to protect against dust and pests, but never store the mattress compressed for extended periods.
During camping trips, place a protective ground cloth beneath your mattress to shield against sharp objects. Avoid setting up on rocky terrain without adequate protection, and never use sharp objects near your inflated mattress. Before each trip, perform a quick inspection by inflating your mattress at home and checking for new leaks or weak spots.
Develop the habit of checking inflation pressure regularly—over-inflation stresses seams and valves while under-inflation causes material bunching that leads to premature wear. Exped mattresses perform best when inflated to firmness that supports your body without feeling overly tight.
Knowing When to Replace Instead of Repair
Some damage simply isn’t worth repairing. If your Exped mattress shows multiple punctures, extensive seam separation, or a cracked valve housing on an older model, replacement may be more cost-effective than repeated repairs. Calculate the total cost of materials against the price of a new mattress—if repairs exceed 40% of replacement cost, consider upgrading to a new model.
Structural damage to internal baffles affects sleeping comfort in ways that surface patches cannot address. If your mattress no longer provides even support across its surface despite proper inflation, the internal structure has likely failed beyond practical repair. Exped’s customer service can help determine if your specific model qualifies for warranty coverage, especially if damage resulted from manufacturing defects rather than normal wear.
Maximizing Your Exped Mattress Longevity
Treat your Exped mattress as the precision outdoor equipment it is, not just another camping accessory. Inflate to proper firmness—your body should create a slight depression without bottoming out on the ground. Adjust inflation based on temperature changes, as air contracts in cold weather causing under-inflation that stresses materials.
After each use, clean your mattress with mild soap and water before storing, paying special attention to the valve area where dirt accumulates. Never store your mattress wet, as moisture degrades adhesives and promotes mold growth. With proper care and timely repairs, a well-maintained Exped mattress can provide comfortable sleep through dozens of camping trips, making the initial investment well worth the effort of learning these essential repair skills.


