
You’ve just finished your camping trip, hosted overnight guests, or need to store your hospital air mattress for maintenance – now you’re facing the challenge of how to remove air from mattress efficiently. Many people struggle with stubborn air pockets, incomplete deflation, or accidentally damaging their mattress during the process. Whether you’re working with a simple camping pad or a sophisticated medical mattress, knowing the right deflation techniques saves time, protects your investment, and ensures compact storage.
Improper deflation methods can cause significant damage to internal baffles, weaken valve seals, and create permanent creases that compromise future inflation. Rushing the process often leads to frustration when your mattress reinflates overnight or takes up excessive storage space. This guide delivers the exact steps needed for complete deflation across all mattress types, transforming what many consider a chore into a quick, reliable process you can complete in minutes.
Inspect Your Mattress Before Deflation
Check for Damage That Could Worsen During Deflation
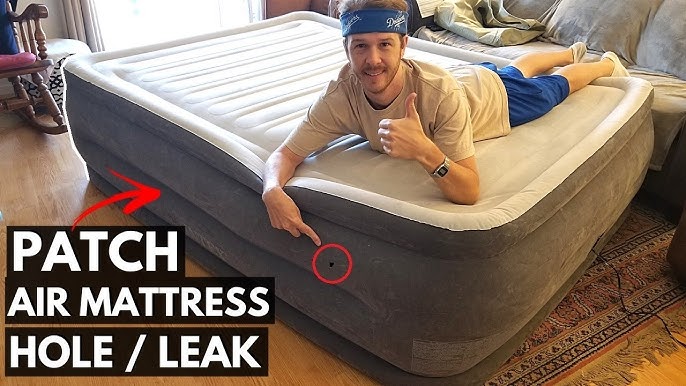
Before attempting to remove air from mattress, examine the entire surface for holes, punctures, or weak spots that could expand during handling. Running your hands across both sides helps detect subtle damage that might not be visible. If you find any issues, patch them first using your mattress repair kit—deflating a damaged mattress often stretches existing holes larger.
Remove all bedding, pillows, and accessories from the mattress surface completely. These items can get trapped in valves or create pressure points that puncture the material during deflation. Pay special attention to corners where sheets and blankets tend to bunch up. A clear surface ensures unobstructed airflow and prevents accidental damage during the deflation process.
Identify Your Specific Valve Type
Different mattresses feature distinct valve designs that require specific handling approaches. Most modern air mattresses use one of three valve types:
– Twist valves: Require counterclockwise rotation to open
– Push-pull valves: Slide open with a firm pull
– Quick-release valves: Feature a prominent tab or lever
Examine your valve area for debris or obstruction that might interfere with airflow. Gently clean around the valve mechanism with a soft, dry cloth if needed. For hospital-grade mattresses, locate both primary deflation valves and emergency CPR release valves—knowing their positions prevents accidental activation of emergency systems during routine deflation.
Master the Basic Valve Release Method
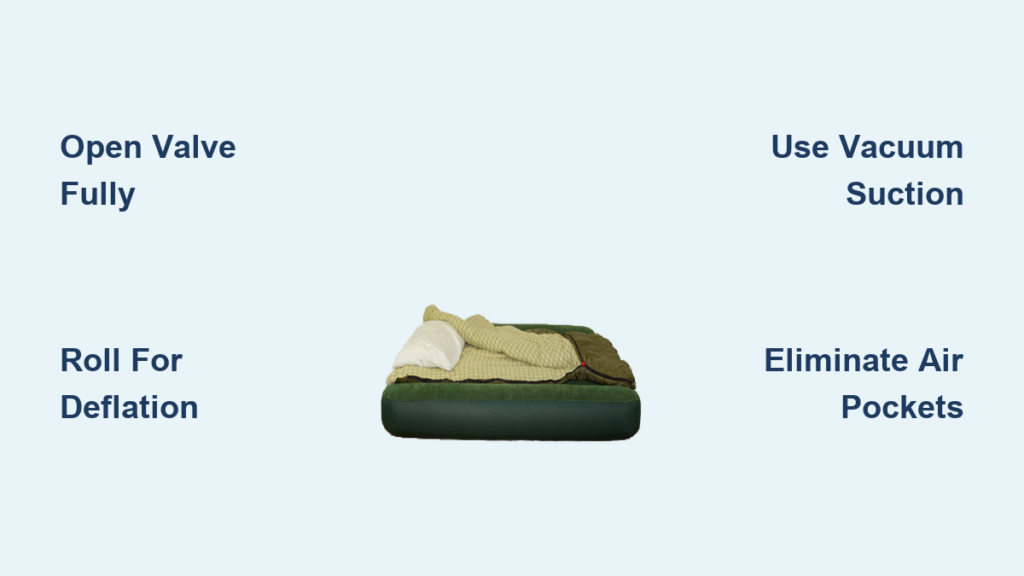
Open Valves Completely for Maximum Airflow
The simplest approach for how to remove air from mattress begins with proper valve operation. Locate the deflation valve (usually marked with a minus sign or “deflate” label) and turn it counterclockwise or pull it outward until fully open—many users fail to open valves completely, significantly slowing the deflation process. Position your mattress on a flat surface with the valve facing upward to allow gravity-assisted airflow.
For self-inflating camping mattresses, this technique alone often suffices as the internal foam gradually compresses. Complete deflation typically takes 1-5 minutes depending on size and temperature—colder conditions slow the process as air contracts less dramatically. Pro tip: Press gently on the mattress surface opposite the valve while it deflates to accelerate air expulsion without straining seams.
Troubleshoot Common Valve Issues
If air isn’t flowing freely after opening the valve, check for these frequent problems:
– Partially closed valve (turn further counterclockwise)
– Debris blocking the valve opening
– Inflation valve mistakenly opened instead of deflation valve
– Separate inflation/deflation valves requiring different handling
For stubborn valves, gently wiggle the mechanism while applying slight outward pressure. Never force valves open as this can damage internal seals. If problems persist, try alternative deflation methods like body rolling before the valve issue resolves itself through air pressure changes.
Execute the Body Pressure Roll-Off Technique
Perfect Your Rolling Motion for Complete Deflation
This equipment-free method ranks among the most effective approaches for how to remove air from mattress, especially valuable when camping or traveling without tools. Start by lying on one side of the mattress with hands firmly planted, then slowly roll toward the opposite edge while maintaining steady downward pressure. Keep knees slightly bent to control your movement and prevent sudden shifts that could damage internal components.
Critical technique points:
– Roll from the end opposite the valve toward the valve opening
– Apply consistent pressure throughout the motion
– Avoid rushing—complete deflation requires deliberate movement
– For larger mattresses, recruit a second person to help with rolling
After completing your roll, carefully lift off the mattress to allow final air pockets to escape. Repeat the process 2-3 times if needed until the mattress lies completely flat. This method requires physical effort but guarantees thorough deflation without equipment.
Accelerate Deflation with Vacuum Assistance

Create Maximum Suction with Household Equipment
When time matters, a standard vacuum cleaner transforms how to remove air from mattress into a 2-minute task. Connect the vacuum hose securely over the open deflation valve, ensuring no gaps exist between the nozzle and valve opening. For best results, use the smallest nozzle attachment that fits your valve to maximize suction pressure.
Step-by-step vacuum deflation:
1. Open deflation valve completely
2. Seal vacuum nozzle against valve opening
3. Apply gentle hand pressure around connection point
4. Activate vacuum while watching mattress deflate
5. Close valve immediately after disconnecting vacuum
The vacuum’s powerful suction extracts air from between internal baffles that manual methods often miss. For hospital mattresses with multiple chambers, move the vacuum between valves to ensure complete deflation of all sections. Warning: Avoid using heat settings on your vacuum, as excessive warmth can damage mattress materials.
Deflate Hospital-Grade Air Mattresses Properly
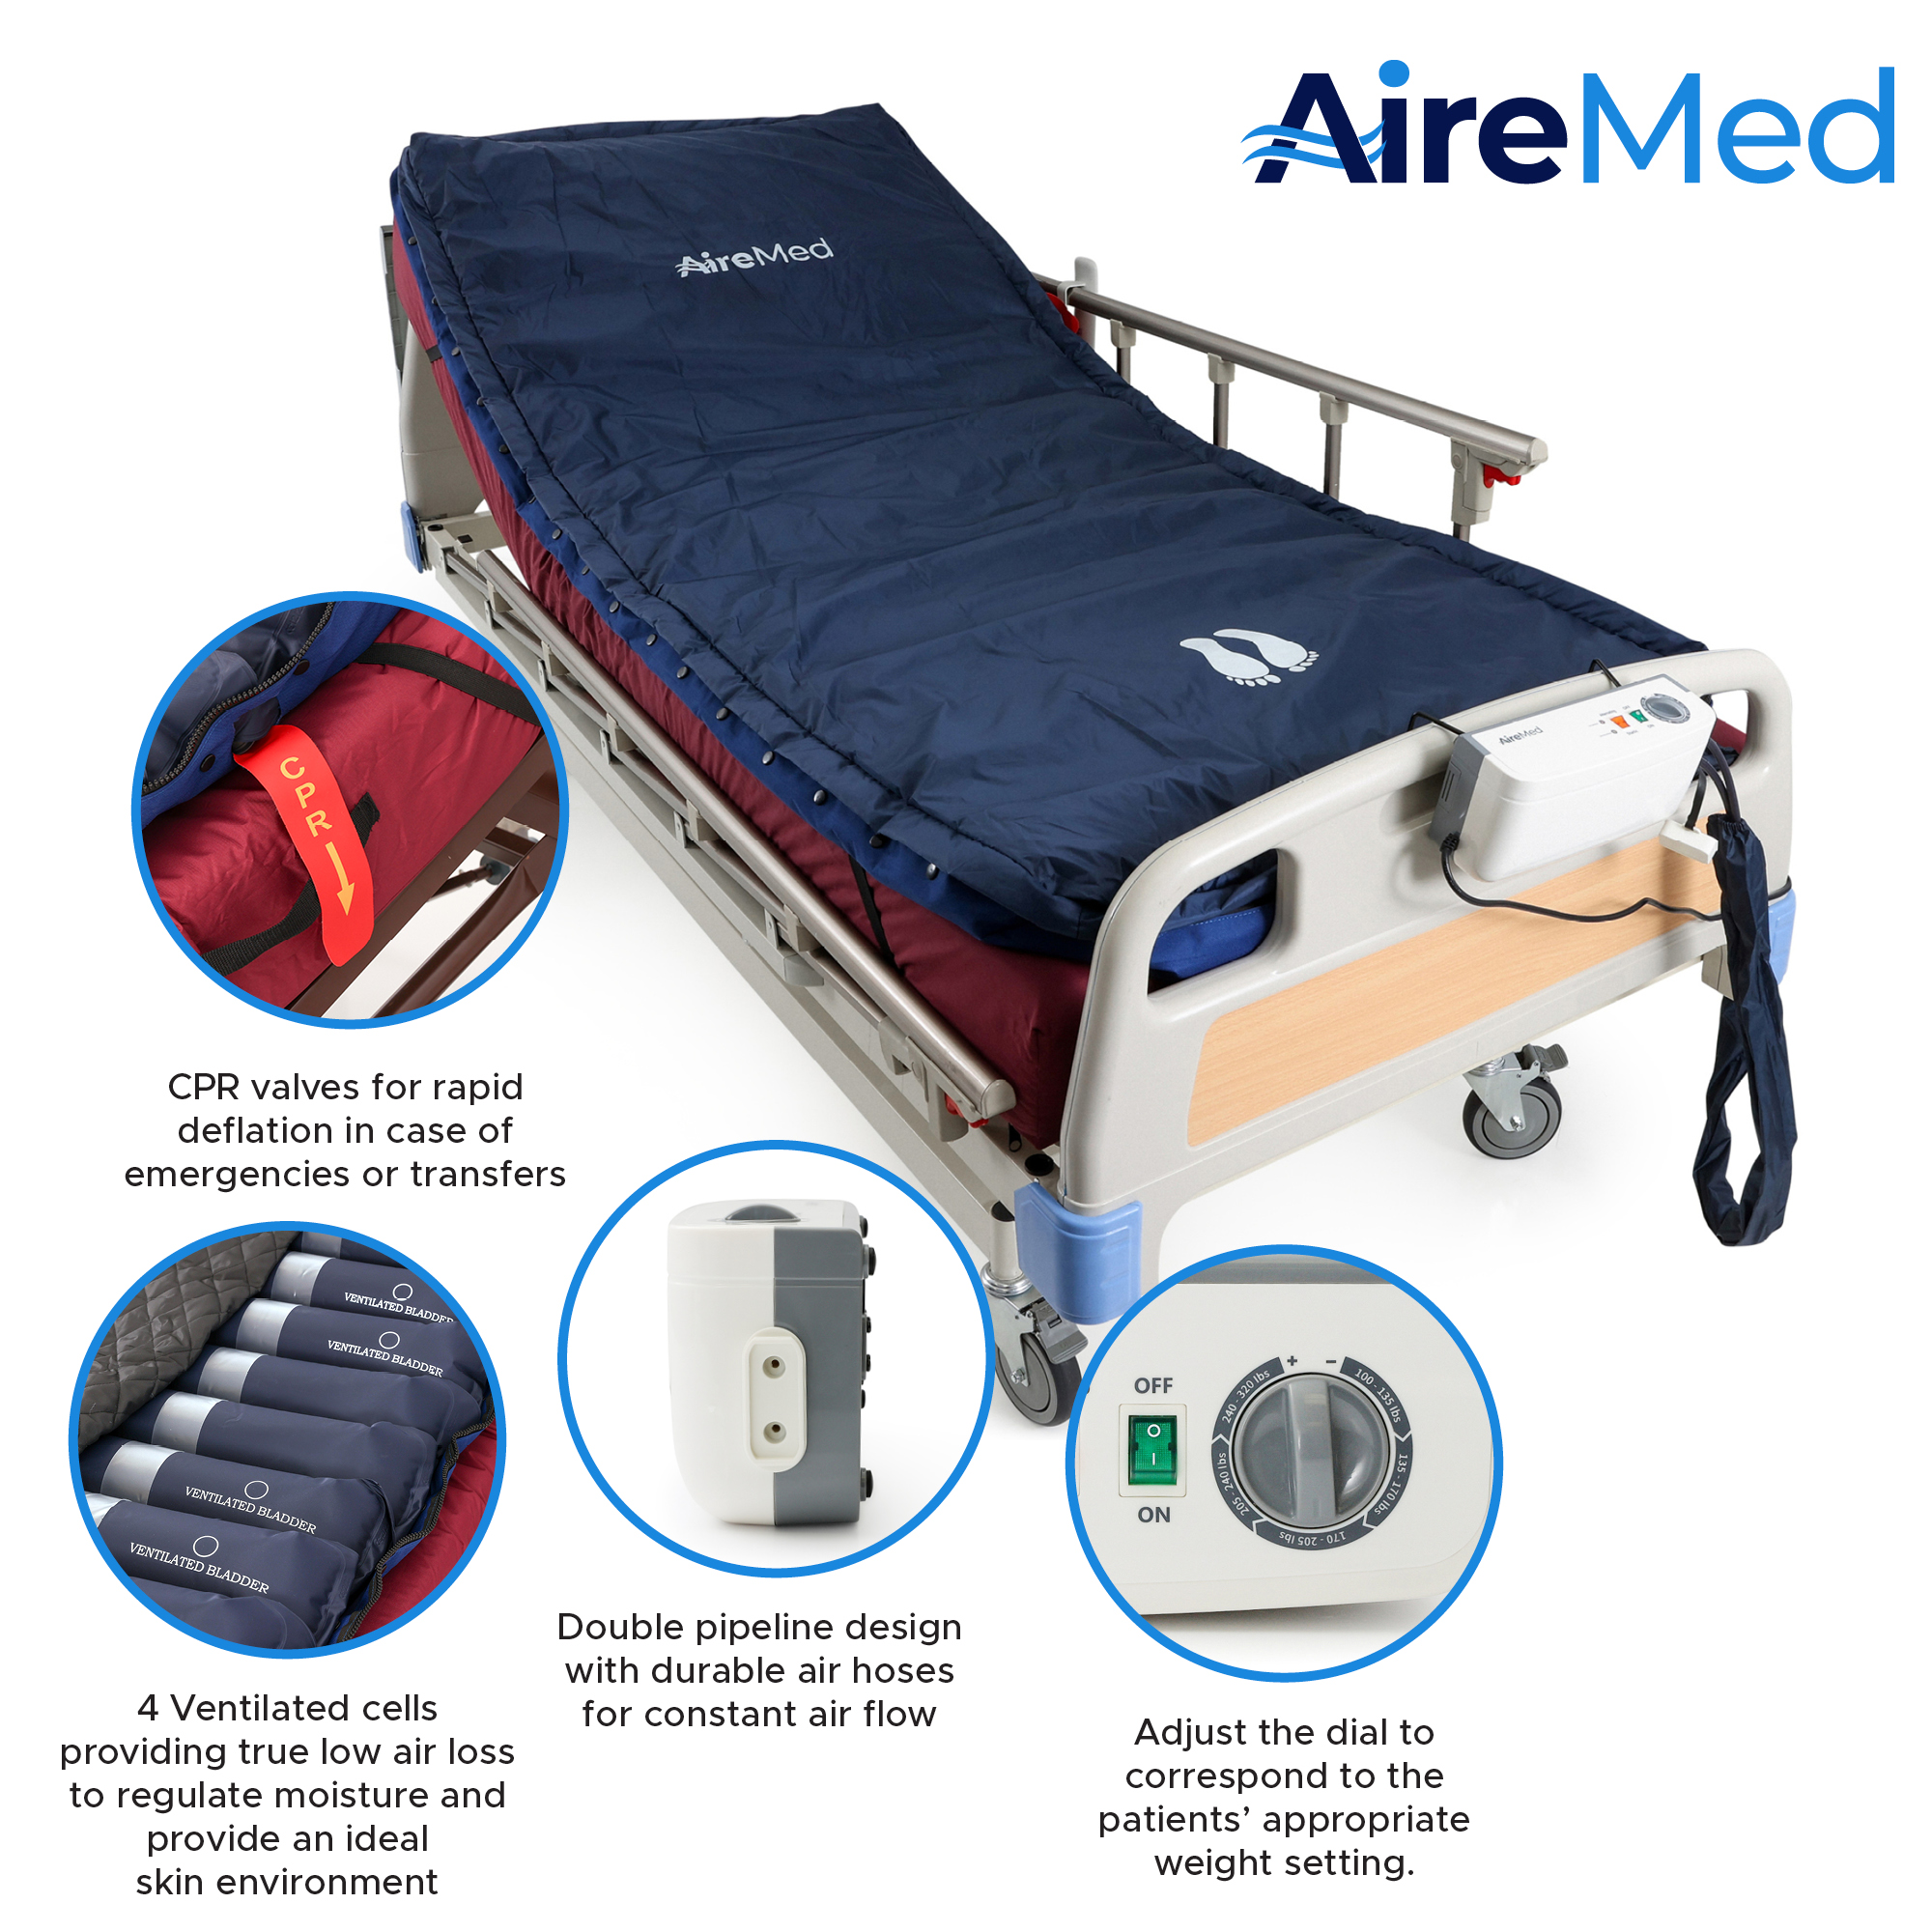
Follow Critical Safety Protocols Before Deflation
Medical air mattresses require specific procedures when learning how to remove air from mattress safely. Always begin by switching off the power supply at the pump control unit—this prevents automatic re-inflation during deflation. For multi-chamber models, disable all zone controls before proceeding, as pressure sensors may attempt to maintain preset inflation levels.
Locate the standard deflation valve (not the CPR emergency valve) and open it according to manufacturer specifications. As air escapes, gently fold the mattress from one end toward the valve while applying light pressure. Never use the CPR quick-release valve for routine deflation—it’s designed solely for emergency situations and causes unnecessary wear when used regularly.
Eliminate Stubborn Air Pockets Completely
Target Problem Areas with Precision Techniques
Even after initial deflation, many users struggle with persistent air pockets that reinflate the mattress overnight. To solve this, temporarily close the valve, apply concentrated pressure to the puffy area with your hands or knees, then reopen the valve to release trapped air. Work systematically across the entire surface, paying special attention to seams and corners where air commonly gets trapped.
For particularly stubborn pockets between internal baffles:
– Roll the mattress tightly in multiple directions
– Apply vacuum assistance directly over problem areas
– Use the “reverse inflate-and-deflate” technique: add a small amount of air, then release it—the mattress collapses more completely from this intermediate state
Store Your Mattress Properly After Deflation
Roll Instead of Fold for Longest Mattress Life
Once completely deflated, rolling rather than folding prevents permanent creases that weaken materials over time. Roll tightly from one end to the other while applying gentle pressure to expel final air pockets. Secure the roll with built-in straps or elastic bands—never use rope or wire that could damage the material.
Before storage, wipe down all surfaces with a mild disinfectant solution, especially around valves and seams. Allow the mattress to dry completely in a well-ventilated area to prevent mold and mildew. Store in a cool, dry place away from direct sunlight, preferably in the original storage bag or a dedicated protective case. Pro tip: Place silica gel packets inside the storage bag to absorb any residual moisture.
Final Note: Mastering how to remove air from mattress properly extends your mattress lifespan by 30-50% compared to haphazard deflation methods. The right technique varies by mattress type—natural valve release works best for occasional use, vacuum assistance delivers fastest results for large mattresses, and hospital models require strict protocol adherence. Regardless of your situation, always inspect before deflating, eliminate stubborn air pockets completely, and store properly to ensure your mattress remains ready for immediate use whenever needed. For persistent deflation issues, consult your manufacturer’s specific guidelines as valve designs vary significantly between brands and models.


