
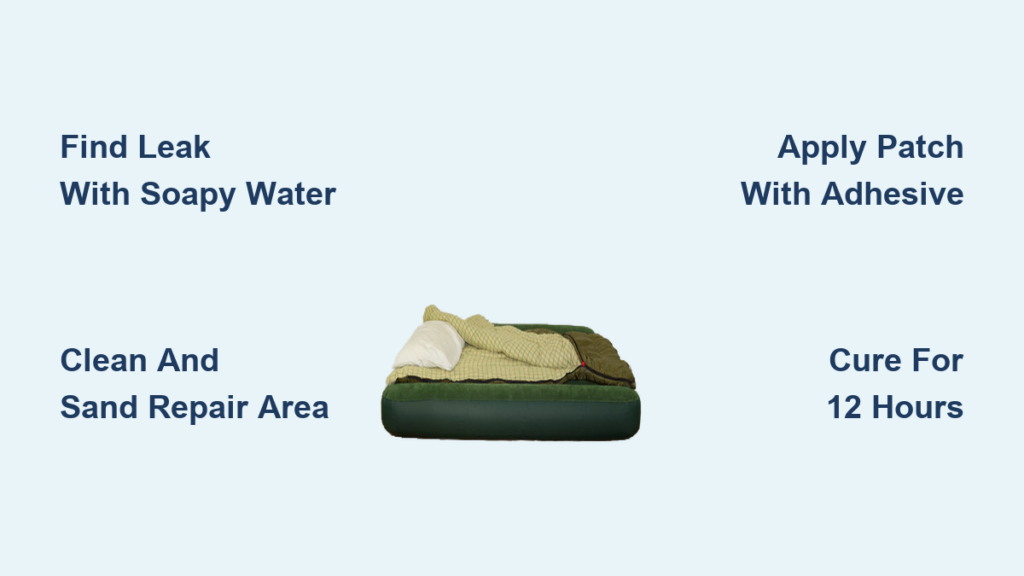
Waking up flat on the floor because your air mattress deflated overnight is more than just annoying—it’s a sleep disaster waiting to happen. Whether you’re hosting unexpected guests, camping in the wilderness, or using a temporary bed solution, knowing how to fix an air mattress quickly and effectively saves money and prevents embarrassment. Most punctures and leaks can be repaired in under an hour with materials you likely already have at home. This guide reveals the exact steps to diagnose leaks, apply long-lasting patches, and get your mattress back in working order—no expensive replacements needed.
Locate Your Air Mattress Leak in Minutes

Before grabbing patches and glue, you must pinpoint exactly where air escapes. Most air mattress failures fall into three categories: punctures from sharp objects, seam separations, and valve malfunctions. Each requires different repair approaches, so accurate diagnosis is critical.
Detect Leaks with Soapy Water Test
Fill a spray bottle with water and 2 tablespoons of dish soap. Fully inflate your mattress and spray the solution across the surface in sections. Watch for bubbles—even tiny ones—as they form where air escapes. This method works for both large punctures and microscopic holes that escape visual detection. Pay special attention to seams, valve connections, and the bottom surface where punctures commonly occur.
Find Hidden Leaks Through Submersion
For stubborn leaks that resist surface testing, submerge the inflated mattress in a bathtub or pool. Watch for streams of bubbles rising to the surface. Mark the leak location with a washable marker once identified, then remove and thoroughly dry the area before repairs. This method works best for bottom-surface punctures that are difficult to access when the mattress is upright.
Diagnose Valve Problems Without Visible Holes
When your mattress deflates but shows no surface damage, the valve is likely the culprit. Apply soapy water directly to the valve stem and connection points while the mattress is slightly inflated. Bubbles forming around the valve indicate seal failure. Many valves develop leaks from worn internal seals or improper seating—issues easily fixed without patching the mattress itself.
Gather Air Mattress Repair Supplies You Already Own

You don’t need specialized equipment to fix most air mattress problems. Successful repairs depend more on proper technique than expensive materials. Most households already have what’s needed for emergency repairs.
Essential Household Repair Kit Components
- Dish soap and water for leak detection
- Isopropyl alcohol (70% or higher) for surface cleaning
- Fine-grit sandpaper (220 grit) to prepare smooth surfaces
- Scissors for patch trimming
- High-quality duct tape (like Gorilla Tape) for temporary fixes
- Cotton balls for applying cleaning solutions
When to Use Specialized Repair Products
For long-lasting results beyond temporary fixes, these professional solutions outperform household alternatives:
- Seam Grip WP adhesive creates permanent, flexible bonds that typically outlast the mattress material
- Tenacious Tape patches provide immediate coverage while adhesives cure
- Flex Seal Inflatable Patch Kit offers UV-resistant, waterproof repairs for outdoor use
- PVC-specific glue forms stronger bonds than generic adhesives on vinyl surfaces
Pro Tip: Store a compact repair kit in your camping gear or guest room closet. Include small containers of Seam Grip WP, pre-cut patches, alcohol wipes, and sandpaper for instant access when leaks strike.
Prepare the Repair Area for Maximum Adhesion
Surface preparation determines 90% of your repair’s success. Skipping this step causes patches to peel off within days, forcing you to repeat the entire process.
Clean and Dry the Puncture Site Thoroughly
Deflate the mattress completely and wipe the area around the hole with a cloth dampened with mild soap solution. Rinse with clean water and allow to dry completely. For stubborn oils or residue, apply isopropyl alcohol with a cotton ball and let evaporate naturally—never skip this critical step as oils prevent proper adhesion.
Roughen Smooth Surfaces for Better Bonding
Use fine-grit sandpaper to lightly scuff the repair area in a circular motion. This creates microscopic grooves for adhesive to grip. Wipe away dust with a clean, dry cloth before proceeding. For flocked (fuzzy) surfaces, apply acetone-based nail polish remover with cotton balls to dissolve the coating, then sand the exposed PVC surface.
Apply Self-Adhesive Patches for Quick Fixes
Self-adhesive patches work well for small punctures under 1 inch in diameter and provide immediate, though not always permanent, solutions.
Proper Self-Adhesive Patch Technique
- Cut patch material to size, ensuring it extends at least 1 inch beyond the hole edges in all directions
- Round patch corners with scissors to prevent lifting
- Remove backing carefully without touching adhesive
- Position precisely over hole and press firmly from center outward
- Apply continuous pressure for 30 seconds to activate bonding
Wait at least 30 minutes before reinflating for proper adhesion, though overnight curing produces significantly stronger results. For best outcomes, place a heavy book over the patch during curing to maintain constant pressure.
Use PVC Glue for Permanent Air Mattress Repairs
For larger holes or high-stress areas like seams, PVC-specific glue with non-adhesive patches creates the most durable repairs that withstand regular use.
Step-by-Step PVC Glue Application
- Cut patch material ½ inch larger than the hole on all sides
- Apply thin, even layer of PVC glue to both patch and mattress surface
- Wait 2-3 minutes for glue to become tacky
- Position patch carefully (it cannot be repositioned once contact is made)
- Press firmly from center outward for 30 seconds to eliminate air bubbles
Critical curing time: Allow at least 30 minutes before handling, but 12 hours for maximum strength. Reinflating too soon is the #1 cause of repair failure. For immediate use, cover with Tenacious Tape while adhesive cures beneath.
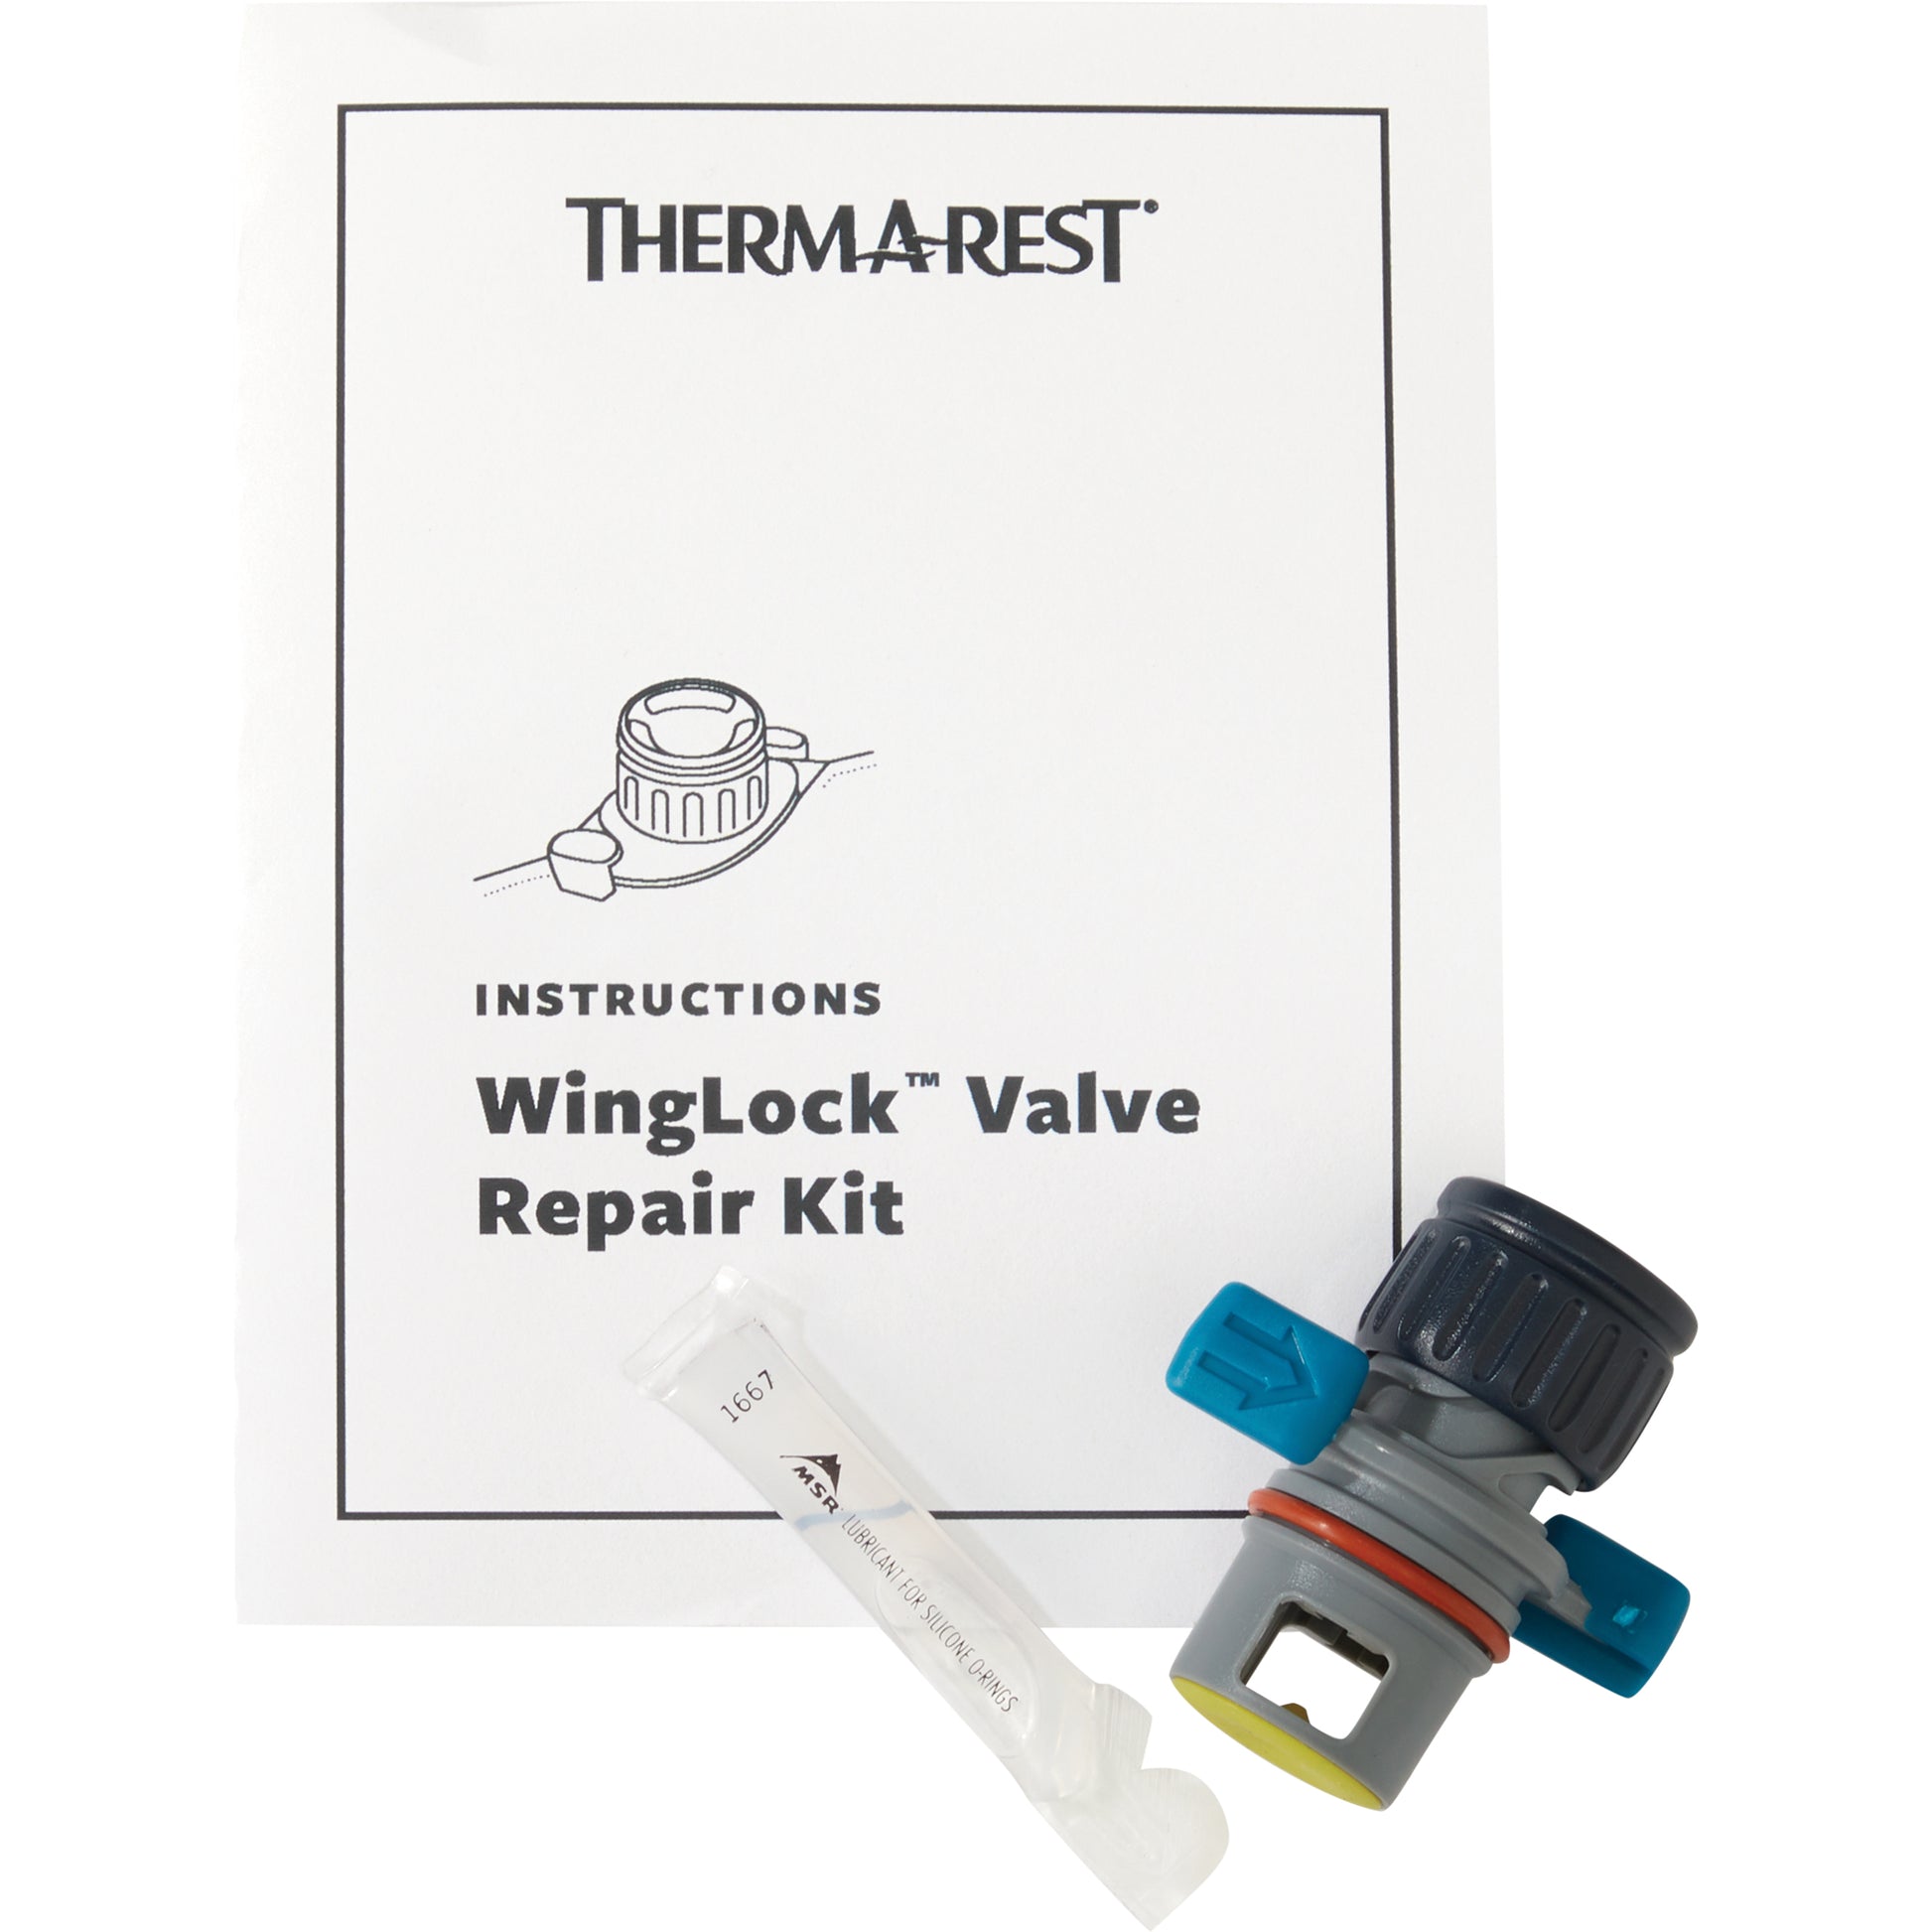
Fix Valve Leaks Without Replacing the Entire Mattress
Valve problems cause slow deflation that’s often mistaken for surface punctures. Most valve issues can be resolved without patching the mattress itself.
Three Common Valve Repair Methods
- Seal replacement: Purchase a valve repair kit with replacement seals matching your valve type
- Silicone sealant: Apply thin bead of waterproof silicone around valve stem connection points
- Tightening technique: For twist-cap valves, ensure cap is fully tightened but avoid over-tightening which damages seals
Test valve repairs by inflating slightly and applying soapy water—no bubbles should form after successful repair. If the valve stem itself is cracked, replacement becomes necessary, though this requires more advanced repair techniques.
Repair Separated Seams Before They Worsen
Seam failures occur when the adhesive bonding mattress panels weakens over time, particularly at fold lines or high-stress areas.
Effective Seam Repair Process
- Gently separate seam edges to access underlying material
- Clean both surfaces thoroughly with alcohol
- Apply Seam Grip WP adhesive along entire separation
- Press seams together firmly and clamp with binder clips
- Allow 12 hours curing time before use
For extensive seam failures exceeding 3 inches, reinforce with a patch extending 2 inches beyond the repaired seam on all sides. Never attempt to sleep on a mattress with unsecured seam separations as this worsens the damage significantly.
Prevent Future Air Mattress Damage With Simple Habits
Proper maintenance prevents 90% of air mattress failures before they occur, saving you repair time and extending mattress lifespan.
Essential Prevention Strategies
- Always inflate in final location—never drag an inflated mattress across surfaces
- Use protective layers—place blankets or ground cloths beneath outdoor mattresses
- Remove sharp objects from clothing and bedding before use
- Avoid overinflation—follow manufacturer PSI guidelines
- Store properly—roll instead of fold, keep dry, and protect from direct sunlight
Pro Tip: Apply a thin layer of talcum powder across the mattress surface before storage to prevent material sticking and reduce stress on seams during unrolling.
Recognize When Replacement Beats Repair
Some damage scenarios make replacement more practical than repair, saving you time and frustration.
Repair vs. Replace Decision Guide
| Damage Type | Repairable? | Recommendation |
|---|---|---|
| Small punctures (<2″) | Yes | Patch immediately |
| Multiple small holes | Yes | Patch each hole separately |
| Large tears (>3″) | Sometimes | Assess if patch coverage exceeds 25% of surface |
| Widespread seam failure | No | Replace mattress |
| Material degradation | No | Replace mattress |
If your mattress is under warranty, check manufacturer policies before attempting repairs, as some void warranties with DIY fixes. For high-quality mattresses worth repairing, professional repair services often provide better results than home attempts for extensive damage.
By following these precise repair methods, you’ll transform from air mattress victim to repair expert—saving money while ensuring comfortable sleep for guests, camping trips, or temporary living situations. Remember that proper surface preparation, appropriate materials, and adequate curing time form the holy trinity of successful air mattress repairs. With these techniques in your toolkit, unexpected deflations become minor inconveniences rather than sleep disasters.


