
Few things disrupt a camping trip or houseguest stay faster than an air mattress that won’t stay firm through the night. Whether you’re setting up a temporary sleeping space for guests or preparing for an outdoor adventure, knowing exactly when your air mattress is full prevents uncomfortable sleeping conditions and potential damage to your investment. The difference between a restful night and a deflating disappointment often comes down to understanding the subtle signs that indicate your mattress has reached its ideal fill level.
This guide walks you through proven methods for determining when your air mattress is properly inflated, from simple touch tests to precision pressure gauge readings. You’ll learn how to interpret visual cues, perform practical verification tests, and avoid the common mistakes that lead to over-inflation or premature wear. By the end of this article, you’ll have the knowledge to confidently answer “how to know when air mattress is full” for any sleeping situation, ensuring comfortable and reliable sleep support every time.
Perform the Palm Firmness Test for Immediate Feedback
Press your palm firmly into multiple points across the mattress surface to determine if your air mattress is full. A properly inflated mattress should feel uniformly firm with no noticeable sagging or soft spots. The ideal sensation is firm but slightly springy—comparable to a good hotel mattress that contours to your body without letting you feel the ground beneath.
Pay special attention to the center, edges, and corners during your palm test. The mattress should resist your pressure evenly everywhere, springing back to its original shape quickly when you remove your hand. If certain areas feel significantly softer than others, the mattress may not be evenly inflated, or you might have a leak requiring attention. The material should feel taut but not rock-hard, maintaining that crucial slight give that indicates the air inside can still shift and adjust to your body weight.
An overinflated mattress feels incredibly firm or hard as a rock, with no springiness whatsoever. When you press against it, the surface feels rigid and unyielding, similar to pressing on a fully inflated basketball. This excessive firmness indicates the internal air pressure has exceeded the material’s designed tolerance. If your palm test reveals this rock-hard consistency, release air immediately to protect your mattress from damage.
Identify Visual Cues That Confirm Full Inflation

Examine your air mattress from multiple angles to identify visual confirmation that it’s properly inflated. A correctly inflated mattress should lie perfectly flat and even on the ground, maintaining a smooth, consistent sleeping surface without bulges, lumps, or depressions. When viewed from the side, it should maintain its intended rectangular or tapered profile without warping, distortion, or uneven inflation across different sections.
Inspect the sides and seams carefully for visible stress indicators. These appear as whitened or stretched areas where the material is under excessive tension from overinflation. Focus particularly around welded edges, corner reinforcements, and valve connections—these high-stress points reveal overinflation damage first. The sides should appear stable and supportive without any abnormal bulging that would indicate internal pressure exceeds design specifications.
The valve area deserves special attention during your visual inspection. Check for any deformation around the valve opening that might indicate stress from internal pressure. Some air mattresses show slight bulging near the valve when overinflated. A properly inflated mattress maintains clean, smooth lines throughout its construction, with no visible stretching, warping, or material distortion that would suggest the air pressure has exceeded safe levels.
Apply the Body Weight Test for Real-World Verification
Once you’ve inflated your mattress using touch and visual tests, performing the body weight test provides final confirmation that you’ve achieved proper inflation. Place your hand and apply a small amount of body weight onto the mattress surface, paying close attention to how the air shifts and supports you. The perfect pressure level allows the mattress to give slightly under your body weight while still providing adequate support that keeps you comfortably elevated.
As you lie down completely, notice how the air displaces beneath your body. A properly inflated mattress feels slightly firmer once you actually lie down because your weight compresses the air inside, creating a personalized contour. This is completely normal and indicates the mattress is functioning as designed. The surface should cradle your body without allowing any parts to touch the ground through the mattress material.
If the mattress sags significantly under your weight, particularly in the middle section, it needs additional air. Conversely, if the mattress feels uncomfortably rigid, creates pressure points on your body, or shows visible bulging as you shift your weight, it has too much air and requires some to be released. The goal is a balanced surface that supports you evenly.
Use a Pressure Gauge for Precision Measurement
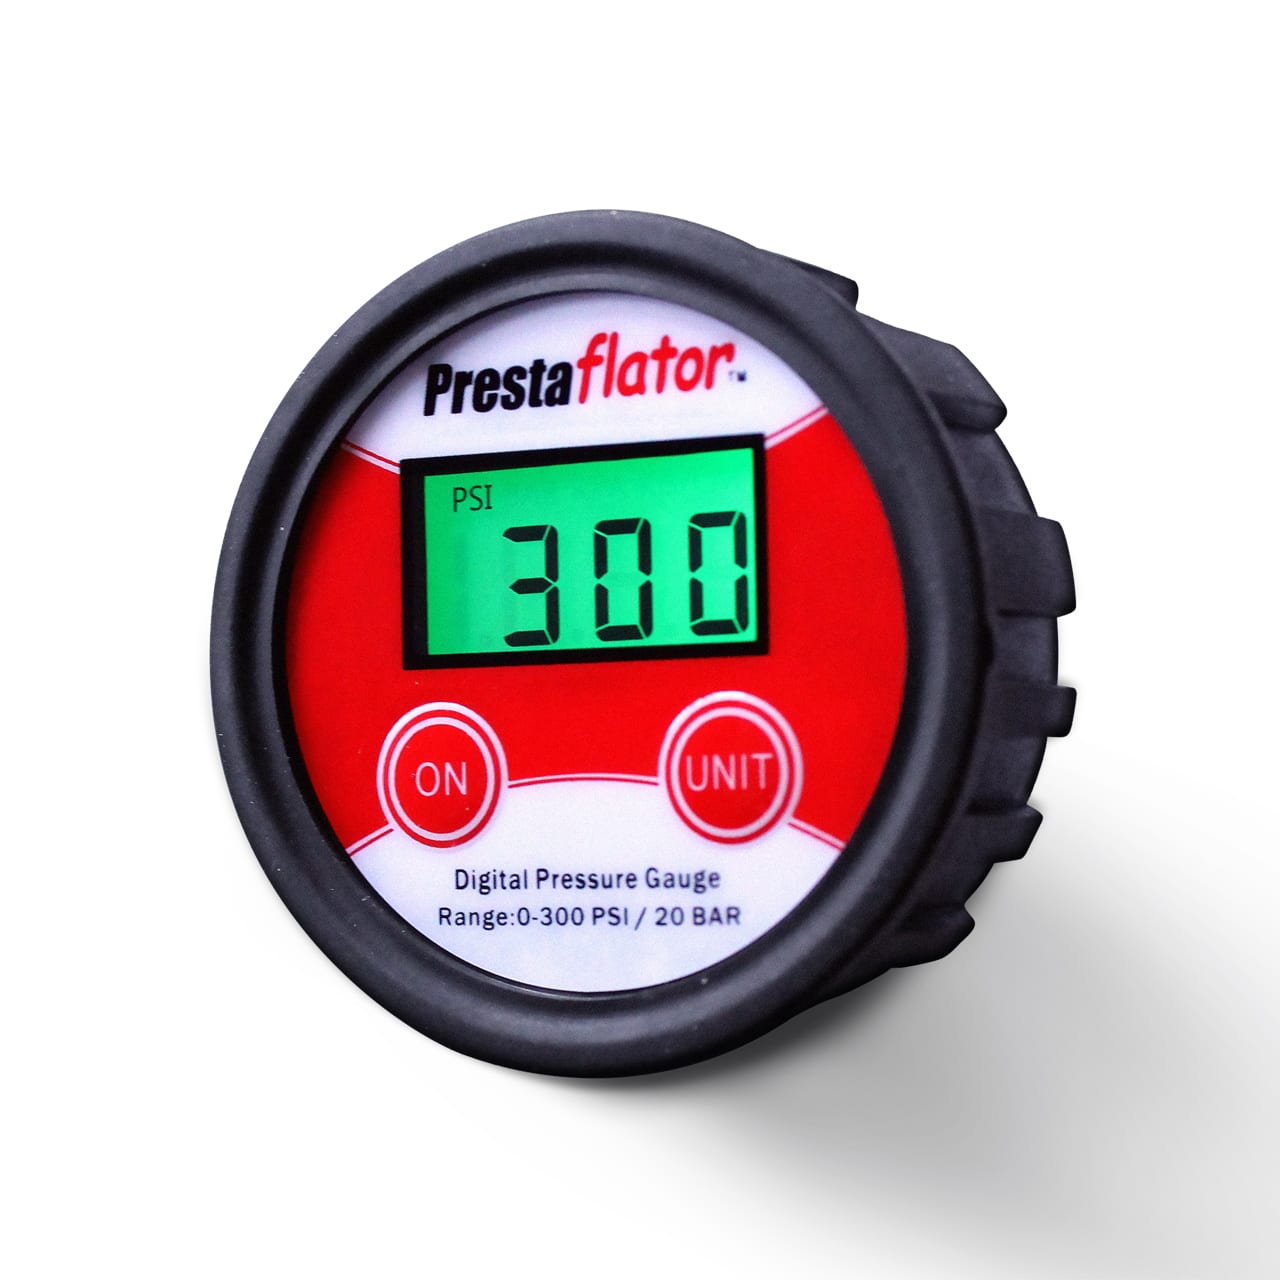
For those seeking absolute certainty about when your air mattress is full, a pressure gauge provides the most accurate assessment available. Many higher-end air mattresses include built-in pressure gauges that display the current PSI reading directly on the mattress or pump housing. Others require an external digital or analog gauge designed specifically for air mattresses.
To use a pressure gauge effectively:
- Consult your manufacturer’s instructions to identify the recommended PSI range (typically 15-25 PSI)
- Insert the gauge into the valve opening following manufacturer directions
- Ensure a proper seal so the reading reflects internal pressure accurately
- Compare the displayed reading to your target range and adjust accordingly
Digital pressure gauges offer clear digital readouts that eliminate interpretation uncertainty, making them ideal for beginners. Either type delivers superior accuracy compared to touch testing alone, particularly for those who struggle to gauge firmness consistently or who share their mattress with others who have different firmness preferences.
Account for Temperature Changes in Your Inflation Strategy
Temperature changes significantly affect air pressure inside your mattress. Air expands when heated and contracts when cooled—a fundamental physical principle that means the same amount of air creates different pressure levels depending on environmental conditions.
When inflating indoors at room temperature, you establish the baseline pressure for those conditions. If you then move the mattress to a cold environment, the air inside contracts and the mattress may appear underinflated even though it contained the correct volume of air when filled. In these situations, you’ll need to add more air to maintain proper firmness. Conversely, in hot weather conditions, the air expands significantly.
For outdoor use or temperature-variable environments, adjust your inflation strategy:
– In cold conditions, inflate to approximately the middle of your target PSI range
– In hot conditions, inflate to the lower end of your target range
– Monitor the mattress periodically for pressure changes that require attention
Verify Valve Seal Integrity Before Finalizing Inflation
Proper valve management determines whether your inflation efforts produce lasting results. Most air mattresses feature either a one-way air valve that makes filling easy while preventing air from escaping, or a simple valve opening that requires a cap to create a seal. After inflation, ensuring the valve cover is tightly closed prevents slow air leakage that can leave you with a sagging mattress by morning.
For mattresses with one-way valves, the valve automatically traps air inside when you remove the pump. However, even one-way valves can fail if debris prevents a proper seal, so inspect the valve area for dirt, sand, or damage before inflating. Mattresses without one-way valves require rapid cap replacement after removing the pump, as the open valve allows immediate air escape.
Before and during inflation, verify that your pump’s nozzle forms a tight seal with the valve opening. Air escaping around the connection during inflation wastes your effort and leads to inaccurate inflation estimates. If your pump doesn’t create a proper seal naturally, try wrapping the connection point with a cloth or using a different pump attachment.
Prevent Catastrophic Damage by Avoiding Over-Inflation

Overinflating an air mattress creates multiple risks that compromise both comfort and long-term durability. When air mattresses reach maximum capacity, seams experience excessive tension that weakens the material over time and significantly increases rupture risk, especially when weight is applied or when temperature changes cause additional pressure expansion.
The specific risks of over-inflation include:
– Ruptured seams that create leaks requiring repair or replacement
– Sudden popping under pressure that creates safety hazards
– Premature wear that shortens your mattress lifespan significantly
– Uncomfortable sleeping conditions with pressure points that disrupt sleep
Prevention requires knowing your mattress’s limits and respecting them. Never inflate beyond the maximum PSI indicated by the manufacturer. When in doubt, err on the side of slightly underinflated. The recommended 90% fill level for initial inflation—particularly with new mattresses—provides a safety buffer that accommodates pressure changes without risking damage.
Handle New Mattress Break-In Period Correctly
Brand new air mattresses require special consideration during their first inflation. Any air mattress will appear to lose air relatively quickly during its first use, especially if it’s brand new. This phenomenon often alarms users who assume they have a leak, but in most cases, the apparent air loss reflects physical stretching as the material, seams, and internal components expand.
When first inflating a new mattress:
– Fill it to approximately 90% of its capacity rather than attempting to fill completely
– Avoid placing weight on the mattress for a day or two if possible
– Expect to reinflate during the first few uses as the material adjusts
– Track the rate of air loss over the first week
This stretching-related air loss typically occurs only during the initial couple of uses. Continued significant air loss beyond that period may indicate an actual leak or other issue requiring attention. If it stabilizes and requires less frequent reinflation, the break-in process is proceeding normally.
Follow This Foolproof Inflation Sequence
Begin by reading the complete instruction manual for your specific mattress model. Locate the air valve and remove any protective cap, noting whether your mattress has separate inflation and deflation valves or a single function valve.
Attach your pump—ensuring a tight seal between the pump nozzle and valve opening. Begin pumping gradually rather than attempting to fill rapidly, periodically pausing to test firmness with your hand and check for visible stress marks. Stop pumping when the mattress feels firm but gives slightly under pressure.
Allow the mattress to rest for 10 to 15 minutes after initial inflation, then perform your final firmness check and adjust as needed. Close the valve securely and perform one last firmness verification before use. Monitor the mattress over the first few hours, especially with new mattresses, and add air as needed to maintain proper inflation throughout your sleep session.
Knowing when your air mattress is full requires combining multiple verification methods—touch testing, visual inspection, and optional pressure gauge measurement—while understanding the environmental and material factors that affect inflation over time. Master these techniques, and you’ll enjoy consistent, comfortable sleep support from any air mattress, whether you’re hosting house guests or exploring the great outdoors.


