
Cutting a thick foam mattress opens up possibilities for customization, from creating comfortable mattress toppers to fitting foam into tight spaces or crafting custom cushions. Whether you’re repurposing an old mattress, adjusting a new one for a unique bed frame, or designing specialized foam pieces for a DIY project, knowing the right techniques makes the difference between jagged, uneven cuts and clean, professional results. This guide walks you through every step of the process, from selecting the proper tools to finishing edges that look polished and wear well over time.
Thick foam presents unique challenges that thinner materials simply don’t. The density that makes these mattresses comfortable also means they resist cutting tools more aggressively, requiring sharper blades, steadier hands, and patient, deliberate movements. Rushing through a cut on dense foam almost guarantees binding, wandering blades, and edges that crumble or compress rather than slice cleanly. Understanding these challenges before you begin helps you approach the project with the right mindset and expectations.
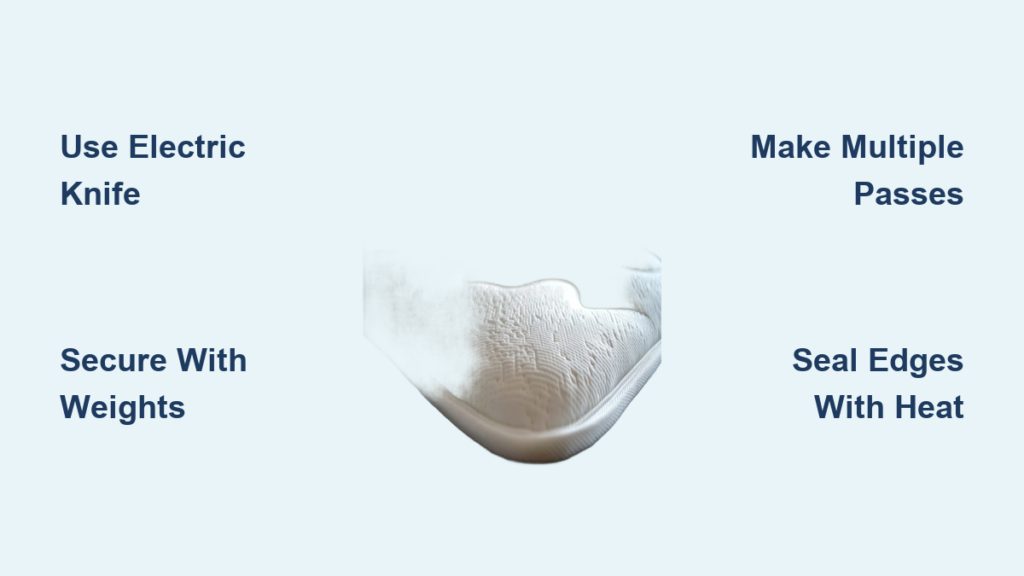
Choose the Right Cutting Tool for Thick Foam

The tool you select for cutting thick foam matters more than any other factor in determining your results. Standard utility knives work adequately for foam toppers and thinner materials, but when you’re dealing with mattresses six inches thick or more, you’ll need something with more power and a longer blade capable of penetrating the full depth in a single pass.
Electric carving knives deliver surprisingly clean cuts through dense foam with minimal effort. The serrated blade’s reciprocating action slices through foam without requiring the downward pressure that causes blade binding in denser materials. When using an electric carving knife, maintain a steady speed through the cut—slowing down mid-cut creates uneven sections while rushing causes the blade to wander off your marked line. Most models cut effectively through foam up to 12 inches thick in a single pass, making them ideal for standard mattress cutting projects.
Long-handled serrated bread knives offer superior control for manual cutting when precision matters more than speed. The eight to ten-inch blade length accommodates most mattress thicknesses, and the serrations grip foam fibers to prevent blade wandering. Use long, smooth strokes rather than short, choppy movements—this technique reduces the chance of creating stepped edges. Keep the blade angle perpendicular to the foam surface throughout your stroke for straight cuts, and slightly tilt the blade forward when cutting curves to maintain contact with the foam.
Hot wire foam cutters produce the cleanest professional results but require additional safety precautions. These specialized tools melt through foam with virtually no resistance, creating sealed edges that resist fraying. When using a hot wire cutter, maintain a consistent speed through the foam—moving too slowly creates excessive melting and widens the cut, while moving too quickly leaves rough edges. Always work in a well-ventilated area as the melting process produces fumes, and keep the wire at proper tension to maintain straight cuts.
Secure Your Mattress Before Cutting
Loose foam shifts under blade pressure, causing cuts to deviate from your marked line and resulting in uneven edges. Preventing this movement requires securing the mattress firmly before you begin cutting, though the method varies depending on your workspace setup and mattress size.
Use heavy weights strategically along your cut line when working on raised surfaces. Position books, sandbags, or dumbbells within two to three inches of your marked line without interfering with your cutting motion. For thicker mattresses, place weights on both sides of the cut line to prevent the foam from compressing unevenly as your blade passes through. This method works particularly well for straight cuts across the entire mattress width.
Create a stable base with plywood and sawhorses for maximum control during cutting. A sturdy platform at waist height reduces fatigue and improves accuracy compared to working on the floor. Cover the plywood with a non-slip mat or rubber shelf liner to prevent the mattress from sliding during cutting. For extra security, use painter’s tape along the edges of the mattress where it contacts the work surface—this provides gentle adhesion without damaging the foam.
For floor cutting, employ strategic taping techniques when weights aren’t practical. Use painter’s tape along both sides of your marked line, pressing firmly to adhere to the foam surface. Apply tape in one-foot sections rather than attempting to run continuous strips, as this allows you to maintain tension and prevent wrinkles. Avoid duct tape or other strong adhesives, as these bond aggressively and damage foam surfaces when removed.
Execute Straight Cuts with Professional Results
Straight cuts through thick foam require a systematic approach that maintains blade alignment throughout the entire stroke. Begin by positioning your blade at the starting point with the cutting edge just touching your marked line. For electric knives, this means aligning the blade’s edge with your mark before powering on. For manual cutting, place the blade carefully before applying any pressure.
Make multiple light passes rather than forcing a single deep cut through thick foam. Each pass removes a portion of the material, allowing the blade to track more accurately without binding or deflection. This approach takes longer but dramatically improves edge quality, particularly on high-density foams that resist cutting. Start with shallow cuts (about 1-2 inches deep), then gradually increase depth with each subsequent pass until you’ve cut through completely.
Maintain visual alignment by looking ahead of the blade rather than directly at the cutting point. Similar to steering a car, focus on where you want the cut to go next rather than where the blade currently is. This technique prevents over-correction and keeps your cuts straighter with fewer adjustments. For long cuts, place small tick marks at regular intervals along your line as visual checkpoints to maintain accuracy throughout the stroke.
Cut foam slightly oversized and trim to final dimensions in a secondary pass to account for natural cutting inaccuracies. Leaving an eighth to a quarter inch of extra material provides working room for fine-tuning without compromising your project’s dimensions. This technique, common among professional foam cutters, ensures your final piece meets exact specifications while accommodating minor deviations that occur during the initial cut.
Perfect Curved and Angled Cuts

Curved cuts present greater challenges than straight cuts because the blade continuously changes direction, increasing the risk of binding, uneven edges, or blade deflection. The keys to success lie in choosing appropriate blade geometries for curved work and maintaining patient, deliberate movements throughout.
Use shorter blades or flexible knives for tight curves that require frequent direction changes. A serrated bread knife with some flex allows you to follow gentle curves without forcing the blade to track precisely. For interior curves (concave shapes), make shallow initial scoring passes before completing cuts to prevent the blade from binding as it exits the curve on the opposite side. Support the foam piece on both sides of the cut to prevent compression that narrows the kerf.
Create templates for complex curves before cutting your final piece. Cardboard or poster board templates let you refine the curve shape and test your cutting technique before committing to the foam. Secure the template firmly with painter’s tape before tracing, and use a white marker for clear visibility against dark foam surfaces. For symmetrical shapes, fold your template in half to ensure both sides match perfectly.
Establish consistent angles with simple jigs when cutting beveled edges for cushion covers. Wedge-shaped shims placed under your straight edge raise one side to create the desired angle. Practice on scrap foam first to verify your angle and adjust as needed before cutting your final piece. For consistent bevels across multiple pieces, create a reusable angle guide from plywood that maintains the same slope for every cut.
Finish Edges Professionally
Raw foam edges tend to crumble, shed, and create friction against fabric covers unless properly finished. Several techniques address this issue, ranging from simple sanding to specialized edge-sealing products. The right approach depends on your project’s requirements and how the cut edges will be exposed or covered.
Smooth rough edges with medium-grit sandpaper (80 to 100 grit) for edges that will be covered by fabric. Use long, even strokes along the edge, working in one direction rather than back-and-forth scrubbing that creates uneven surfaces. Fold the sandpaper to create a narrower working surface for handling inside corners or tight areas. Check your progress frequently by running your finger along the edge—properly finished foam should feel smooth without visible crumbs or debris.
Seal exposed edges with heat for maximum durability on visible foam pieces. A heat gun applied carefully to foam edges causes the surface to melt and form a slightly hardened shell that resists crumbling. Keep the heat gun moving constantly and maintain several inches of distance from the surface—work in short 2-3 inch sections to maintain consistent results. This technique requires practice to avoid scorching or deforming the foam, so test on scrap material first.
Apply foam-specific spray adhesive as a finishing step when edges will be wrapped with fabric. These adhesives create a slight crust on the edge while also bonding fabric wraps or covering materials. Allow the adhesive to become tacky (about 10-15 minutes) before applying fabric for optimal bonding. For best results, apply two thin coats rather than one thick coat, allowing proper drying time between applications.
Cutting a thick foam mattress successfully requires the right tools, proper preparation, patient technique, and attention to safety throughout the process. By selecting appropriate cutting implements, setting up an organized workspace, measuring carefully before cutting, and executing cuts methodically, you achieve clean, professional results that meet your customization needs. The techniques in this guide apply to mattress foam, mattress toppers, and foam cushion materials, making them valuable for a wide range of DIY projects. With practice, you’ll develop your own preferred approaches and refinements that make foam cutting an enjoyable part of your crafting repertoire. Remember that perfect cuts come with experience—don’t be discouraged by initial imperfections as you develop this valuable skill.


