

Your mattress deserves protection that’s both functional and custom-fitted to your exact specifications. A zippered mattress cover offers the perfect solution—easy removal for laundering while providing a snug fit that stays securely in place. Unlike store-bought options that often slip or bunch, a homemade cover tailored to your mattress dimensions ensures a clean, professional look while extending your mattress’s lifespan. This guide delivers precise, step-by-step instructions that transform basic sewing skills into a durable, high-quality cover that withstands years of regular use and washing.
Whether you’re tackling this project to protect a specialty-sized mattress, create a hypoallergenic barrier, or simply save money compared to retail options, the process is surprisingly accessible even for intermediate sewists. By following these detailed instructions, you’ll create a cover that fits like it came from the manufacturer—only better, because it’s made with your exact fabric preferences and quality standards.
Gather Essential Supplies
Selecting the right materials makes the difference between a cover that lasts years versus one that fails after a few washes. Start with fabric that matches your mattress protection needs without compromising comfort.
Choose heavyweight cotton twill or tightly woven percale for everyday mattress protection. These fabrics withstand repeated washing while maintaining breathability. For waterproof protection without that crinkly plastic feel, select a cotton fabric with a polyurethane laminate backing—these provide complete liquid resistance while remaining soft to the touch. Avoid slippery satins or delicate silks unless you’re creating a decorative top layer over a protective inner cover. Calculate your fabric needs by adding 12 inches to your mattress length and width measurements—this accounts for 1-inch seam allowances plus 2-3 inches of rise above the mattress surface.
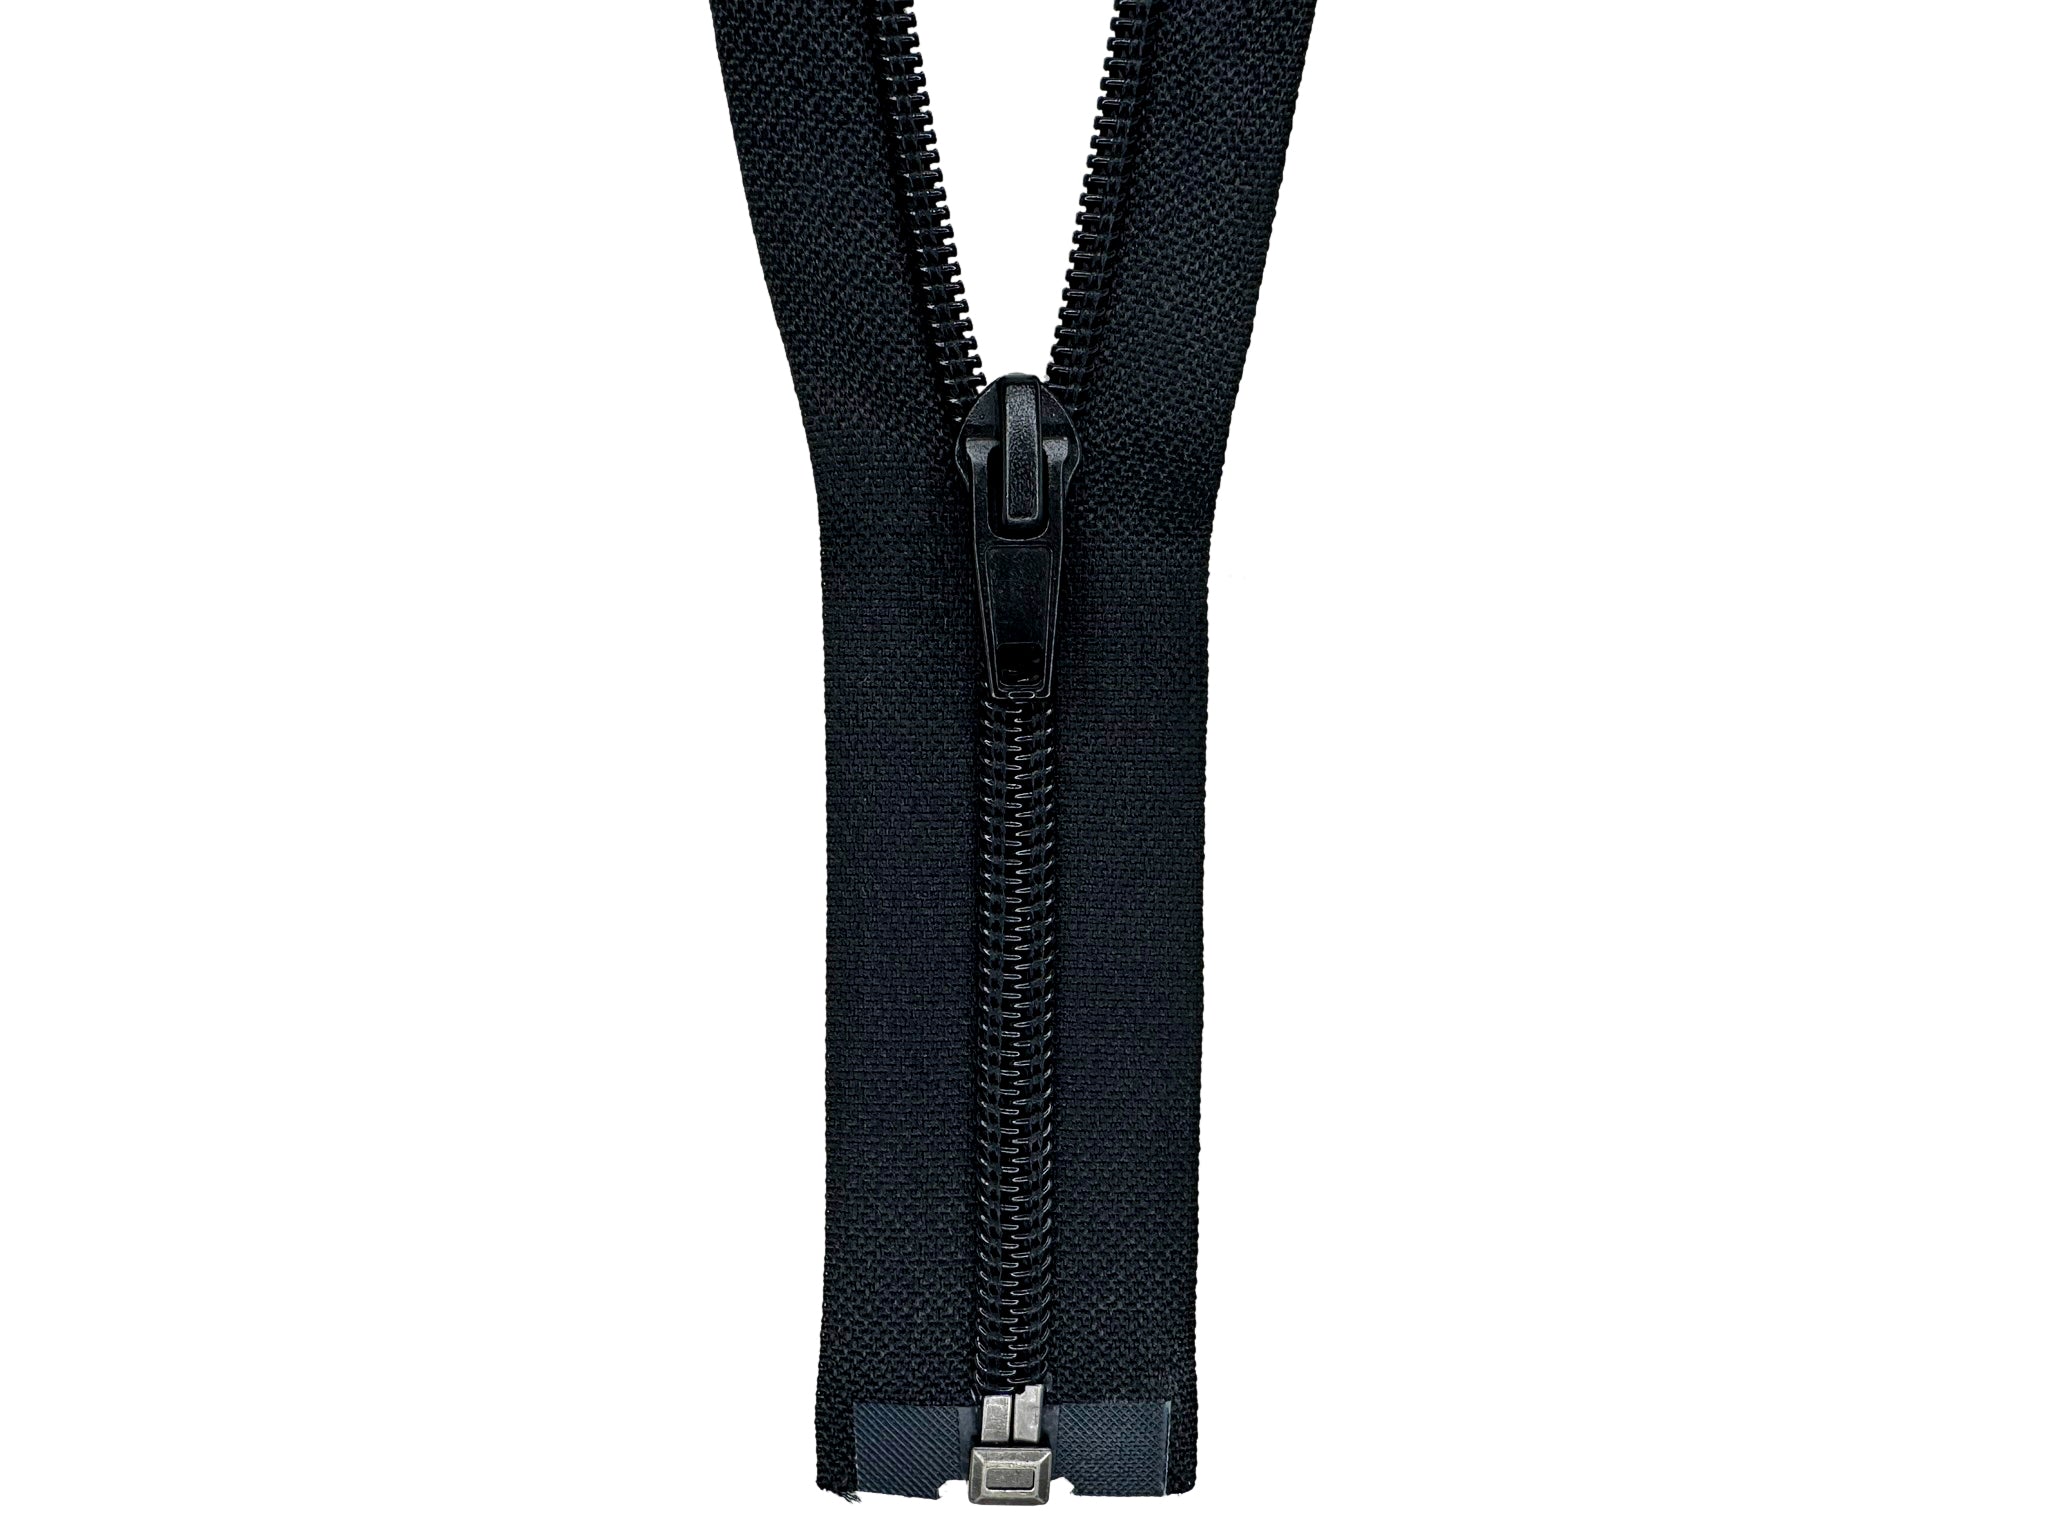
Select a heavy-duty nylon coil zipper rated for home decor applications, not clothing. Measure your mattress depth plus 4 inches to determine the minimum zipper length you’ll need—most standard queen mattresses require a 60-inch zipper. Opt for a #5 or #7 size zipper with metal or reinforced plastic teeth that won’t separate under tension. Test zipper operation before purchasing—pull the slider up and down several times to ensure smooth movement. Purchase an extra inch or two beyond your calculated length; you can always trim excess but can’t add length later.
Prepare your sewing station with specific tools that handle thick fabric layers. Use a size 16 denim needle that pierces multiple fabric layers cleanly without skipped stitches. A walking foot attachment prevents fabric shifting when sewing through the bulky zipper area. Keep fray-check liquid or a small serger handy to finish seam allowances immediately after sewing. Measure and mark your fabric with tailor’s chalk rather than pens or markers that might bleed during washing.
Take Accurate Measurements

Precise measurements prevent the most common mattress cover failure—poor fit that causes constant shifting or difficulty zipping.
Measure your mattress at three points along each dimension, especially if it’s more than six months old. Mattresses compress unevenly over time—measure the length at head, middle, and foot positions; width at left, center, and right; and depth at all four corners plus the center. Record the largest measurement for each dimension—this ensures your cover will fit even the bulkiest areas of your mattress. For example, a “queen” mattress might measure 61 inches wide in the center but only 60 inches at the ends.
Calculate fabric dimensions using this formula: Top/Bottom panels = (length + 2 inches) x (width + 2 inches); Side panels = (length + 2 inches) x (depth + 4 inches) and (width + 2 inches) x (depth + 4 inches). The additional 4 inches for depth creates the necessary rise above your mattress surface. Transfer these measurements to your fabric with chalk, adding ¼ inch beyond your cutting line to allow for trimming errors—this small buffer prevents cutting mistakes from ruining your project.
Double-check measurements before cutting by creating a mock-up with inexpensive muslin fabric. Cut a small test piece to verify your seam allowances and construction method before committing to your final fabric. This step takes only 15 minutes but prevents costly mistakes with expensive upholstery-weight materials.
Cut Fabric Pieces Precisely
Professional results begin with clean, accurate cuts that align perfectly during assembly.
Cut fabric on a hard, flat surface like a kitchen table or floor—never on a bed or soft surface that creates uneven cuts. Place a large piece of cardboard underneath slippery fabrics to prevent shifting. For patterned fabrics, ensure all pieces face the same direction to maintain consistent design flow across seams.
Use sharp rotary cutters with fresh blades rather than scissors for straighter edges through multiple layers. Cut slowly along your chalk lines, applying even pressure throughout each stroke. After cutting each piece, immediately label it with masking tape and a marker—top, bottom, short side, long side—to prevent confusion during assembly.
Verify all pieces match before proceeding by laying them out in mattress configuration. Place the top and bottom pieces right-sides together with side panels sandwiched between them. Check that all edges align perfectly—if any piece is even ⅛ inch off, trim it now rather than trying to compensate during sewing.
Prepare Zipper Installation
Proper zipper preparation prevents the most frustrating sewing project failures—crooked zippers that won’t close properly.
Mark zipper placement with precision by measuring 1 inch from the edge along the entire length of one long side panel. Use a fabric pen with a ruler to draw a straight line—this guide ensures your zipper installs parallel to the edge. On the opposite side panel, mark a corresponding line that will align perfectly when the cover is assembled.
Reinforce the zipper area with iron-on interfacing cut to the width of your seam allowance plus ½ inch. This prevents fabric from stretching under zipper tension and stops teeth from pulling through thin fabrics. Press the interfacing in place using a hot, dry iron—steam can cause interfacing to bubble or shift.
Test zipper operation repeatedly before sewing—open and close it 10 times to ensure smooth movement. If the zipper sticks at any point, address the issue now rather than after installation. Apply a small amount of zipper lubricant (graphite powder works best) to problem areas and work the slider back and forth until movement becomes smooth.
Sew Side Panels Together
Creating the mattress “skirt” requires careful alignment to prevent twisted seams and uneven corners.
Pin side panels to top and bottom pieces with right sides together, inserting pins perpendicular to the edge every 3 inches. Start pinning from the center of each side outward to distribute any minor measurement discrepancies evenly. Pay special attention to corners—align the side panel seams precisely with the top/bottom fabric corners.
Sew side seams with a 1-inch seam allowance using a straight stitch with 12-14 stitches per inch. Backstitch at both ends and reinforce corners with a second line of stitching. When approaching corners, stop with the needle down, lift the presser foot, pivot the fabric, then continue sewing—this creates crisp 90-degree angles.
Press all seams open with a hot iron immediately after sewing. Proper pressing flattens seam allowances and creates the clean, professional appearance that distinguishes handmade from homemade. For thick fabrics, use a ham or rolled towel under seams to prevent seam impressions from transferring to the right side of your fabric.
Install the Zipper
Zipper installation requires patience but yields professional results when approached systematically.
Place the zipper face down along your marked line with teeth centered over the edge where side panels meet. Pin through the zipper tape within the seam allowance area, keeping pins perpendicular to the zipper. Check alignment by measuring from both ends to ensure the zipper sits straight.
Sew the first side using a zipper foot, starting from the top and working downward. Keep the needle position as close to the teeth as possible without hitting them—typically ⅛ inch away. Remove pins just before reaching them to prevent needle breakage. Backstitch at both ends for security.
Test zipper operation after sewing the first side by closing it partially. The fabric edges should align perfectly with no puckering. If the zipper pulls or fabric bunches, remove a few stitches and adjust positioning before continuing.
Sew the second side by flipping the fabric and repeating the process. The challenge here is keeping the cover flat while sewing through multiple layers. Work slowly, adjusting fabric position as needed to prevent tucks. After completion, press the zipper area with the cover inside-out to set the stitches before turning right-side-out.
Finish Raw Edges and Hems
Professional finishing prevents fraying and creates a cover that looks store-bought.
Finish all seam allowances with a zigzag stitch or serger before turning the cover right-side-out. This crucial step prevents raw edges from unraveling during washing—unreinforced seams can fail completely after just a few cycles.
Hem the bottom edge with a double-fold ½ inch hem that encases the raw edge. This creates a clean finish visible from under the bed while preventing fabric from fraying. Topstitch close to the inner fold for maximum durability.
Test the final fit by installing the cover on your mattress before trimming any excess fabric. The cover should zip smoothly with moderate tension—too tight causes fabric strain, while too loose creates unsightly bagginess. Make final adjustments while the cover is still inside-out for easiest access to seams.
Add Professional Touches
These details transform a basic cover into a high-end product that functions flawlessly.
Install a dust ruffle by sewing a 3-inch fabric strip behind the zipper on the interior side. This simple addition prevents dust and allergens from entering through the zipper opening—critical for allergy sufferers.
Add corner elastic by sewing 2-inch elastic loops into each bottom corner. These loops attach to bed frame legs, preventing the cover from shifting during use—a must for adjustable bases or frequent bed-making.
Mark the top of the zipper with a small fabric tag or contrasting thread to prevent upside-down installation—a common frustration with symmetrical mattress covers.
Maintain Your Zippered Cover
Proper care extends your cover’s life through dozens of wash cycles.
Wash with zipper fully closed to prevent snagging and fabric damage. Use cold water and gentle detergent—hot water can shrink natural fibers and degrade waterproof coatings.
Air dry whenever possible to preserve fabric integrity and zipper function. Machine drying on low heat is acceptable for cotton blends but avoid high heat that can melt waterproof coatings.
Lubricate the zipper annually with dry graphite powder to maintain smooth operation. Avoid oil-based lubricants that attract dirt and eventually gum up the mechanism.
Your custom zippered mattress cover represents an investment in both your sleep health and sewing skills. By following these precise instructions, you’ve created protection that fits perfectly while showcasing your craftsmanship. The entire process takes 3-5 hours for most sewists, but the results deliver years of reliable service and the satisfaction of knowing exactly what materials protect your sleeping surface. Start with this basic design, then experiment with decorative topstitching, contrasting zippers, or specialized fabrics as your confidence grows—your perfect mattress protection is limited only by your imagination.


