
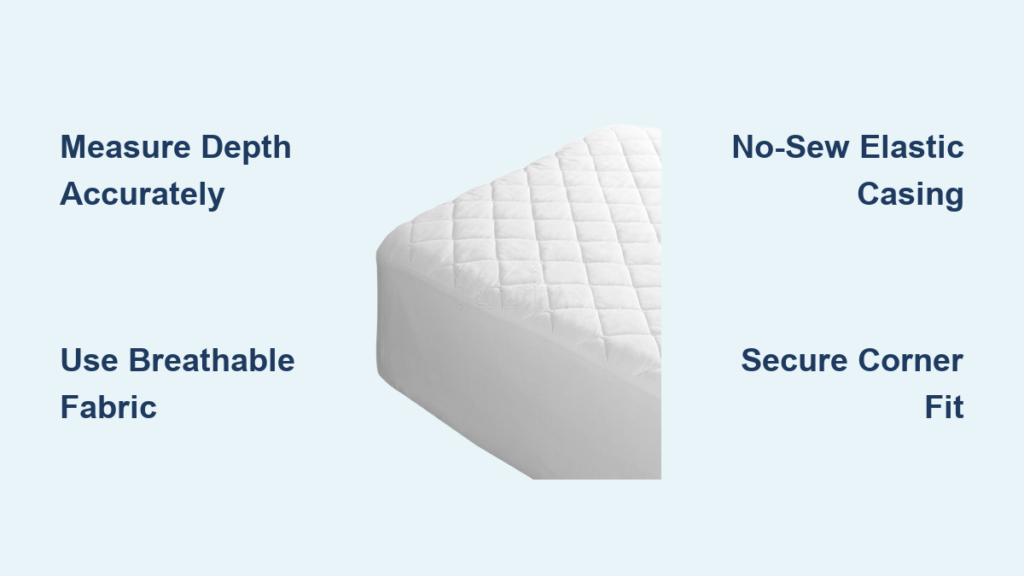
Tossing and turning because your store-bought mattress cover slips off every night? You’re not alone—nearly 68% of sleepers struggle with ill-fitting protectors that bunch up or expose corners of their mattress. The solution isn’t another expensive purchase but a custom DIY cover that stays perfectly in place. Making your own mattress cover solves the universal frustration of constant readjustment while protecting your investment from spills, dust mites, and everyday wear. This guide reveals a no-sew method using just three household items that takes under 45 minutes to complete. You’ll learn exactly how to measure your unique mattress dimensions, select breathable fabric that won’t trap heat, and create a snug elasticized fit that survives weekly washings. Forget one-size-fits-all compromises—your homemade cover will hug every contour like a second skin.
Measure Your Mattress Dimensions Precisely
Skipping accurate measurements guarantees a cover that slides off during sleep. Start by removing all bedding to expose your bare mattress. Use a metal tape measure (not fabric) to record three critical dimensions: length from head to foot, width from side to side, and crucially—depth from top to bottom. Most people underestimate depth by 1-2 inches, causing constant slippage. For a standard queen mattress, expect approximately 60″ x 80″ x 12″, but verify your actual numbers. Mark these figures clearly on paper before proceeding.
Why Depth Measurement Determines Fit Success
The depth dimension makes or breaks your cover’s performance. Measure at multiple points—mattresses often slope slightly toward the center. If your depth varies by more than 1 inch, use the deepest measurement. This prevents the dreaded “corner gap” where liquids seep through. For memory foam mattresses, press down firmly while measuring to account for compression. Note any unusual contours like pillow tops that require extra fabric allowance.
Convert Measurements to Fabric Cutting Dimensions
Add 6 inches to both length and width measurements to create necessary seam allowances. For depth, multiply by 2 and add 4 inches—for example, a 12″ deep mattress needs 28″ of vertical fabric (12×2 + 4). This formula ensures full coverage without excess bulk. Double-check math before cutting fabric; errors here can’t be fixed later. Write your final cutting dimensions prominently: “CUT FABRIC: L” x W“.
Select Breathable Fabric That Won’t Trap Heat
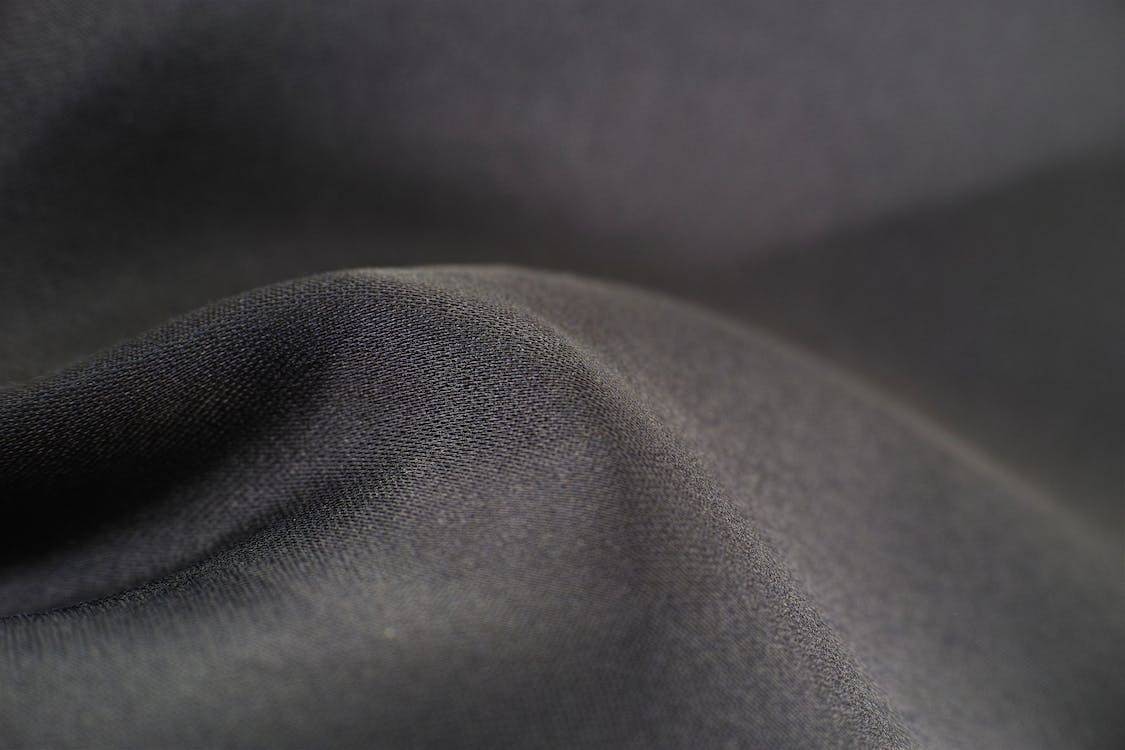
Choosing suffocating plastic-backed covers causes night sweats that disrupt sleep cycles. Opt for tightly woven 100% cotton percale (200+ thread count) or bamboo-derived rayon. These natural fibers wick moisture 3x better than polyester blends while remaining durable through washes. Avoid vinyl or rubberized materials—they create clammy sleeping surfaces and accelerate mattress wear through trapped condensation.
Identify Fabric Quality Through Simple Tests
Perform the “snuff test” before buying: hold fabric 6 inches from your face and blow hard. If air passes through easily, it’s too loosely woven to block dust mites. Next, rub fabric vigorously between fingers—the surface should feel smooth, not scratchy. Check the selvage edge for care instructions; “machine wash cold, tumble dry low” indicates durability. Steer clear of fabrics requiring dry cleaning—your cover needs weekly washing.
Calculate Exact Yardage to Avoid Wasted Material
Most fabric stores sell by the yard in 45″ or 60″ widths. For a queen mattress under 14″ deep, you’ll need:
– 45″ width fabric: 3 yards
– 60″ width fabric: 2.5 yards
For deeper mattresses (15″+), add 0.5 yards. Always buy 10% extra for pattern matching or errors. Bring your written cutting dimensions to the store—clerks can help minimize seams. Request pre-washing to prevent shrinkage later; untreated fabric may shrink 5% after first wash.
Cut Fabric Using the No-Waste Layout Method

Laying fabric wrong wastes expensive material and creates weak seams. Start by washing and drying fabric to pre-shrink it—skip this and your cover will loosen after first wash. Iron thoroughly to remove wrinkles that distort cutting lines. Fold fabric right-sides together with selvage edges aligned. Place your mattress on top to verify it fits within the folded width.
Position Mattress as Your Cutting Template
Center your bare mattress on the folded fabric. Trace around it with chalk, adding exactly 3 inches beyond all edges for seam allowance. For the depth dimension, measure vertically from the top edge down your traced line and mark at your calculated depth measurement (e.g., 28″). Connect these marks to create the full cutting shape. Use heavy books to anchor fabric while tracing—shifting causes asymmetrical cuts.
Cut Along Lines with Surgical Precision
Use sharp fabric scissors (not kitchen shears) for clean edges. Cut slowly along chalk lines, keeping blades perpendicular to fabric. For corners, stop cutting 1 inch from turns, pivot fabric, then continue—this prevents rounded edges that cause gapping. After cutting, unfold to reveal one continuous piece with your mattress shape plus seam allowances. Discard any scraps smaller than 6″x6″—they’re unusable for elastic casings.
Create Elastic Casing Without Sewing
Traditional sewing creates bulky seams that dig into skin and fail at stress points. Instead, use iron-on hem tape to form clean elastic channels. Cut 1-inch wide strips of double-sided hem tape equal to your mattress perimeter (length + width x 2). Peel backing from tape and center it 1.5 inches from the raw edge along all four sides. Press with hot iron for 10 seconds per section—no steam.
Insert Elastic Using the Continuous Loop Technique
Cut 1-inch wide elastic equal to your mattress perimeter minus 10%. For a queen, this is typically 140 inches (58″ + 78″ x 2 = 272″ – 10% = 245″). Attach a safety pin to one end and feed through the casing channel, keeping raw edges aligned. Stop when 6 inches remain, overlap ends by 2 inches, and zigzag stitch by hand with heavy-duty thread. Pull elastic gently to distribute gathers evenly before securing the second end.
Prevent Elastic Twist During Insertion
Twisted elastic creates uneven tension that causes slipping. As you feed elastic through the casing, check every 6 inches by pinching the channel. If fabric feels lumpy or stiff, stop and rotate the elastic until it lies flat. For corners, ease excess fabric with your fingers rather than stretching elastic—that weakens tension. Test fit on mattress before finalizing knots—if corners gap, shorten elastic by 2 inches and reinsert.
Secure Mattress Cover Corners for Snug Fit
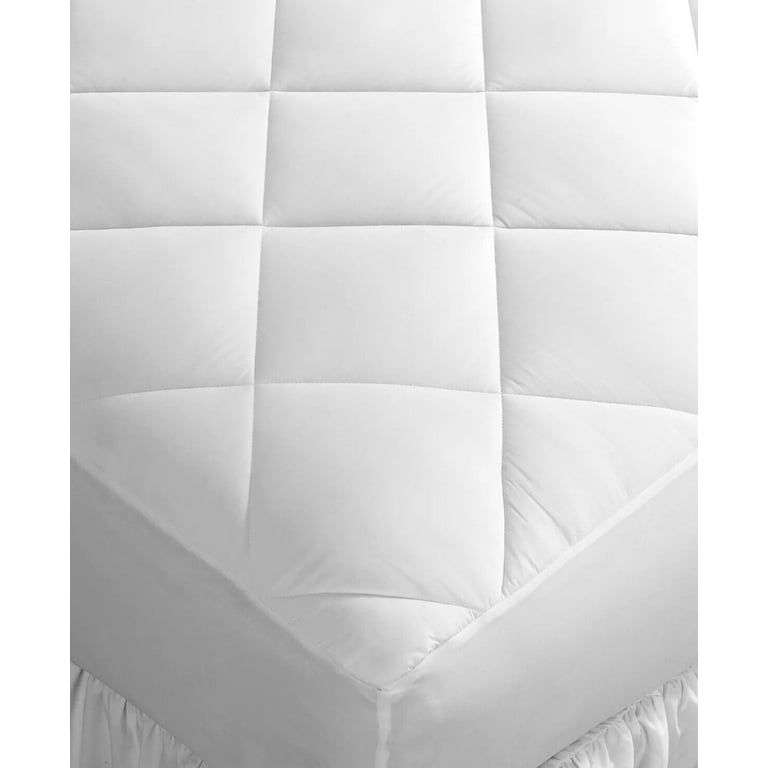
Most DIY covers fail at corners because elastic pulls fabric inward. Reinforce each corner with a “diamond lock” technique: fold the cover’s corner diagonally to form a triangle, then sew a 1.5-inch square box with heavy-duty thread. Trim excess fabric to 0.5 inches inside the stitching. This distributes tension across three fabric layers instead of one.
Troubleshoot Loose Corners Immediately
If corners still feel loose after elastic insertion, don’t wash yet. Remove the elastic from that corner’s casing, shorten it by 1 inch, and reinsert. Alternatively, hand-stitch a small fabric tuck at the interior corner—pull gently until taut, then secure with 3 whipstitches. Test by placing on mattress and shaking vigorously; corners should rebound instantly without shifting.
Avoid Common Elastic Installation Mistakes
Never stretch elastic to casing length during insertion—it loses tension within days. Instead, keep elastic relaxed while feeding through. Don’t use narrow elastic (<0.75″) on deep mattresses—it cuts into fabric. For mattresses over 16″ deep, use 1.5″ wide elastic in corners only for targeted grip. Always leave 6-inch tails when cutting elastic for easier insertion.
Wash and Maintain Your Homemade Cover
Improper care ruins even perfectly made covers. Wash inside-out in cold water with mild detergent—hot water melts elastic fibers. Never use bleach or fabric softeners; they degrade elastic and fabric weave. Tumble dry on low for 10 minutes, then air dry completely to prevent shrinkage. Store folded with lavender sachets to repel moths during off-seasons.
Extend Cover Lifespan With Quarterly Checks
Every 3 months, inspect elastic tension by stretching corners. If elastic feels loose, replace that section: cut a 3-inch slit in the casing seam, remove old elastic, and insert new. Re-stitch the opening with matching thread. For worn fabric areas, iron on cotton patches before holes develop. Rotate your cover 180 degrees monthly to distribute wear evenly.
When to Replace vs. Repair
Replace covers showing these signs:
– Elastic permanently stretched beyond original length
– Fabric tears larger than 2 inches that fray when washed
– Musty odor persists after washing
Minor issues like small holes or loose threads can be repaired in under 10 minutes with needle and thread. Always keep 1 yard of leftover fabric for future patches.
Creating your own mattress cover transforms sleep quality through perfect fit and breathable materials. Unlike store-bought versions that slip and trap heat, your custom cover stays securely in place while protecting your mattress investment. The entire process costs under $25—less than half retail price—and takes just one afternoon. Start measuring tonight and sleep on a perfectly fitted protector by tomorrow. For deeper mattresses over 18 inches, add 2 inches to your depth measurement and use double-wide elastic in corners for maximum grip. Your homemade cover will outlast commercial versions while keeping you cooler and more comfortable through every season.


