
Nothing ruins a good night’s sleep like a stained, smelly mattress. When spills happen, sweat builds up, or life’s little accidents occur, knowing how to clean a dirty mattress top properly becomes essential. Most people make the critical mistake of soaking their mattress with excessive liquids, causing long-term damage to the internal structure. This comprehensive guide reveals the exact process for removing stubborn stains, eliminating odors, and restoring your mattress top without risking mold growth or material deterioration. You’ll learn professional techniques that take less than 30 minutes and require only household items you already own.
Mattress stains aren’t just unsightly—they create a breeding ground for dust mites and bacteria that can trigger allergies and skin irritations. The average mattress accumulates up to 1.5 million dust mites and absorbs nearly a quart of sweat annually. When you understand how to clean a dirty mattress top correctly, you’re not just improving appearance but actively protecting your health and extending your mattress’s lifespan by years. Follow these proven methods to tackle everything from recent spills to years-old stains safely and effectively.
Immediate Response to Fresh Mattress Spills
Acting quickly when accidents happen prevents stains from setting permanently into your mattress fibers. The first five minutes after a spill determine whether you’ll face a long-term stain problem.
Blotting Techniques That Prevent Deep Staining
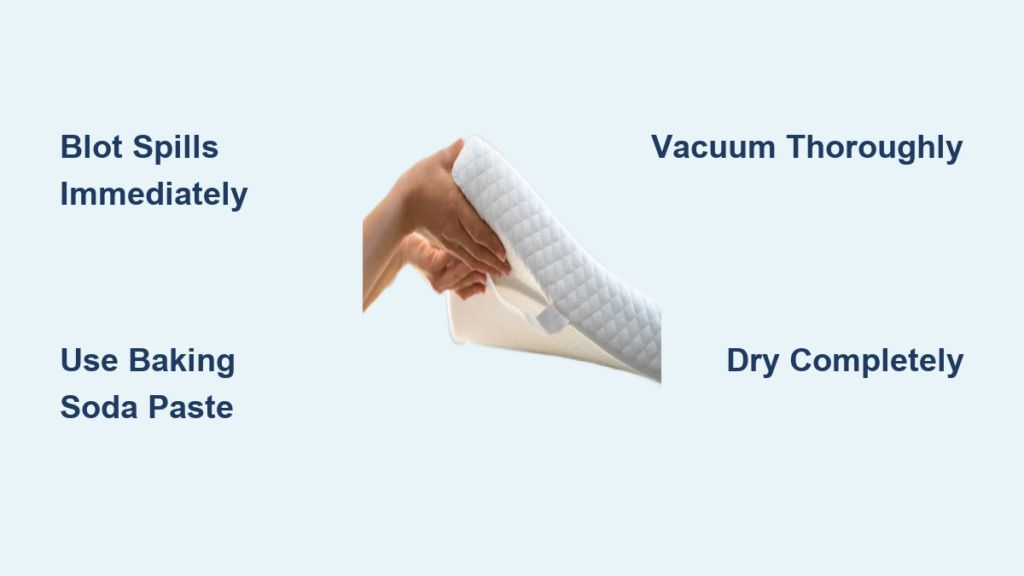
Immediately grab clean, absorbent towels and press firmly onto the spill area—never rub, as this pushes liquids deeper into the mattress core. Replace towels as they become saturated until minimal moisture transfers to new fabric. For liquid accidents like urine or spills, sprinkle a thin layer of baking soda over the damp area to begin absorbing moisture and neutralizing odors while you prepare your cleaning solution. Keep pressure on the spot for at least two minutes to extract maximum liquid before proceeding to deep cleaning.
Creating an Effective Stain-Lifting Solution
Mix ½ cup cool water with 1 tablespoon of mild dish soap in a spray bottle—never use hot water as it sets protein-based stains. Add 1 tablespoon of hydrogen peroxide (3%) for organic stains like blood or urine, but test this solution on an inconspicuous area first as it may bleach some mattress covers. Shake gently to combine without creating excessive suds, which are difficult to remove from mattress fibers. This solution lifts stains without oversaturating your mattress, preventing the moisture damage that causes most cleaning failures.
Removing Set-In Stains From Mattress Surface
Older stains require targeted treatment since they’ve had time to bond with mattress fibers. Different stain types need specific approaches for complete removal without damaging mattress materials.
Identifying Your Stain Type for Proper Treatment
Blood stains respond best to cold water and salt solutions, while sweat and body oil stains need enzymatic cleaners. Food and beverage stains typically yield to mild detergent mixtures, but red wine and coffee require vinegar-based solutions. Pet accidents demand enzymatic cleaners specifically designed to break down organic compounds. Before applying any cleaner, identify your stain type by reviewing when and what caused the discoloration—this determines which cleaning method will work most effectively without damaging your mattress surface.
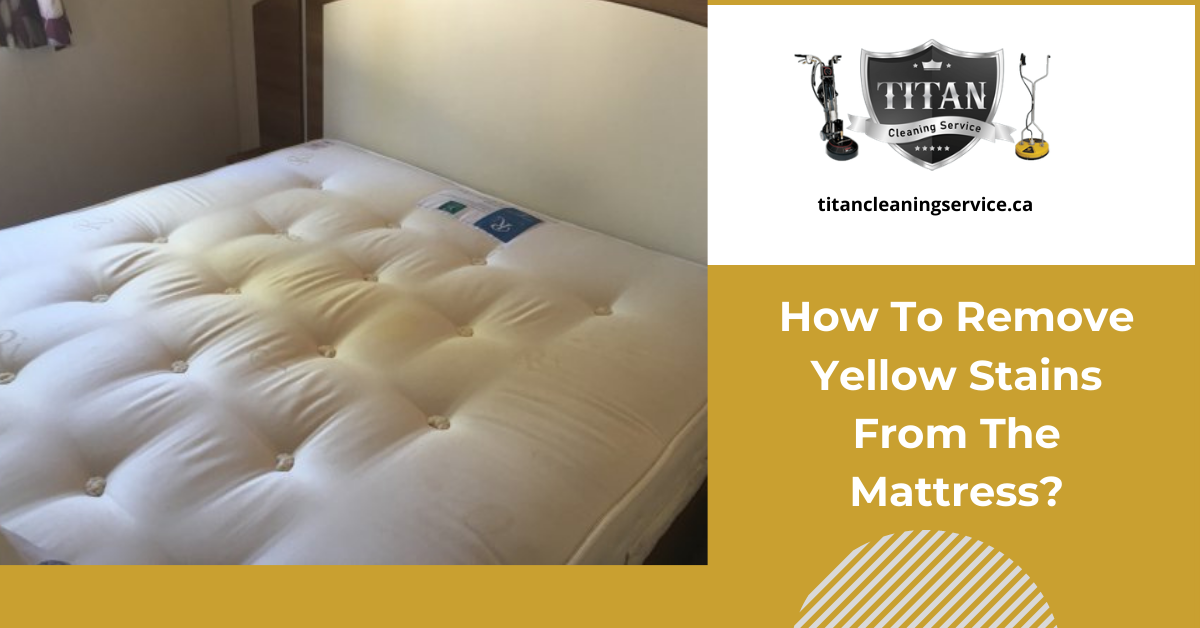
Deep Cleaning Methods for Yellow Sweat Stains
Combine ¼ cup hydrogen peroxide, ¼ cup baking soda, and 1 teaspoon of dish soap to create a thick paste for yellowing caused by sweat and body oils. Apply this mixture directly to discolored areas using a soft-bristled toothbrush, working in small circular motions for 30 seconds. Let the paste sit for 30 minutes to break down the organic compounds causing discoloration, then remove residue with a damp microfiber cloth using light pressure. This method safely whitens yellowed areas without bleaching or damaging mattress fabric.
Eliminating Odors From Mattress Top Layer

Odors linger long after visible stains disappear, creating an unpleasant sleeping environment. Effective odor removal targets the source rather than masking smells with fragrances that can trigger allergies.
Baking Soda Application for Complete Odor Neutralization
Remove all bedding and generously sprinkle baking soda across the entire mattress surface, focusing on problem areas. Use approximately one cup of baking soda for a full-size mattress, ensuring complete coverage without excessive piling. Let the baking soda sit for a minimum of 4 hours—overnight treatment yields dramatically better results as the powder continues absorbing odors. Vacuum thoroughly using an upholstery attachment, making multiple passes in different directions to extract all powder from fabric crevices. This proven method neutralizes odors at their source rather than temporarily covering them up.
Essential Oil Solutions for Fresh Scent Without Irritation
Combine 10 drops of lavender or tea tree essential oil with ¼ cup of baking soda before application for a naturally fresh scent. Never apply undiluted essential oils directly to your mattress as they can damage fabrics and create skin irritation. The essential oils bond with baking soda particles, releasing a subtle fragrance as you sleep while providing additional antimicrobial benefits. This approach creates a clean, fresh sleeping surface without the harsh chemicals found in commercial mattress sprays that often trigger respiratory issues.
Drying Your Mattress Properly After Cleaning
Improper drying causes more mattress damage than the original stain. Many people create mold problems by skipping this critical step or using ineffective drying methods.
Airflow Techniques That Prevent Mold Growth
Position fans to blow directly across the mattress surface from multiple angles, creating cross-ventilation that accelerates drying. Open windows to increase air circulation if weather permits, but avoid direct sunlight which can fade and damage mattress fabrics. Rotate fan positions every 30 minutes to target different areas, and flip your mattress if possible to expose the underside to airflow. Never replace bedding until the mattress feels completely dry to the touch—this typically takes 6-8 hours with proper airflow techniques.
Warning Signs of Incomplete Drying
Press a dry white towel firmly against cleaned areas—if any moisture transfers, continue drying. Musty odors indicate trapped moisture that will lead to mold growth within 24-48 hours. Dark spots that reappear after drying signal residual moisture beneath the surface. If you detect any of these warning signs, extend drying time significantly rather than risking permanent damage. A moisture meter (available at hardware stores) provides the most accurate assessment of whether your mattress has dried completely through.
Preventing Future Mattress Stains and Damage
The best cleaning strategy involves preventing stains before they happen. Simple protective measures save you from repeated deep cleaning sessions that wear down mattress materials.
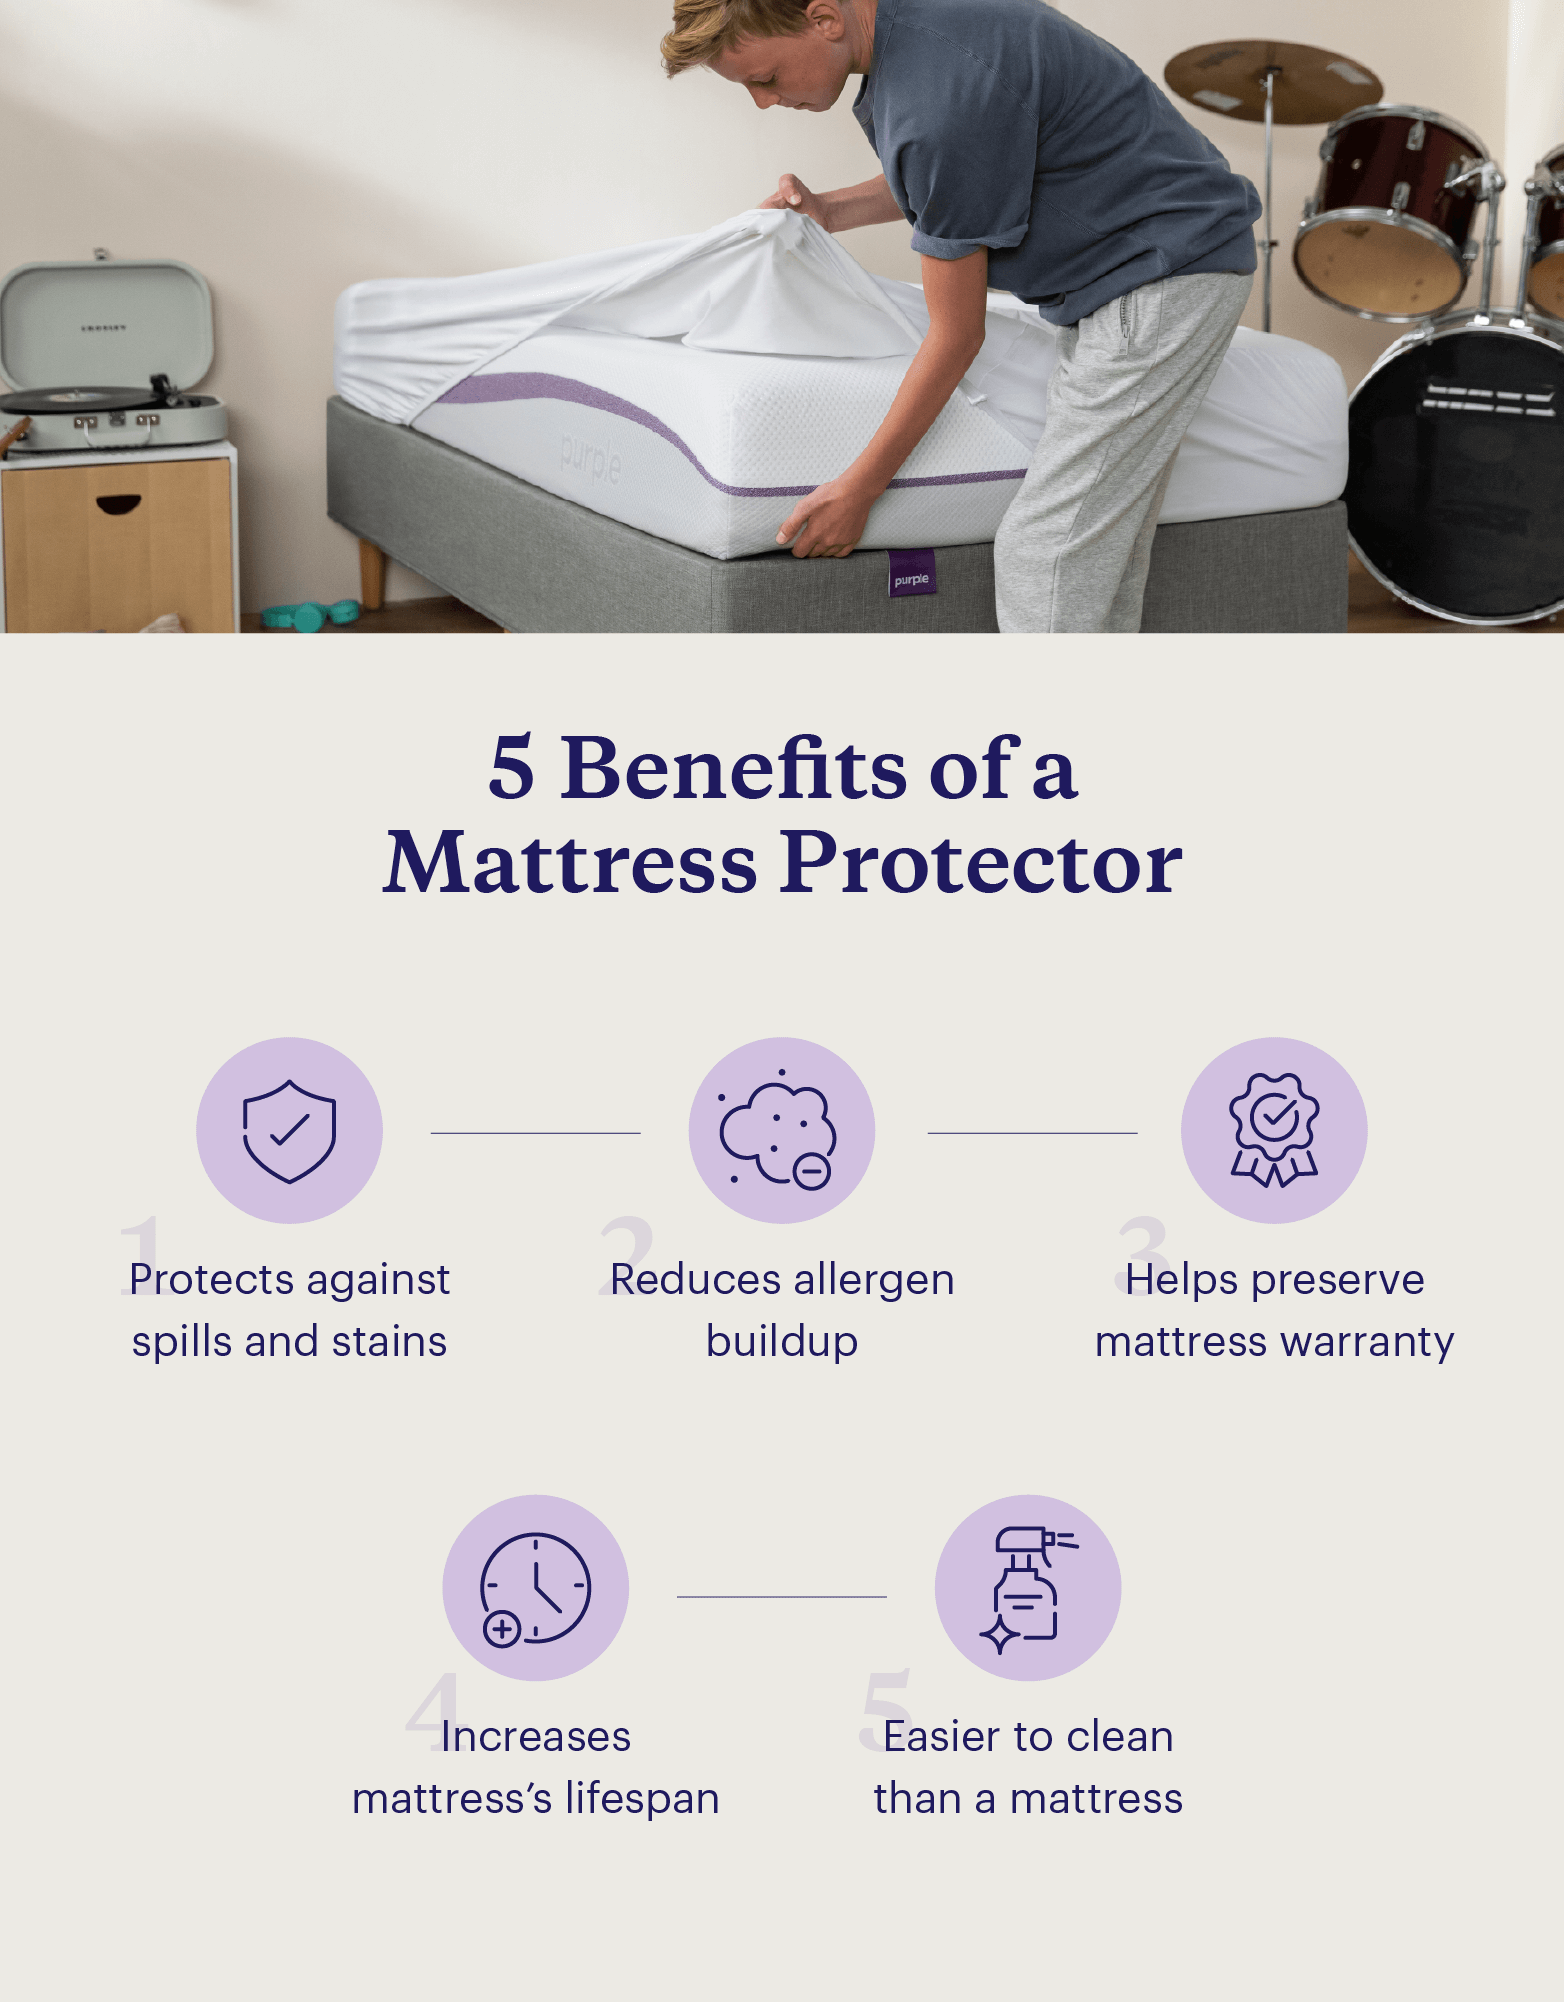
Mattress Protector Selection and Maintenance
Choose a waterproof mattress protector with a breathable fabric top layer that doesn’t create excessive heat buildup. Look for protectors with deep pockets that stay securely in place without shifting during sleep. Wash your protector weekly in cold water with mild detergent to prevent odor buildup, and replace it every 1-2 years as the waterproof barrier degrades over time. This single investment prevents 95% of stains from ever reaching your mattress surface, making maintenance dramatically easier.
Weekly Maintenance Routine for Pristine Mattress Tops
Vacuum your mattress surface thoroughly once weekly using an upholstery attachment to remove dust, skin cells, and debris. Flip and rotate your mattress monthly to distribute wear evenly across the surface. Sprinkle a light layer of baking soda across the mattress before vacuuming to absorb developing odors. Never eat or drink in bed, and address small spills immediately before they become set-in stains. These simple habits keep your mattress top clean between deep cleaning sessions, extending the time between major cleaning efforts.
Final Note: A clean mattress top significantly improves sleep quality and extends your mattress’s usable life. By following these precise methods for stain removal, odor elimination, and proper drying, you’ll maintain a hygienic sleeping surface without damaging your investment. Implement the weekly maintenance routine to minimize future cleaning needs, and always address spills within five minutes to prevent permanent staining. For ongoing care, consider setting a quarterly reminder to perform a complete surface cleaning using the baking soda and essential oil method for continuous freshness. Remember that prevention through proper protection and maintenance beats repeated deep cleaning every time.


