
Waking up to that unmistakable stale odor from your waterbed mattress transforms what should be a relaxing sleep experience into something you dread. Unlike traditional mattresses, waterbeds require specialized cleaning techniques because they contain a water-filled vinyl chamber that creates the perfect environment for bacterial growth when neglected. Without proper maintenance, your once-comfortable waterbed can develop unpleasant smells, mold issues, and even vinyl deterioration that shortens its lifespan. This comprehensive guide delivers the exact procedures you need to keep your waterbed hygienic, odor-free, and performing optimally for years to come.
Regular waterbed cleaning isn’t just about surface freshness—it directly impacts your health and the longevity of your investment. The warm, enclosed water environment becomes a breeding ground for bacteria if not properly treated with conditioner, while improper cleaning agents can cause the vinyl to crack and leak prematurely. By following these specific cleaning protocols, you’ll maintain a truly hygienic sleep surface while protecting your waterbed from common deterioration issues that plague neglected models.
Identify Safe Cleaning Products for Waterbed Vinyl

Using the wrong cleaners on your waterbed mattress can cause irreversible damage to the vinyl material, leading to leaks and premature replacement. Your cleaning product selection directly determines whether your waterbed lasts 5 years or 15 years.
Must-have waterbed cleaning products:
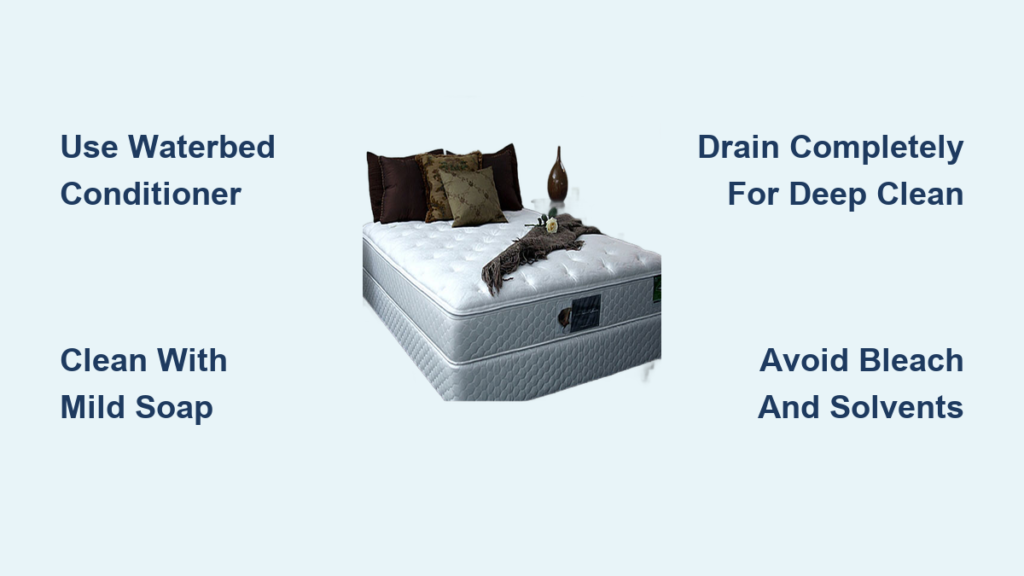
Waterbed conditioner forms the foundation of your maintenance routine. Unlike generic vinyl cleaners, these specialized formulations simultaneously clean the surface while protecting the vinyl from drying out and cracking. More importantly, they inhibit bacterial growth within the water chamber where odors originate. Always choose products specifically designed for waterbeds—standard vinyl cleaners lack the proper chemistry for this unique application.
Mild dish soap diluted in warm water provides a gentle yet effective surface cleaning solution. Mix just a few drops with water to cut through body oils and dirt without leaving residue that attracts more grime. Never use concentrated soap as it creates difficult-to-rinse buildup that accelerates dirt accumulation.
Specialized vinyl cleaners designed explicitly for waterbeds work exceptionally well when used according to instructions. These products balance cleaning power with vinyl protection, making them ideal for routine surface maintenance between deeper conditioning treatments.
Dangerous products that damage waterbeds:
Bleach destroys waterbed vinyl even in small amounts, causing cracks, flaking, and premature aging. While some guides suggest bleach for odor treatment, this should only be considered as an absolute last resort with extreme caution—not as routine maintenance.
Avoid all abrasive cleaners, solvents, and ammonia-based products that scratch vinyl surfaces and compromise the waterproof barrier. These substances create microscopic damage that develops into leaks under constant water pressure.
Clean Waterbed Exterior Without Damaging Vinyl
Your waterbed’s exterior surface accumulates body oils, sweat, and environmental dirt that degrade vinyl when left unaddressed. Proper surface cleaning prevents deterioration while maintaining a hygienic sleep environment.
Prepare for effective surface cleaning:
Partially drain your waterbed to access lower surfaces more easily—hardside models benefit from complete drainage while softside designs may only need slight water reduction. This preparation step takes 15-20 minutes but significantly improves cleaning effectiveness.
Remove and wash all bedding in hot water to eliminate transferred contaminants. This prevents immediate recontamination of your freshly cleaned mattress surface.
Execute proper surface cleaning technique:
Apply your cleaning solution to a soft microfiber cloth rather than spraying directly on the mattress. Wipe the entire surface systematically with gentle pressure—never scrub aggressively as this stresses vinyl seams.
Focus extra attention on high-contact areas like where your head and shoulders rest, as these spots accumulate the most body oils. Work in sections to ensure complete coverage without missing spots.
Rinse thoroughly with a clean, damp cloth to remove all soap residue, then dry completely with a lint-free towel. Incomplete drying invites mold growth, so continue wiping until no moisture remains visible.
Deep Clean Your Waterbed’s Water Chamber in 4 Steps
The internal water chamber requires specialized cleaning that addresses bacterial buildup where odors originate. This process takes 45-60 minutes but prevents the stale smells that develop in neglected waterbeds.
Step 1: Complete drainage
Use a dedicated waterbed pump to remove all water until the mattress lies flat with no remaining liquid. Continue pumping for 5-10 minutes after water stops flowing to evaporate residual moisture trapped in the chamber.
Step 2: Conditioner application
Add waterbed conditioner directly through the valve according to manufacturer specifications—typically 2-4 ounces per 100 gallons of water capacity. For new installations or after odor treatment, use first-fill conditioner at stronger concentrations.
Step 3: Refill and circulate
Refill with fresh water to your preferred level, then manually circulate the conditioner by pressing different areas of the mattress surface. Spend 3-5 minutes working the water throughout the entire chamber to ensure even distribution.
Step 4: Settling period
Allow the mattress to settle for 24 hours before sleeping on it. This gives the conditioner time to fully integrate with the water and begin protecting the vinyl from bacterial growth.
Eliminate Stale Waterbed Odors Permanently

That unpleasant “stale” smell indicates bacterial growth within your water chamber and requires specific treatment beyond routine cleaning. Ignoring this odor allows bacteria to multiply, worsening the problem over time.
Why odors develop in waterbeds:
Bacteria enter during initial filling with tap water and multiply without proper conditioning. The smell typically appears 6-24 months after installation when conditioner treatments lapse, though poor initial conditioning can cause early odor development.
Effective odor elimination protocol:
Completely drain the mattress using your waterbed pump until vacuum flat. Prepare a bleach solution (2 liters water with 1/4 cup bleach) and fill just above minimum water line. Walk across the surface for 10 minutes to distribute the solution throughout interior surfaces.
Let the solution sit for 30-60 minutes, periodically pressing different areas to ensure full coverage. Drain completely, then refill with fresh water while adding 1 cup table salt and 8 ounces first-fill conditioner.
Critical warning: Never skip the thorough draining step after bleach treatment—residual bleach causes severe vinyl damage. If odor returns within 2 weeks, professional assessment is necessary as deep bacterial colonization may require mattress replacement.
Establish a Waterbed Maintenance Schedule That Works
Consistent maintenance prevents most waterbed problems before they start. Following this schedule keeps your mattress hygienic while maximizing its lifespan.
Monthly surface care routine:
Wipe down the entire surface with mild soap solution, paying special attention to high-contact areas. Inspect for early signs of vinyl deterioration like thinning spots or seam separation. This 15-minute routine prevents minor issues from becoming major problems.
Semi-annual deep conditioning:
Every six months, perform the complete water chamber cleaning process described earlier. This essential maintenance prevents bacterial buildup that causes odors and vinyl damage. Set phone reminders to ensure you never miss this critical treatment.
Trigger-based maintenance actions:
Clean immediately after any spills or visible soiling—don’t wait for your scheduled maintenance. After moving your waterbed, always drain and refill with fresh conditioner treatment. Wash all bedding weekly in hot water to prevent contaminant transfer.
Prevent Common Waterbed Damage Issues

Proactive protection extends your waterbed’s lifespan significantly while reducing maintenance headaches. Implement these strategies to avoid the most frequent waterbed problems.
Leak prevention techniques:
Keep a waterbed repair kit accessible and patch any punctures immediately—small holes rapidly become major leaks under water pressure. Regularly inspect seams and valve areas, the most common failure points in waterbeds.
Surface protection measures:
Use a waterbed-specific mattress cover to create a barrier against spills and body oils. Keep sharp objects including pet claws and jewelry away from the sleeping surface—even small punctures become serious problems under constant water pressure.
Environmental controls:
Slightly increase waterbed heater settings during humid seasons to reduce internal moisture buildup. Replace safety liners every 2-3 years as they absorb odors and contaminants over time.
When to Call a Waterbed Professional
Some issues require expert intervention to resolve properly. Contact a waterbed specialist if you encounter:
- Persistent odors returning within 2 weeks of treatment
- Visible mold growth inside the water chamber
- Multiple small leaks developing simultaneously
- Significant vinyl deterioration despite proper maintenance
Most waterbed retailers offer professional cleaning services and maintenance reminders to help you stay on schedule. Their expertise with waterbed-specific problems often resolves issues faster than DIY attempts, potentially saving you from premature replacement costs.
Regular waterbed maintenance transforms what some consider a high-maintenance sleep system into a worry-free investment that delivers therapeutic benefits for 10-15 years. By following these specific cleaning protocols—using safe products, performing surface cleaning monthly, deep conditioning every six months, and addressing problems promptly—you’ll enjoy a consistently hygienic, odor-free sleep surface. The small time investment required for proper waterbed care pays significant dividends in extended mattress life and improved sleep quality. Start implementing these procedures today to protect your investment and reclaim the comfortable, therapeutic sleep experience your waterbed was designed to provide.


